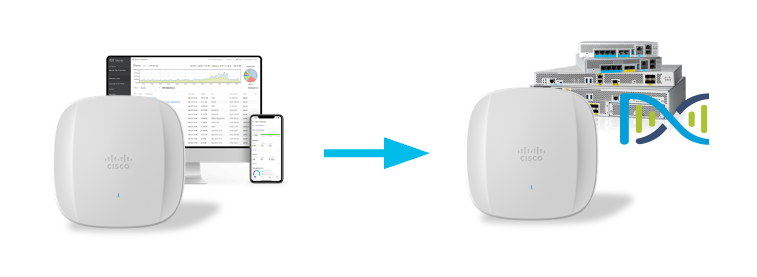
Same hardware, your choice of management
The latest generation of Wi-Fi 6E Catalyst Wireless access points (CW9162, CW9164, CW9166 series) gives you the option to either cloud-manage them using Cisco Meraki Dashboard, or manage the APs by Cisco Catalyst 9800 series Wireless LAN Controller (WLC).
They are the exact same hardware and they ship pre-loaded with the Catalyst/DNA and Meraki software image. Depending on the mode setting, they either boot one image or the other.
What do we need
- Catalyst Wireless CW9162I, CW9164I, CW9166I, CW9166D1, CW9163E access point in Meraki mode
- Cisco Meraki MR access point license to perform the conversion
- Cisco DNA Essentials or DNA Advantage access point license if you want to use join and manage the AP by a Catalyst 9800 controller
Choose AP mode before ordering
You will have the best experience when you order your access points in the right mode.
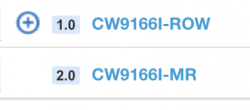
Order a DNA persona AP and it will auto-discover your Catalyst 9800 controller using one of the supported methods. In the UK, I can order the “-ROW” AP and manage it by Catalyst 9800, and optionally add Catalyst Center (previously known as DNA Center) to get analytics, assurance and other great features. Find the right access point SKU and regulatory domain based on your coutry using this tool.
If you prefer, order the Meraki mode access point, connect it to the internet, and claim it in the Dashboard. Meraki APs use a single “-MR” SKU globally.
Conversion from MR to Catalyst/DNA mode
If you ordered a Meraki access point and your requirements have changed, you can convert the AP to DNA mode.
1. Make sure you have an active Meraki MR license. Why? We need the license to connect the AP to Dashboard, and to open a conversion request with Meraki technical support team.
2. Provide power and internet connectivity to the access point.
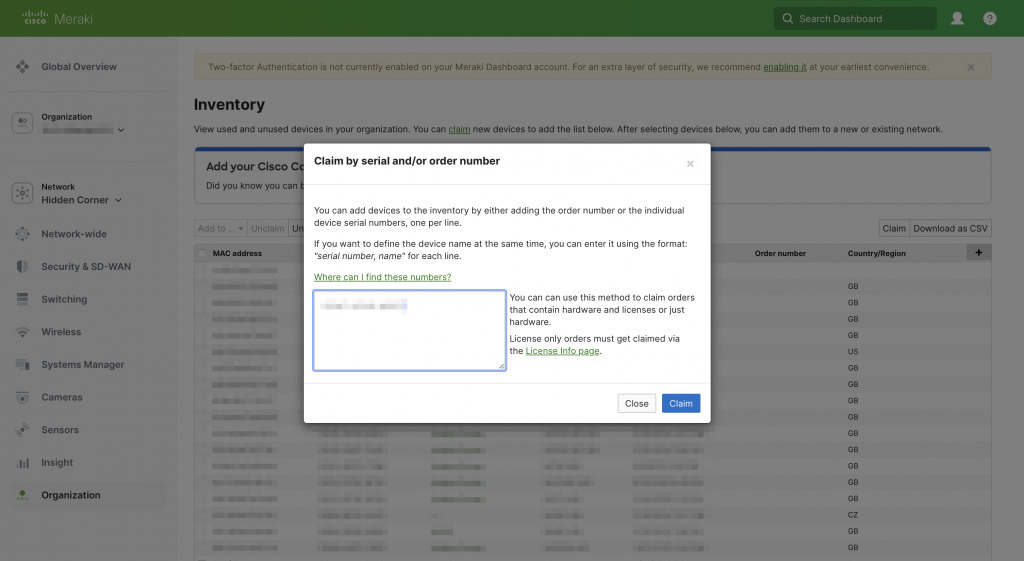
3. Log in to Dashboard. Navigate to Organization > Configure > Inventory and add the access point using its Meraki S/N.
4. Add your MR license to Dashboard under Organization > Configure > License Info.
5. Wait for the AP to connect to Dashboard and change its LED to solid green or solid blue. Perfect, the AP is now online.
6. Complete this checklist first. Disable Meshing feature and make sure your Catalyst 9800 is ready for the AP to connect after conversion has completed.

7. Open a new support case by clicking the (?) question mark in the top right hand corner > Cases > New Case.
8. Include all these details to speed up the conversion process. Find your Customer Number by clicking the person icon in the top right hand corner. To get your Daily Support Code, click the same person icon, then open My profile.
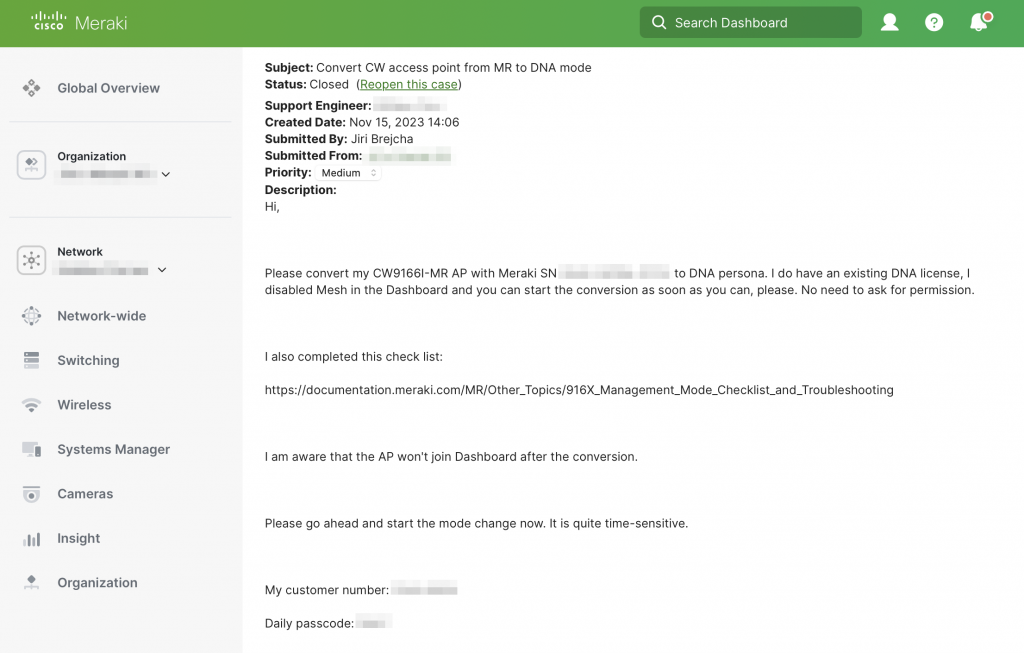
Hi,

Please convert my CW*****-MR AP with Meraki SN ****-****-**** to DNA mode. I do have an existing DNA license. I disabled Meshing in the Dashboard.

I have completed this checklist:
https://documentation.meraki.com/MR/Other_Topics/916X_Management_Mode_Checklist_and_Troubleshooting

I am aware that the AP will not join Dashboard after the conversion, unless I convert it back to MR mode.

Please go ahead and start the mode change immediately.

My customer number: ****-****
My support passcode for today: ****

Have a great day!
9. If this conversion is urgent, call into Meraki support. No, don’t e-mail the support team, call them. Have the case number by hand. Find the best phone number here.
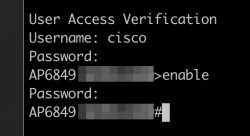
10. After the support engineer starts the conversion, your AP will reboot. It is now in the Catalyst mode. You can verify that by keeping an eye on the Console port output during its boot. Just to remind you (and myself): The new Console port baud rate is 115200 from 17.12.1 release onwards.
Autoboot in 5 seconds
Catalyst Mode Selected
11. The AP should now follow the standard Catalyst LED pattern. It is ready to be managed by a Catalyst 9800 series controller – be it a hardware appliance, virtual machine, or public cloud instance.
12. Our DHCP server assigned an IP address to the AP, which has automatically discovered and joined the WLC located in the same IP subnet.


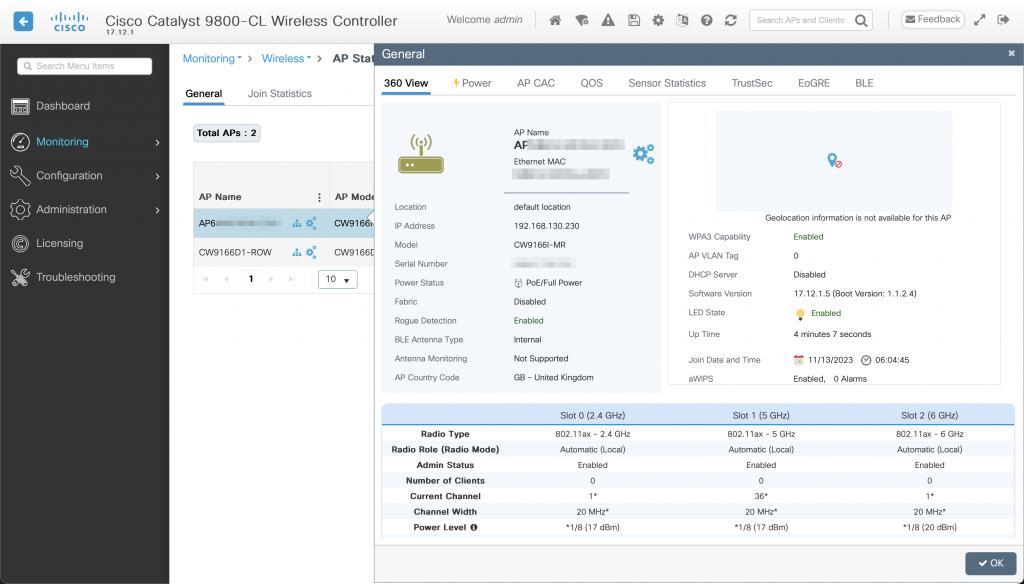
To enable SSH and Console access, create a username, password and enable password in the Catalyst 9800 controller’s AP Join Profile > Management > User section. SSH protocol is disabled by default. You can enable it in the AP Join Profile.
