Access point conversion from Catalyst/DNA mode (managed by Catalyst 9800 controller) to Meraki mode allows you to add a Catalyst Wireless AP to Cisco Meraki Dashboard, and fully monitor, and fully manage it from there.
Convert Catalyst/DNA AP to Meraki mode
Order the AP in the right mode
Order your access points in the right mode out of the box, and don’t worry about conversion. That’s the “-MR” SKU for cloud-management/SaaS model. If you wish to manage the APs by a Catalyst 9800 controller, simply find the right access point SKU and regulatory domain based on your coutry using this tool and reach out to your favourite Cisco Partner or distributor for a quote.
What do we need?
Catalyst Wireless CW9162I, CW9164I, CW9166I, CW9166D1, or CW9163E access point joined to a Catalyst 9800 series controller (hardware appliance, cloud instance, or virtual machine)
Cisco Meraki MR access point license
Let’s start the conversion
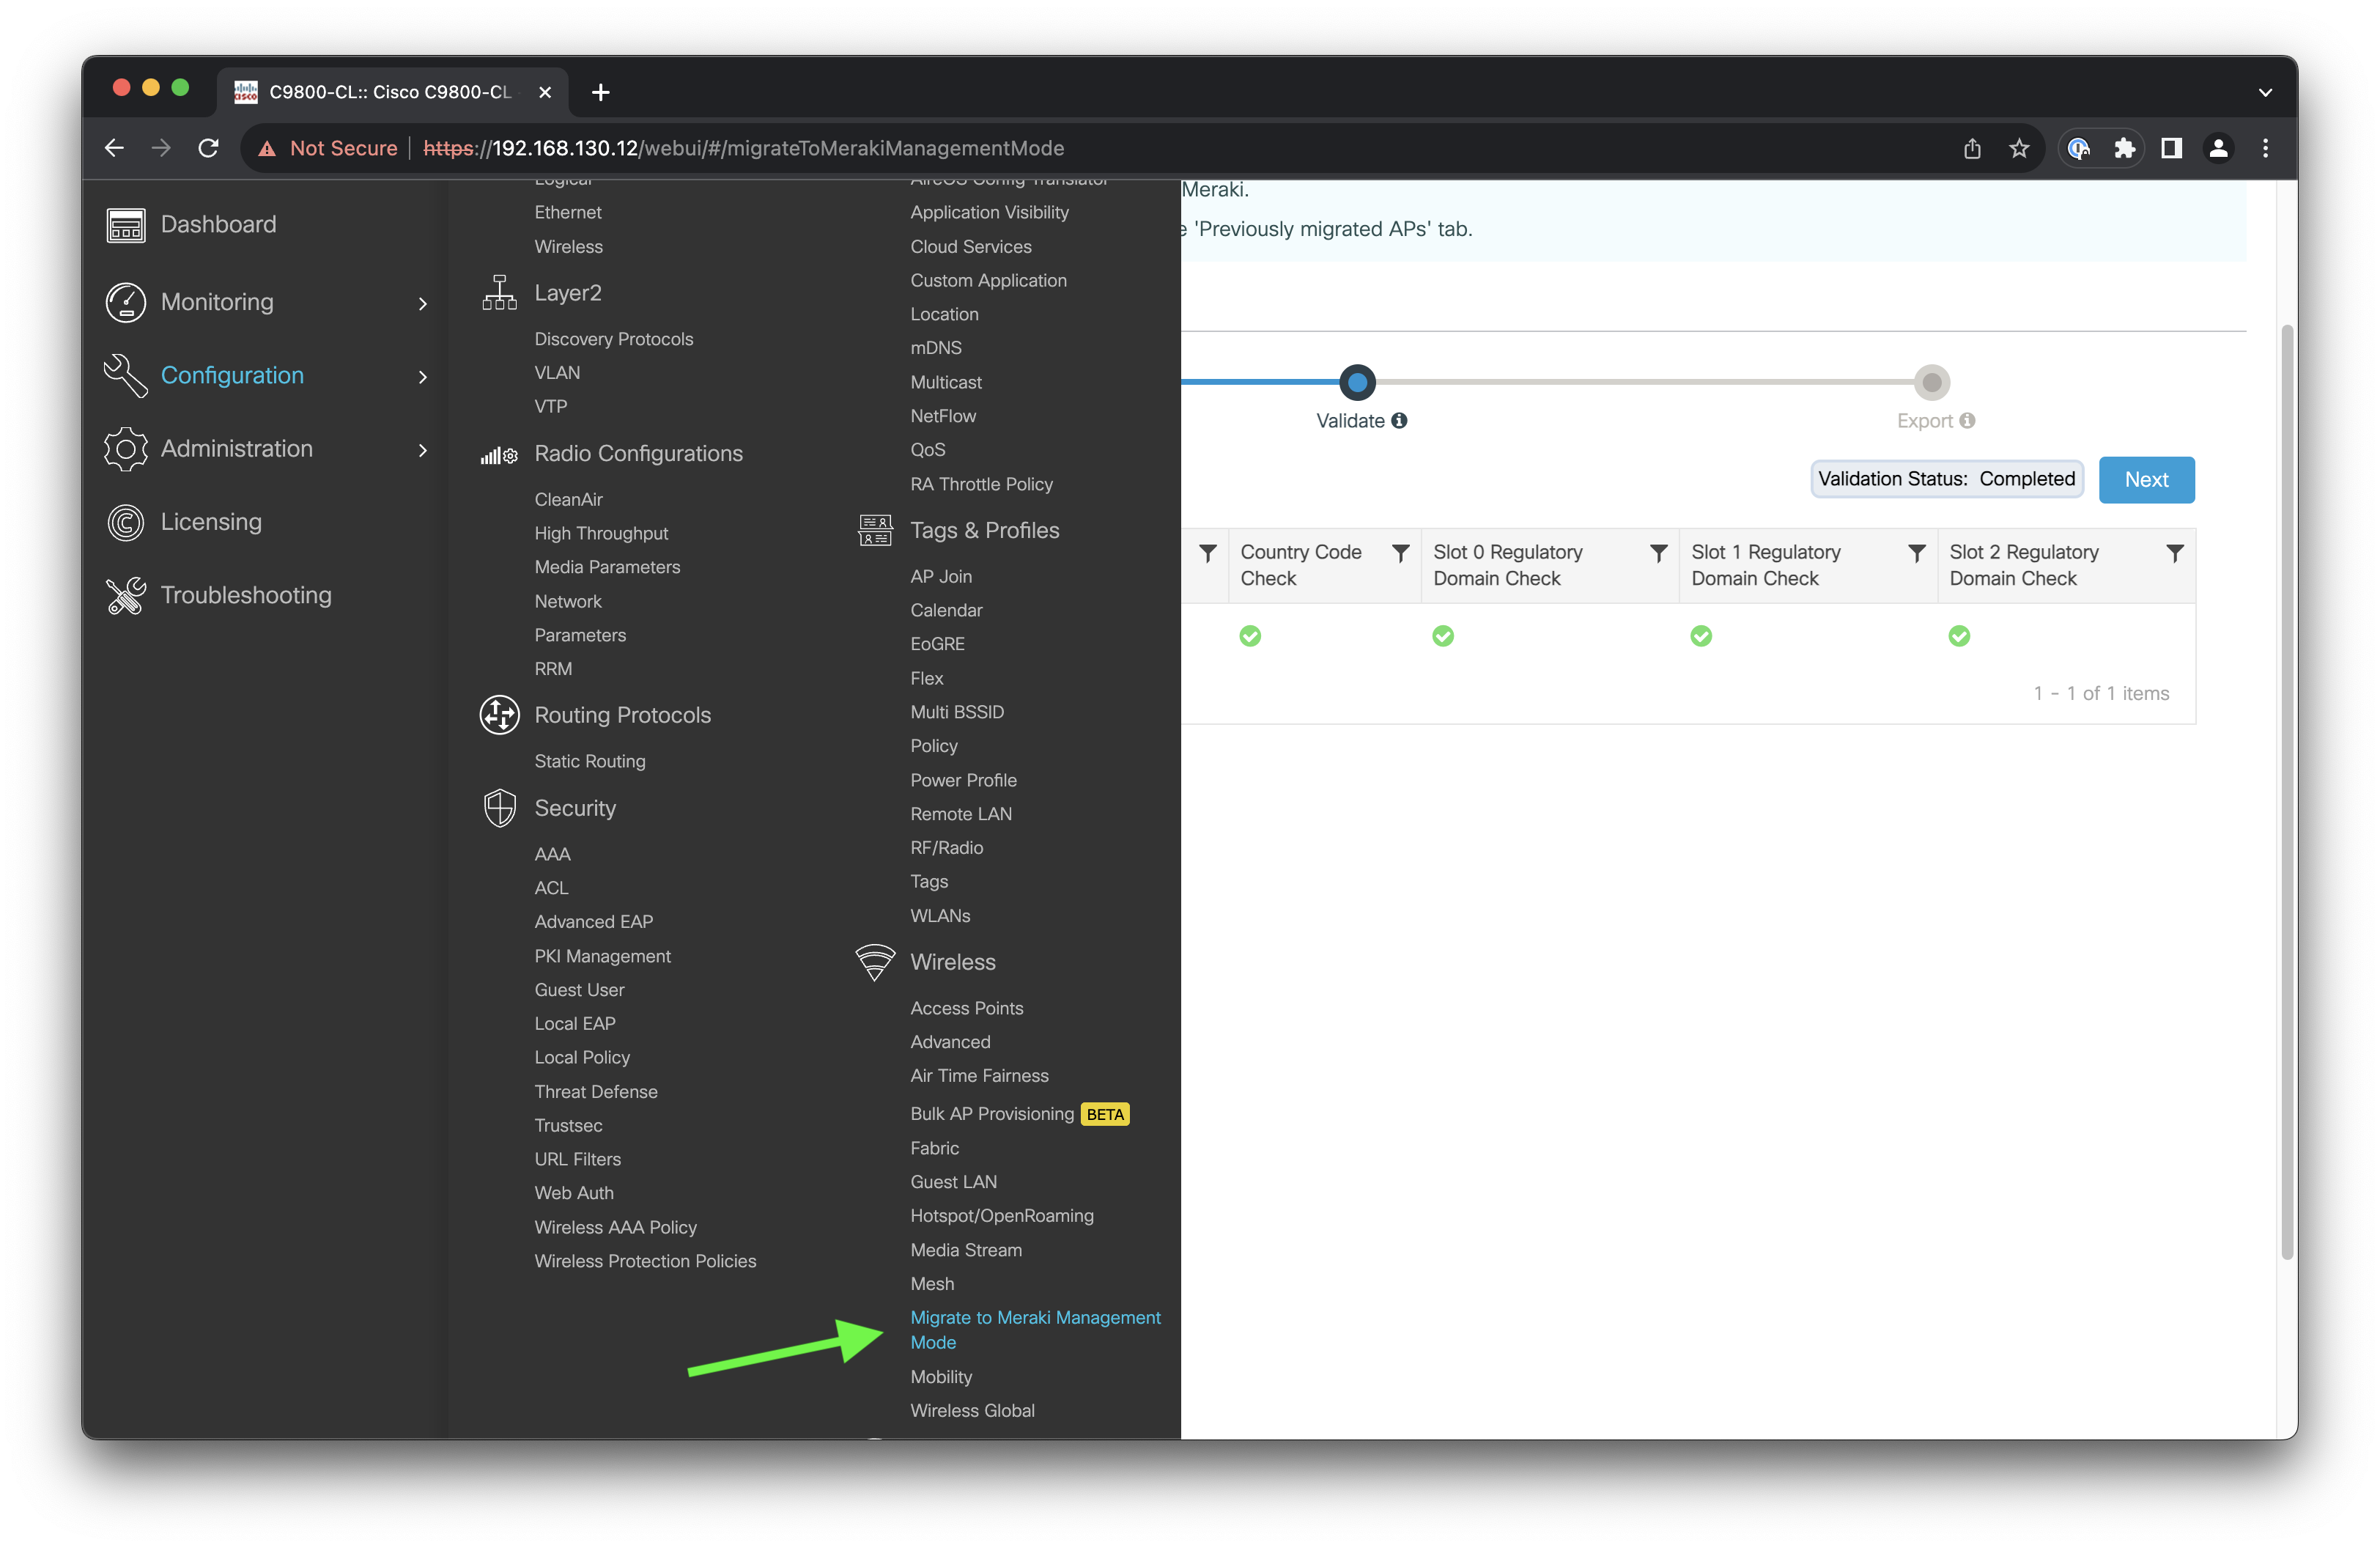
1. Make sure the access points you want to convert have successfully joined the Catalyst 9800 controller. Head over to Configuration > Wireless > Migrate to Meraki Management Mode.
Migrate to Meraki Management Mode
2. Select one or more APs you wish to convert and click the Migrate to Meraki Management Mode button.
Select APs
3. Wait for validation to complete. Click Next.
Validate that the AP can be converted
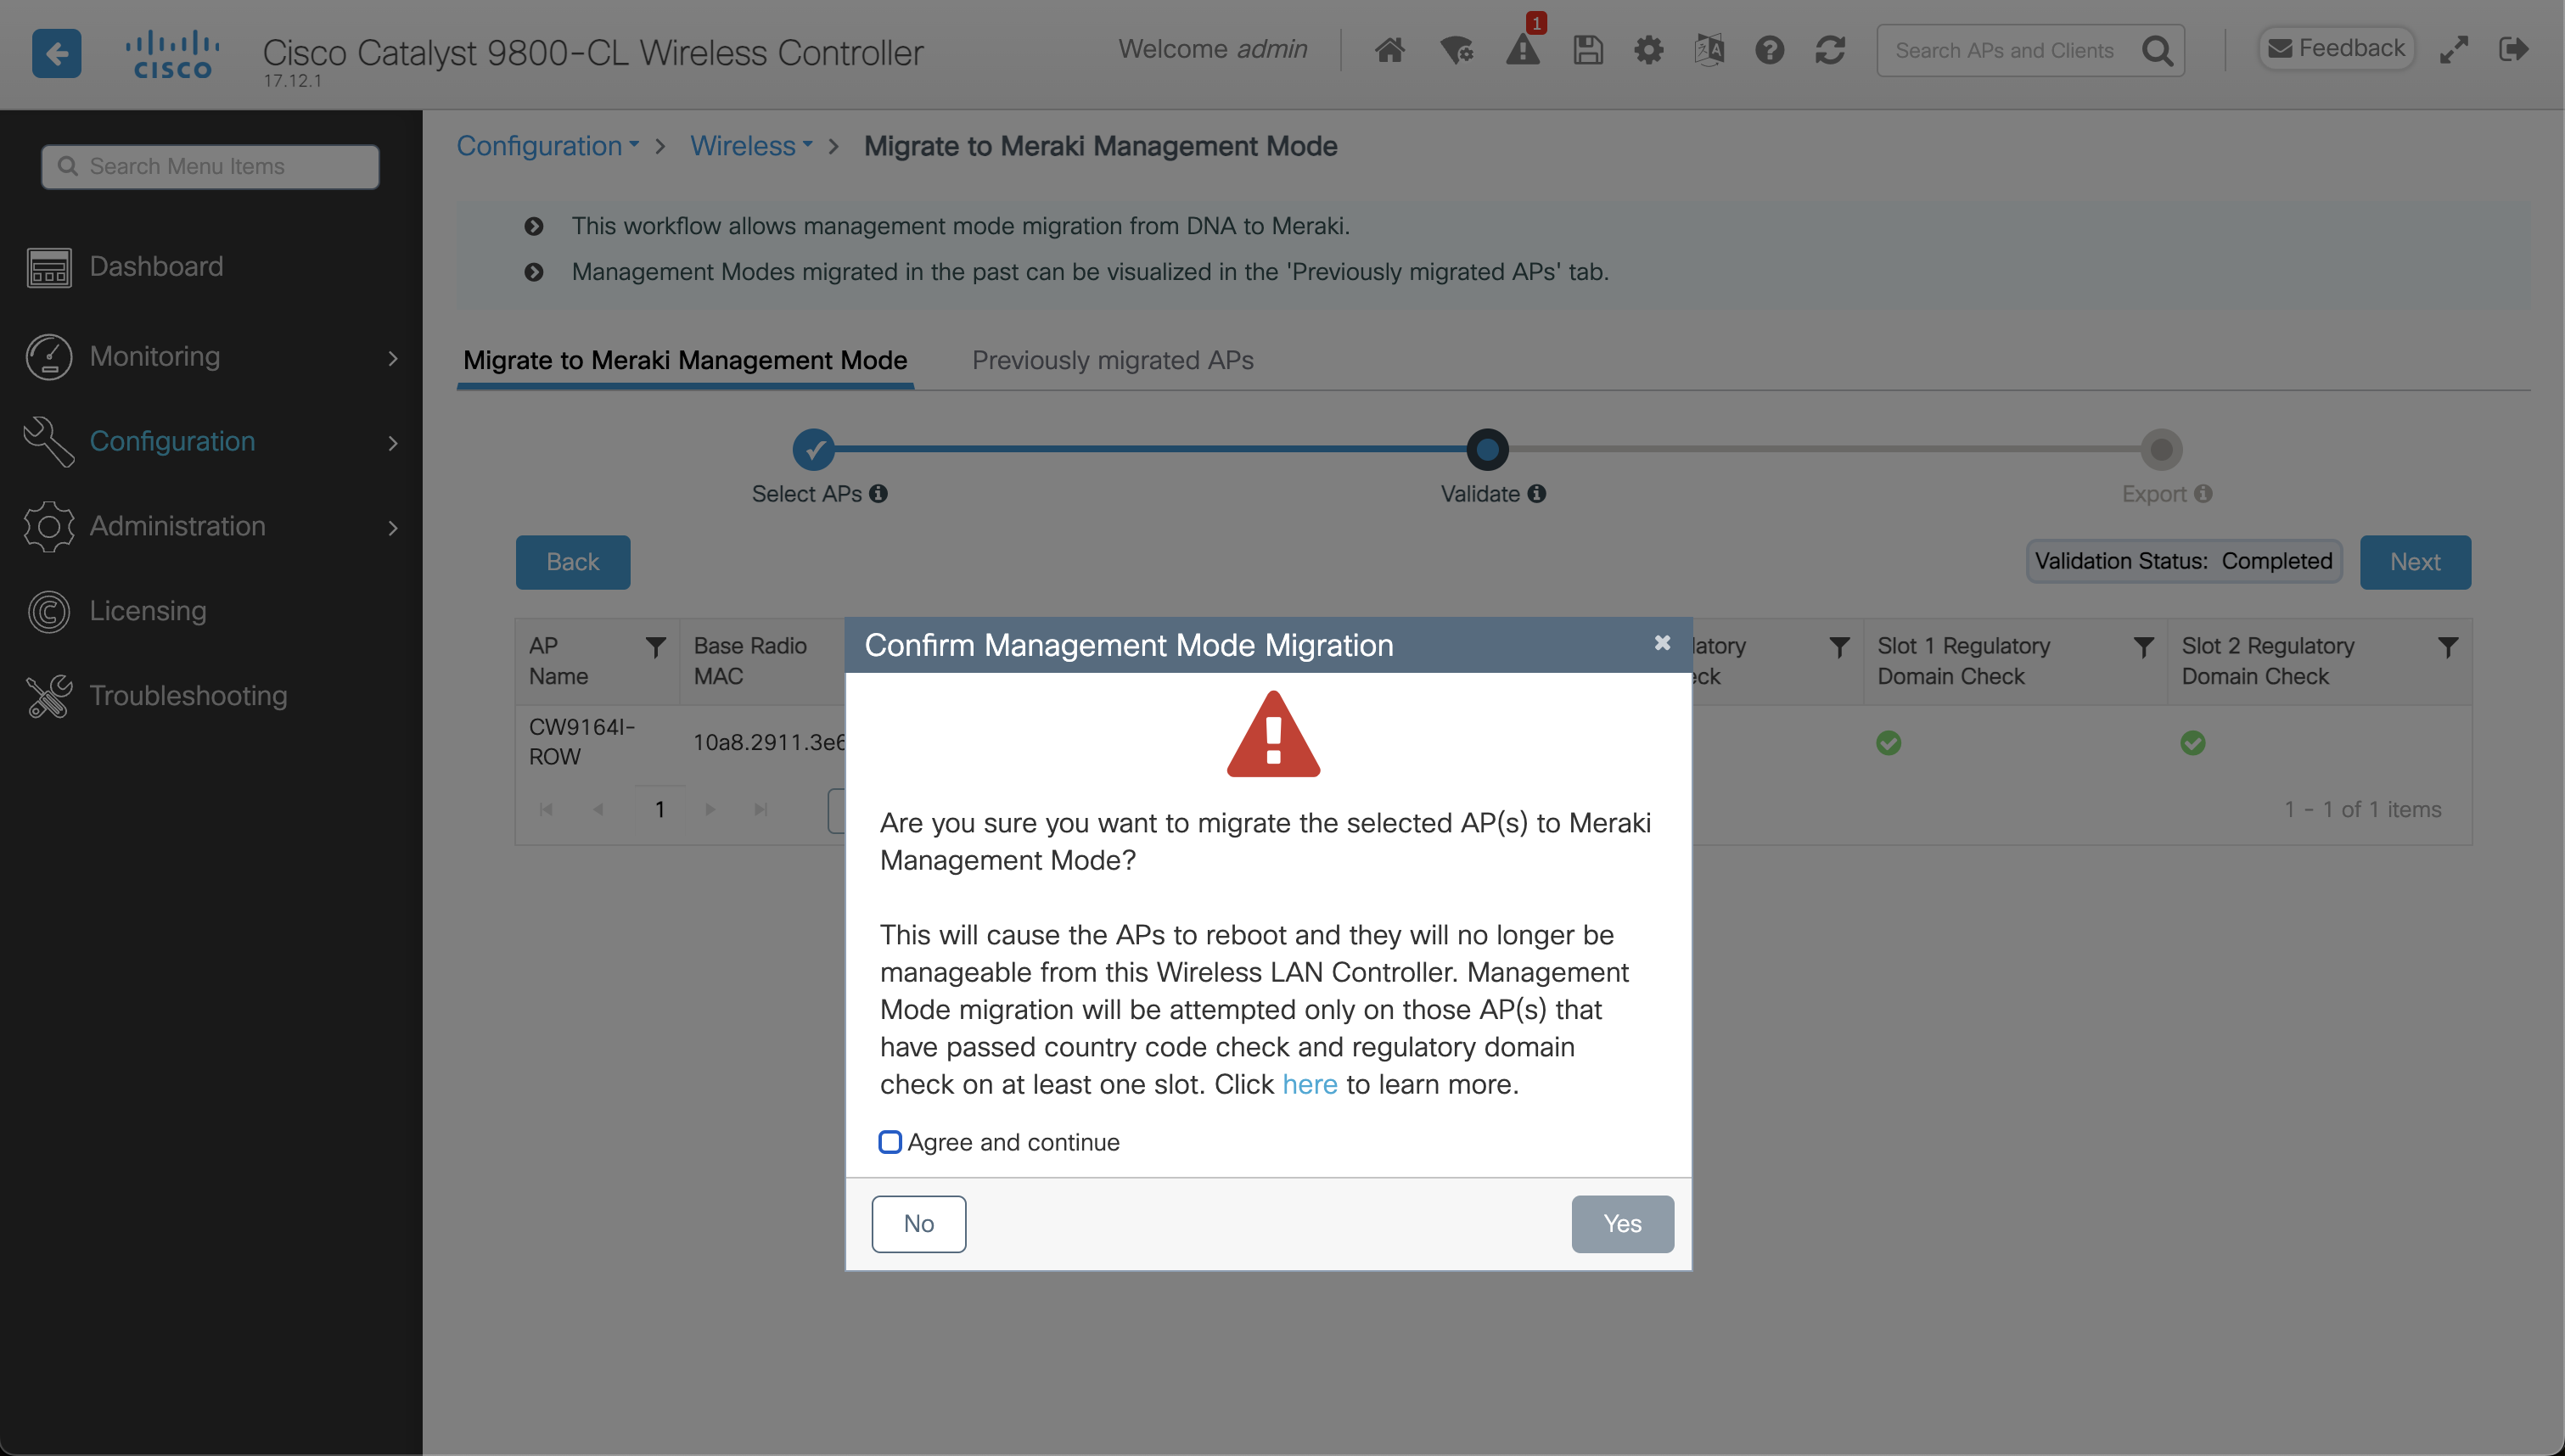
4. Tick Agree and continue and click Yes.
Take a deep breath and kick-start the process
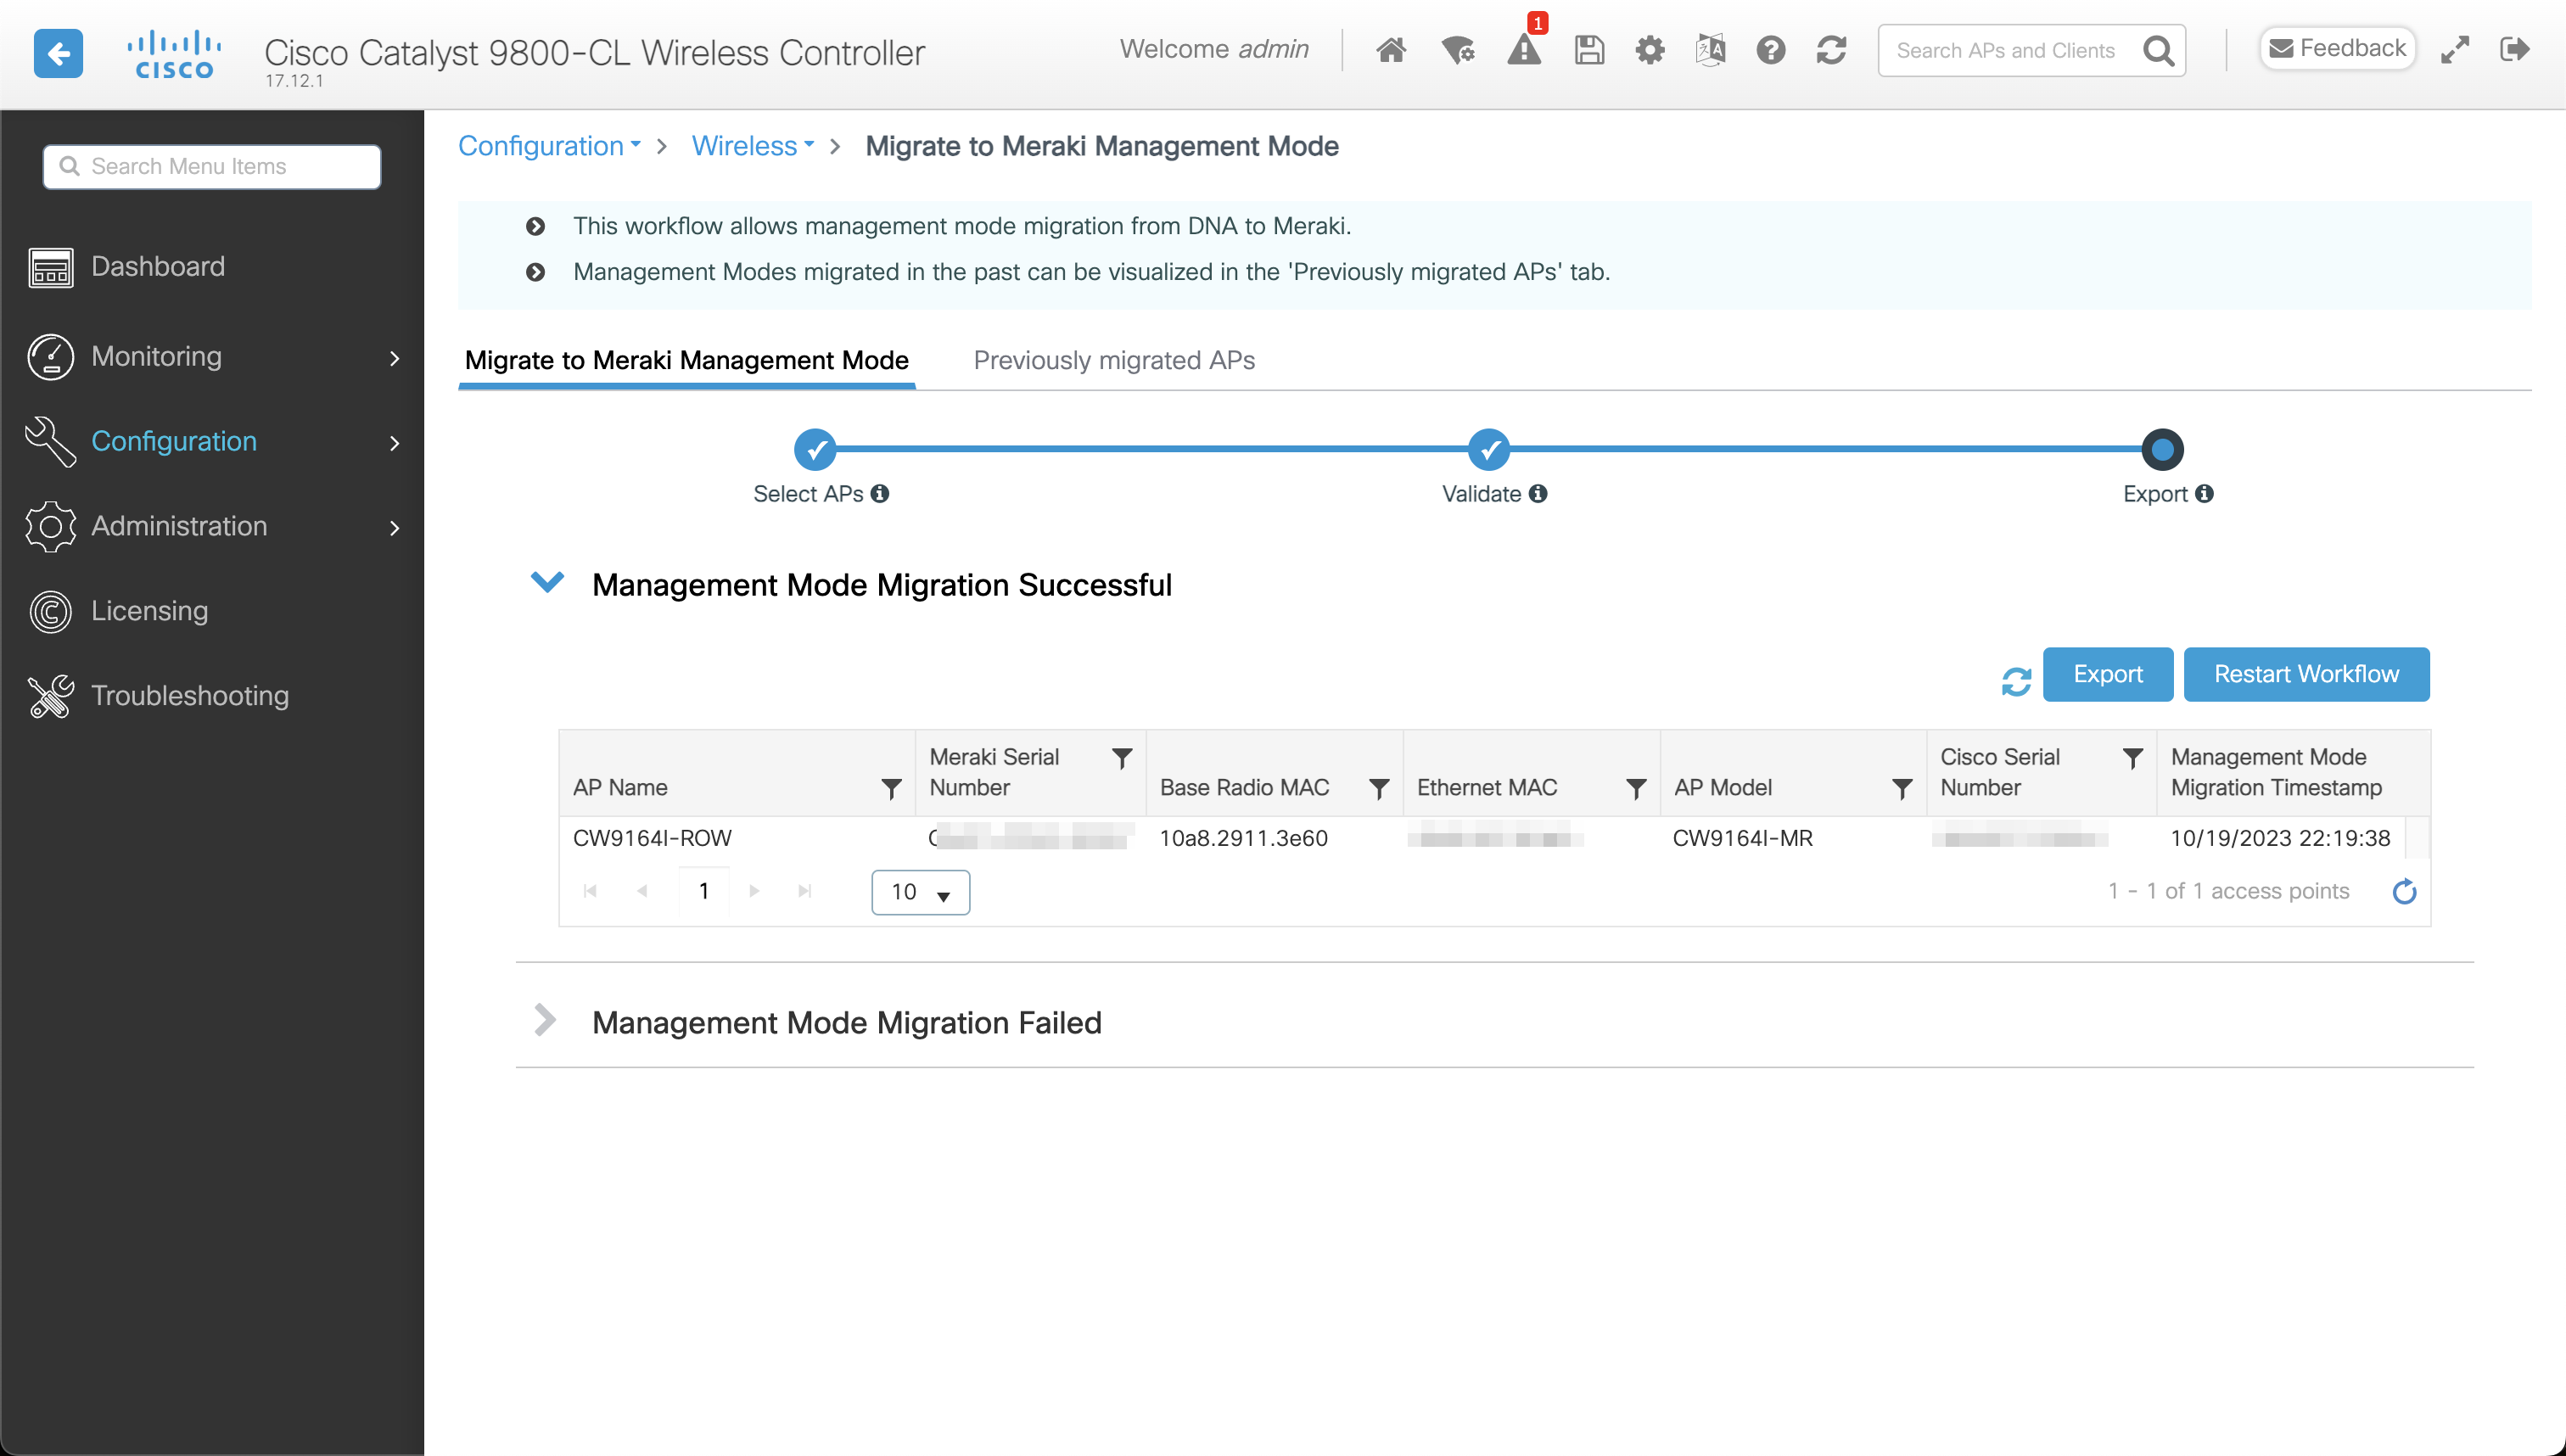
5. Conversion has now finished. Note that each AP has a Cisco Serial Number and Meraki Serial Number. Copy the Meraki Serial Number.
Conversion has finished
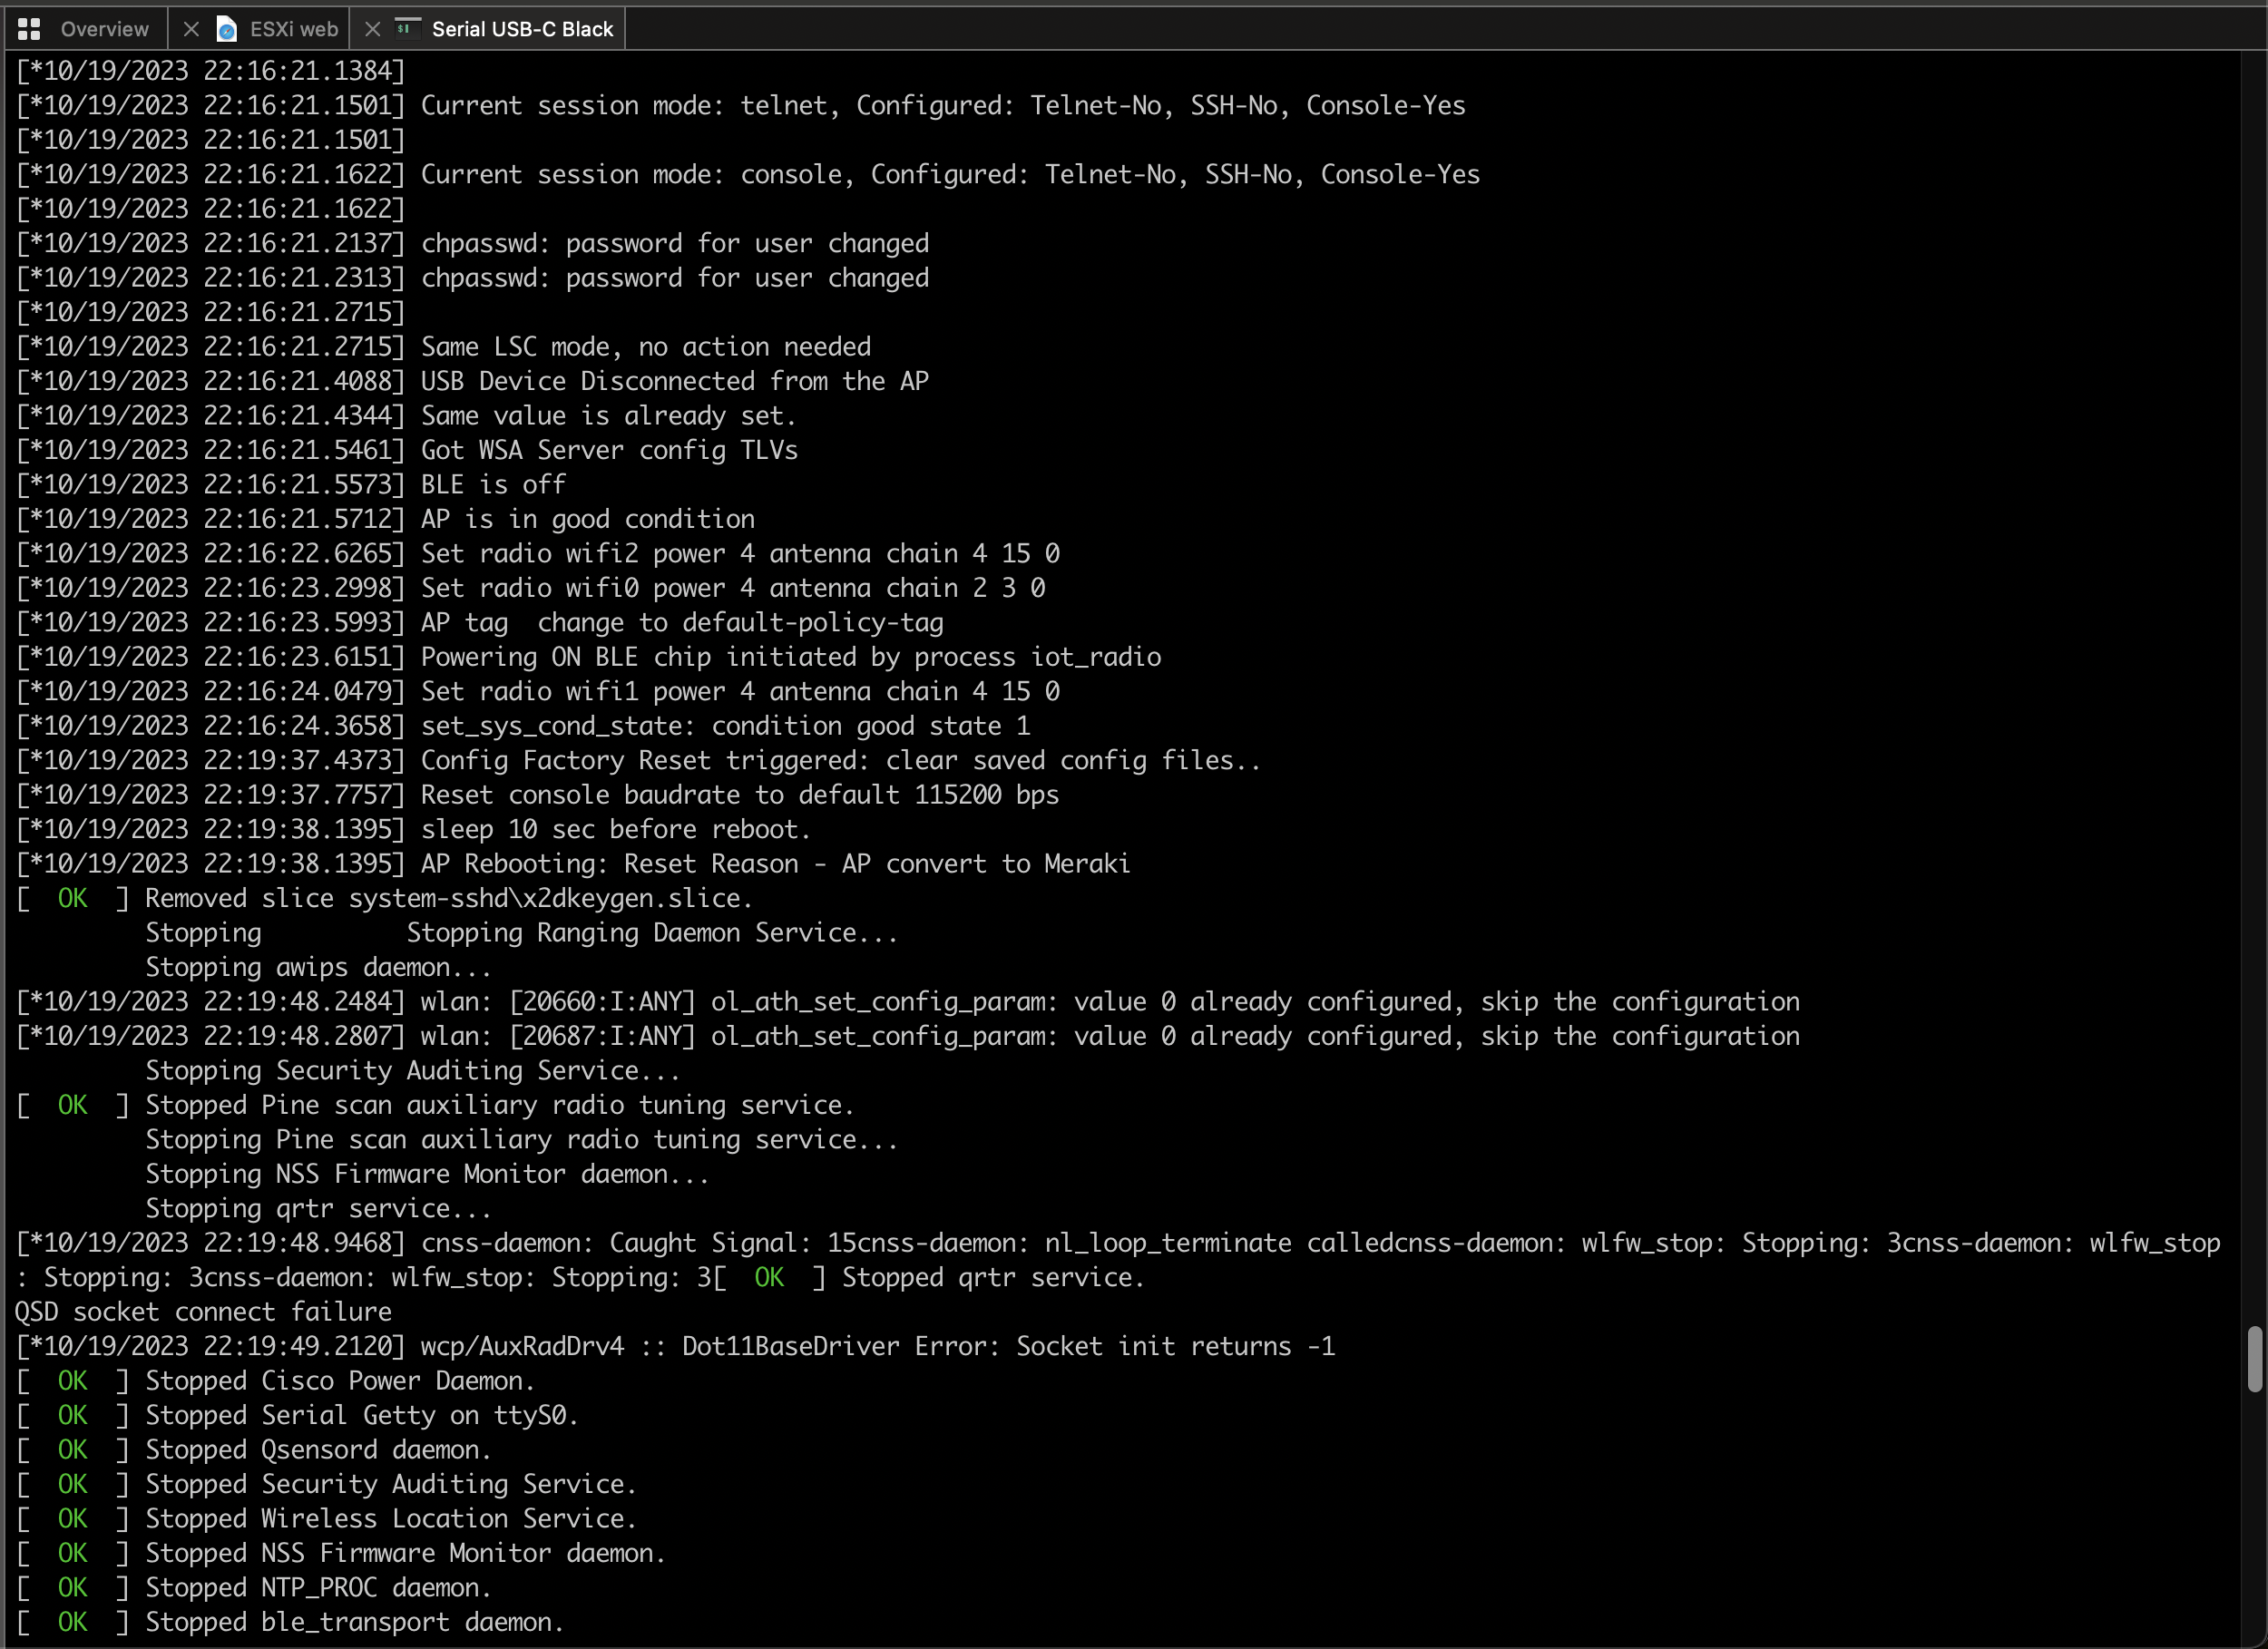
6. While you are doing that, the AP rebooted and started the Meraki image.
AP has left the controller and is about to establish connectivity to Dashboard after reboot
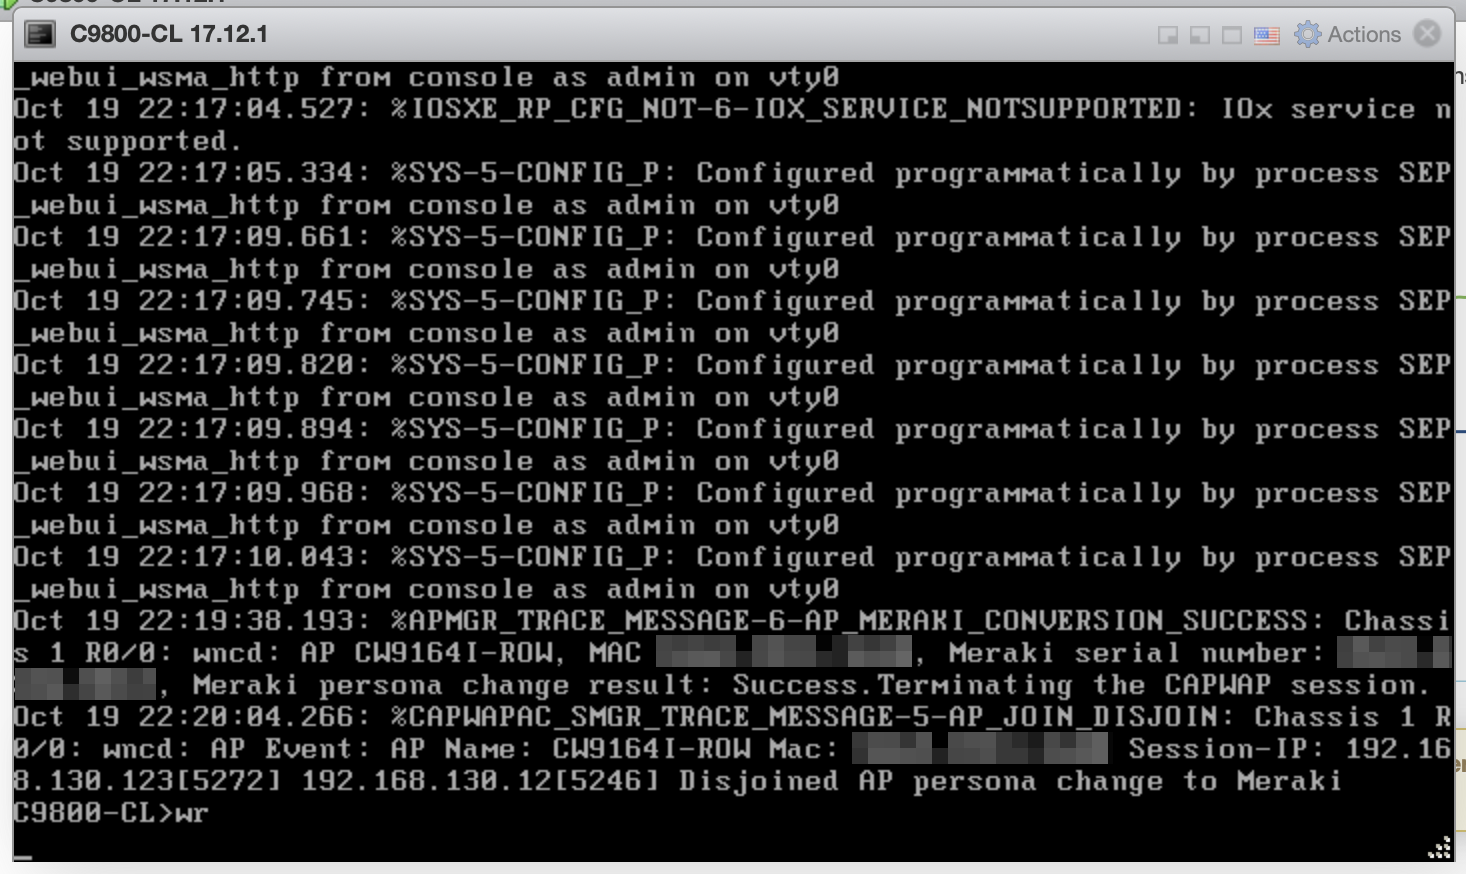
During the boot process, the AP logs a message about the mode change.
Reset reason – AP converted to Meraki mode
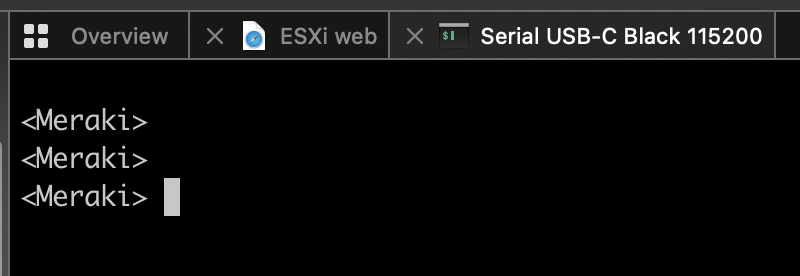
And you will no longer have access to its Console port. If you connect a console cable, <Meraki> output will appear with no option to type any commands.
Console port output after conversion
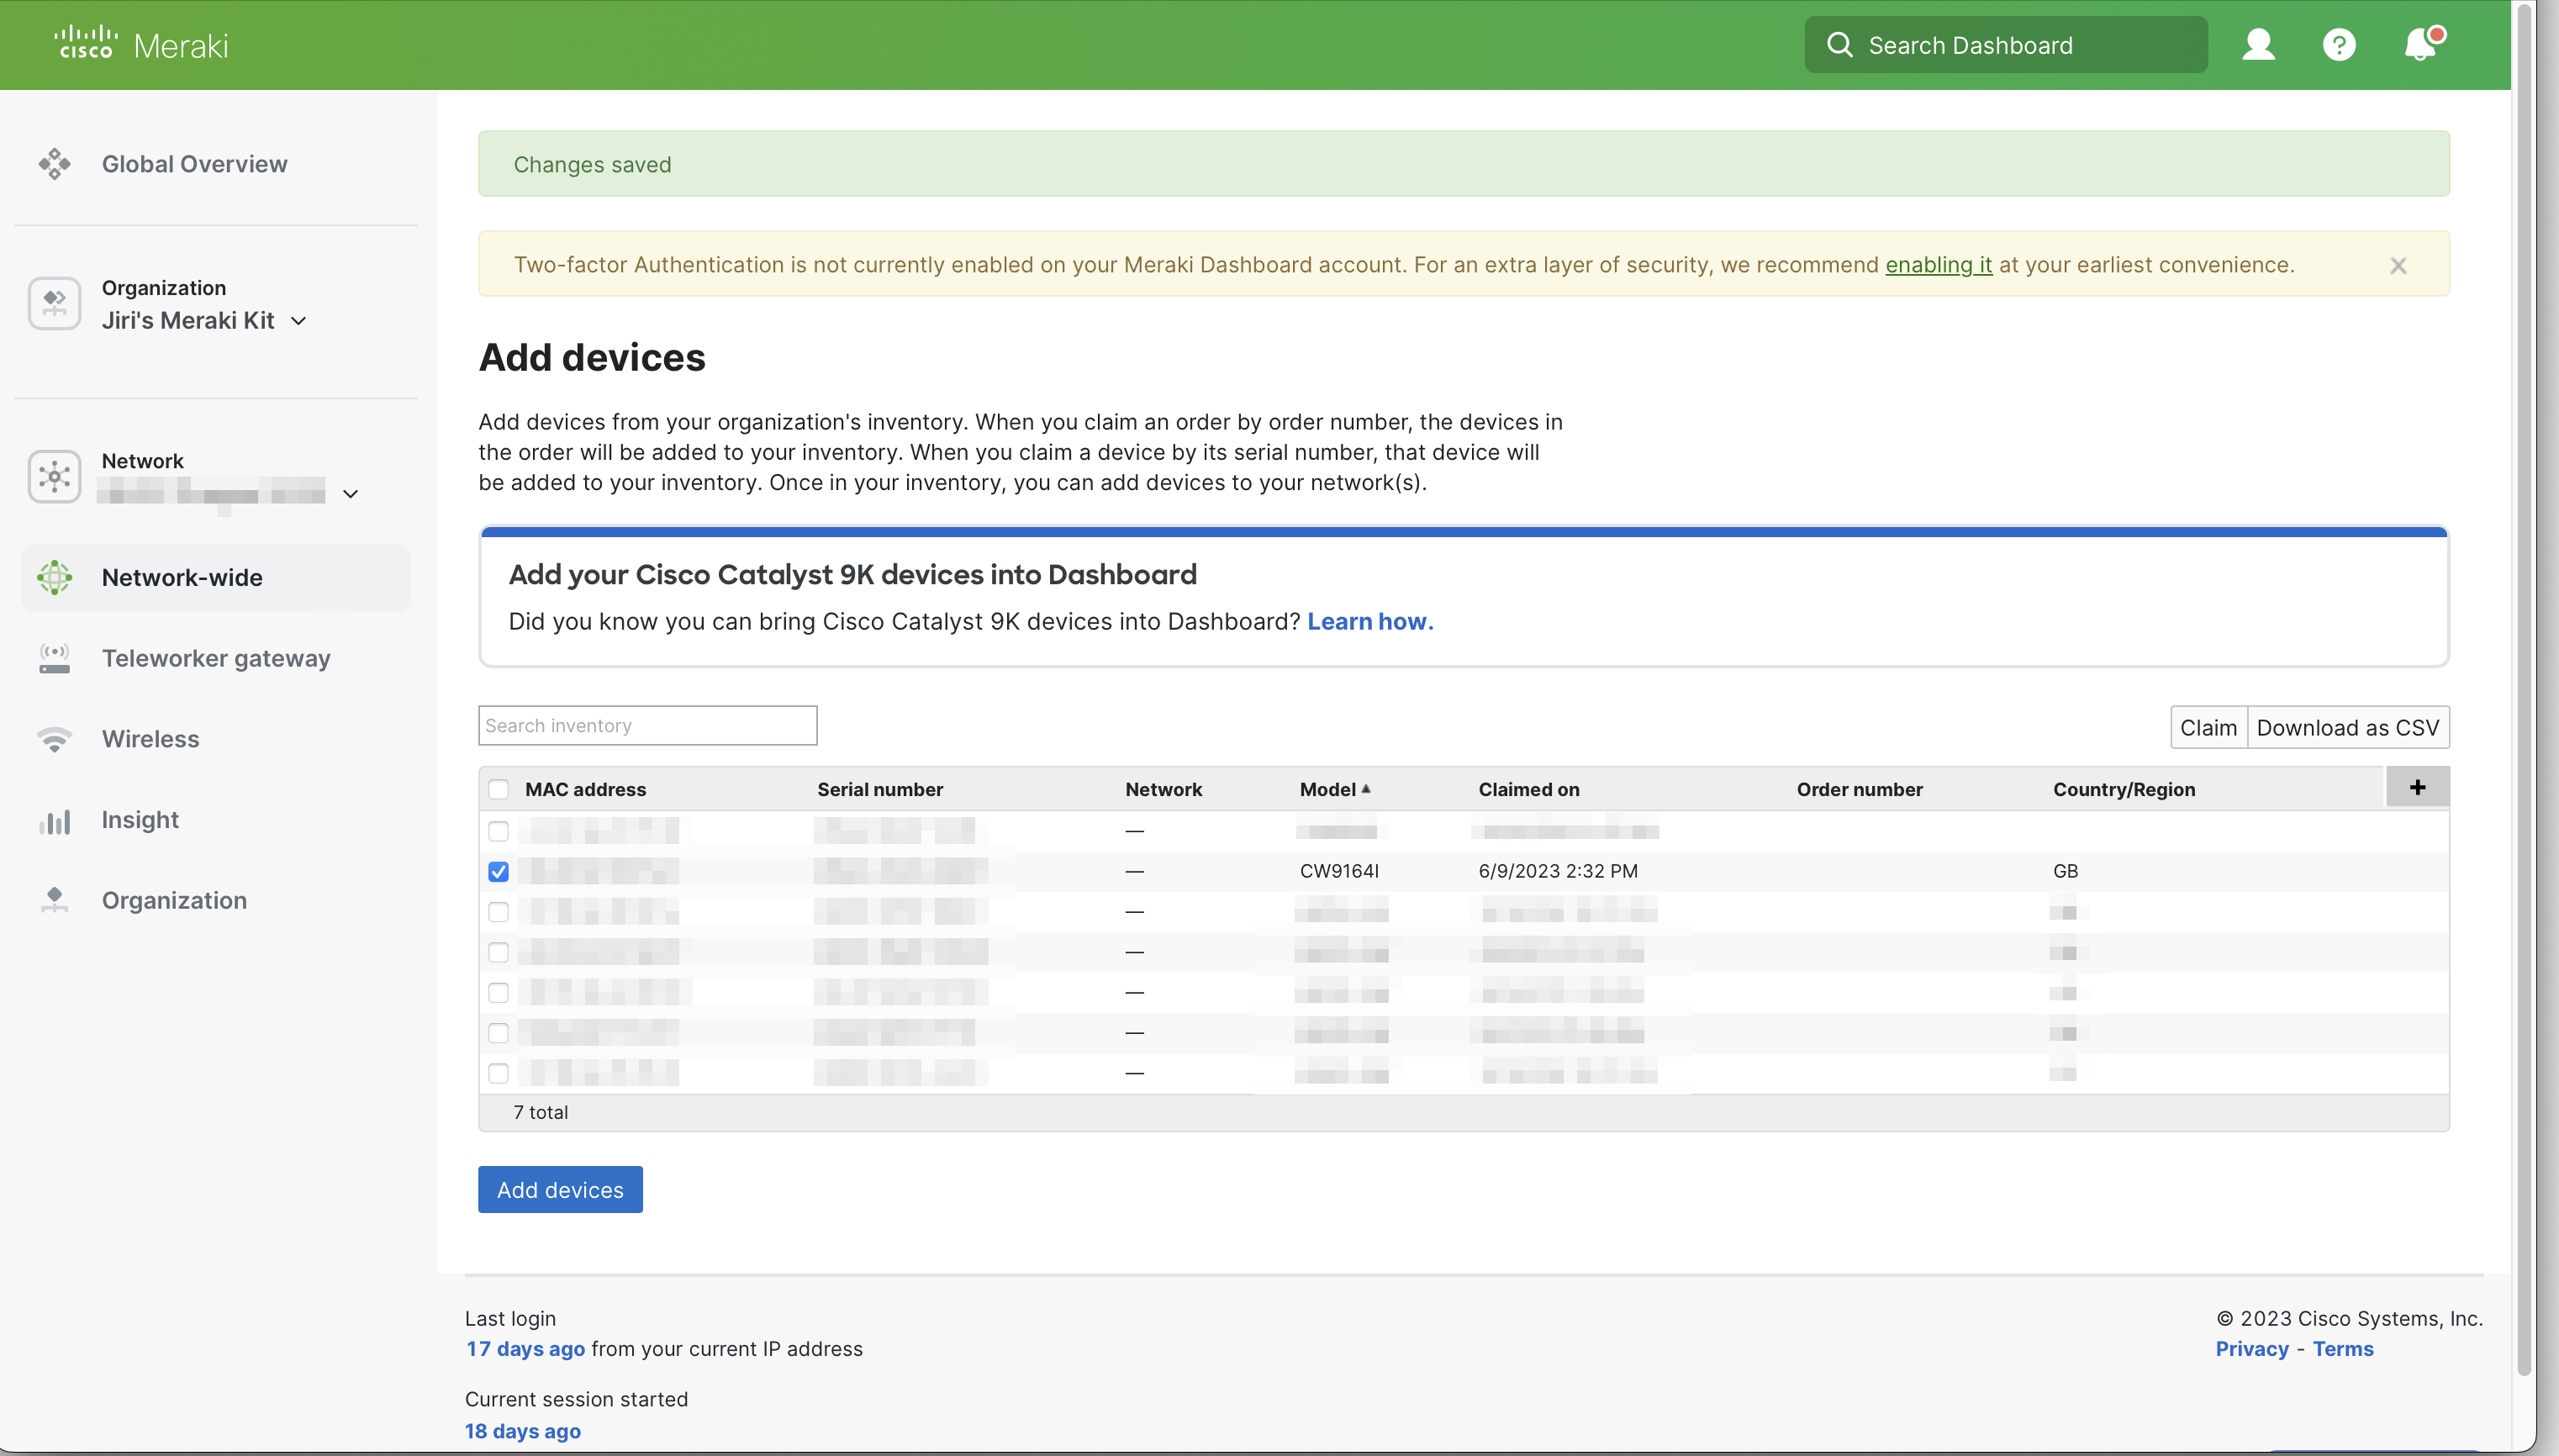
7. Copy the Meraki Serial Number and log in to Cisco Meraki Dashboard. Open Organization > Configure > Inventory. Click Add devices, and paste the Meraki Serial Number of the AP.
InventoryAdd the AP by entering its Meraki Serial Number
8. From now on, the AP now behaves like any other Meraki cloud-managed access point. All monitoring and management features of the Dashboards are available. If you ever change your mind, and wish to convert it back to Catalyst/DNA mode, here is my step-by-step guide.
The latest generation of Wi-Fi 6E Catalyst Wireless access points (CW9162, CW9164, CW9166 series) gives you the option to either cloud-manage them using Cisco Meraki Dashboard, or manage the APs by Cisco Catalyst 9800 series Wireless LAN Controller (WLC).
They are the exact same hardware and they ship pre-loaded with the Catalyst/DNA and Meraki software image. Depending on the mode setting, they either boot one image or the other.
What do we need
Catalyst Wireless CW9162I, CW9164I, CW9166I, CW9166D1, CW9163E access point in Meraki mode
Cisco Meraki MR access point license to perform the conversion
Cisco DNA Essentials or DNA Advantage access point license if you want to use join and manage the AP by a Catalyst 9800 controller
Choose AP mode before ordering
You will have the best experience when you order your access points in the right mode.
Order the right mode
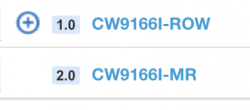
Order a DNA persona AP and it will auto-discover your Catalyst 9800 controller using one of the supported methods. In the UK, I can order the “-ROW” AP and manage it by Catalyst 9800, and optionally add Catalyst Center (previously known as DNA Center) to get analytics, assurance and other great features. Find the right access point SKU and regulatory domain based on your coutry using this tool.
If you prefer, order the Meraki mode access point, connect it to the internet, and claim it in the Dashboard. Meraki APs use a single “-MR” SKU globally.
Conversion from MR to Catalyst/DNA mode
If you ordered a Meraki access point and your requirements have changed, you can convert the AP to DNA mode.
1. Make sure you have an active Meraki MR license. Why? We need the license to connect the AP to Dashboard, and to open a conversion request with Meraki technical support team.
2. Provide power and internet connectivity to the access point.
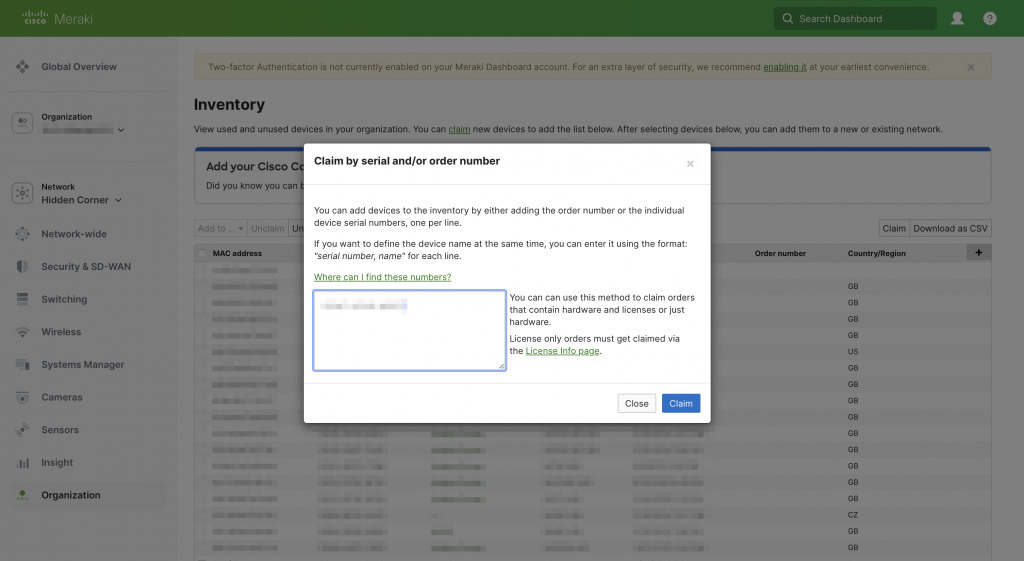
3. Log in to Dashboard. Navigate to Organization > Configure > Inventory and add the access point using its Meraki S/N.
Enter the Meraki S/N from the product label
4. Add your MR license to Dashboard under Organization > Configure > License Info.
5. Wait for the AP to connect to Dashboard and change its LED to solid green or solid blue. Perfect, the AP is now online.
6. Complete this checklist first. Disable Meshing feature and make sure your Catalyst 9800 is ready for the AP to connect after conversion has completed.
Disable Meshing feature
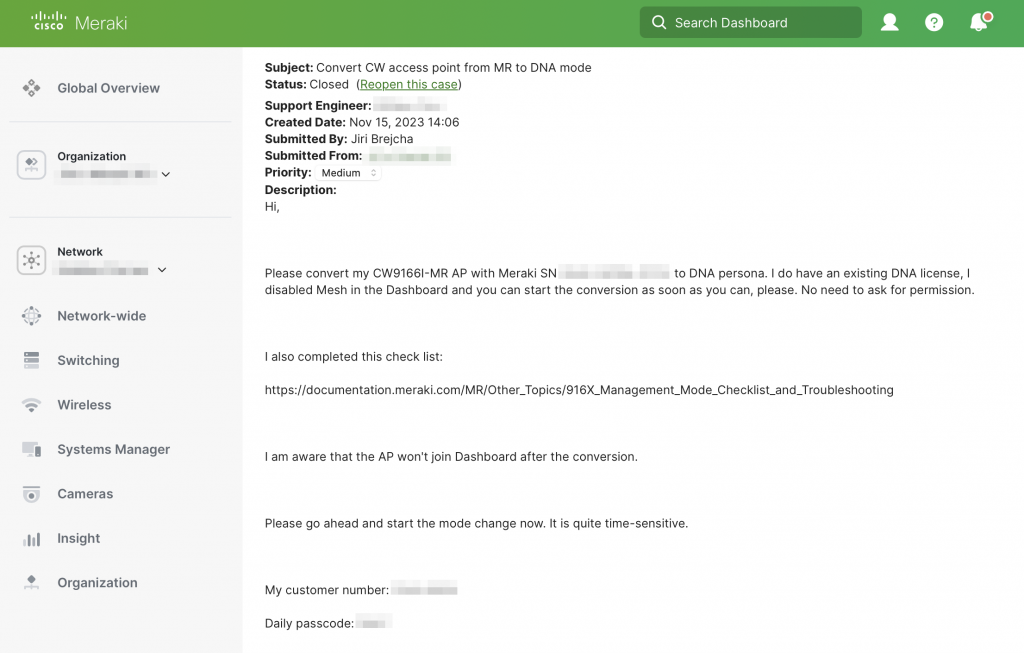
7. Open a new support case by clicking the (?) question mark in the top right hand corner > Cases > New Case.
8. Include all these details to speed up the conversion process. Find your Customer Number by clicking the person icon in the top right hand corner. To get your Daily Support Code, click the same person icon, then open My profile.
Hi,

Please convert my CW*****-MR AP with Meraki SN ****-****-**** to DNA mode. I do have an existing DNA license. I disabled Meshing in the Dashboard.

I have completed this checklist:
https://documentation.meraki.com/MR/Other_Topics/916X_Management_Mode_Checklist_and_Troubleshooting

I am aware that the AP will not join Dashboard after the conversion, unless I convert it back to MR mode.

Please go ahead and start the mode change immediately.

My customer number: ****-****
My support passcode for today: ****

Have a great day!
9. If this conversion is urgent, call into Meraki support. No, don’t e-mail the support team, call them. Have the case number by hand. Find the best phone number here.
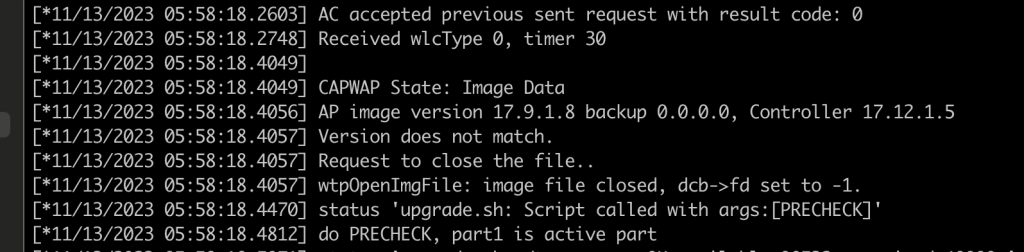
10. After the support engineer starts the conversion, your AP will reboot. It is now in the Catalyst mode. You can verify that by keeping an eye on the Console port output during its boot. Just to remind you (and myself): The new Console port baud rate is 115200 from 17.12.1 release onwards.
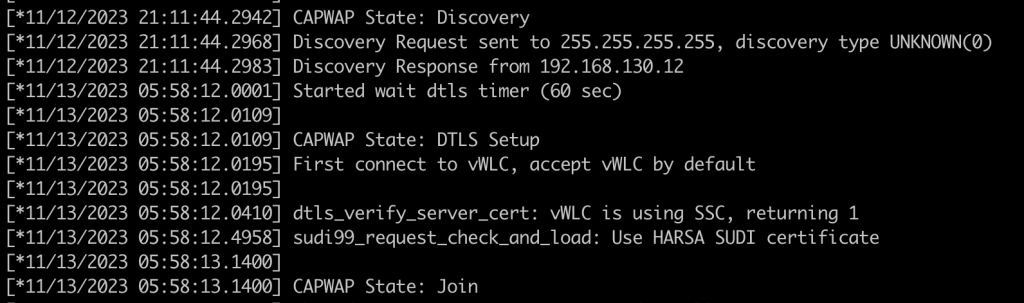
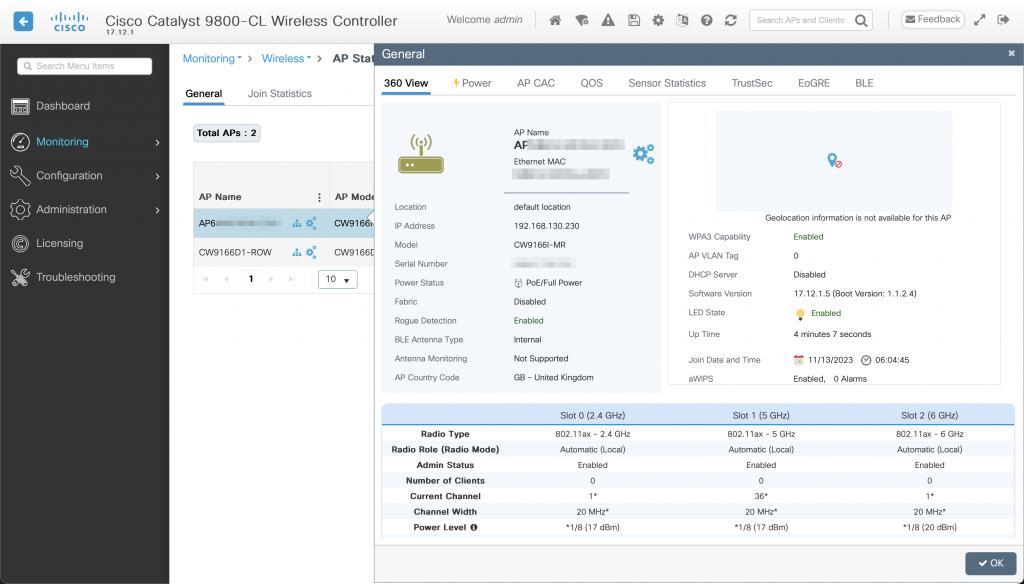
12. Our DHCP server assigned an IP address to the AP, which has automatically discovered and joined the WLC located in the same IP subnet.
Successful WLC discovery and AP joinFollowed by automatic software image upgradeThe AP has joined the WLC and is ready for use
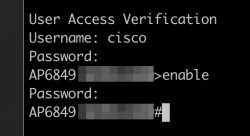
To enable SSH and Console access, create a username, password and enable password in the Catalyst 9800 controller’s AP Join Profile > Management > User section. SSH protocol is disabled by default. You can enable it in the AP Join Profile.
You have full Console access and control over the AP
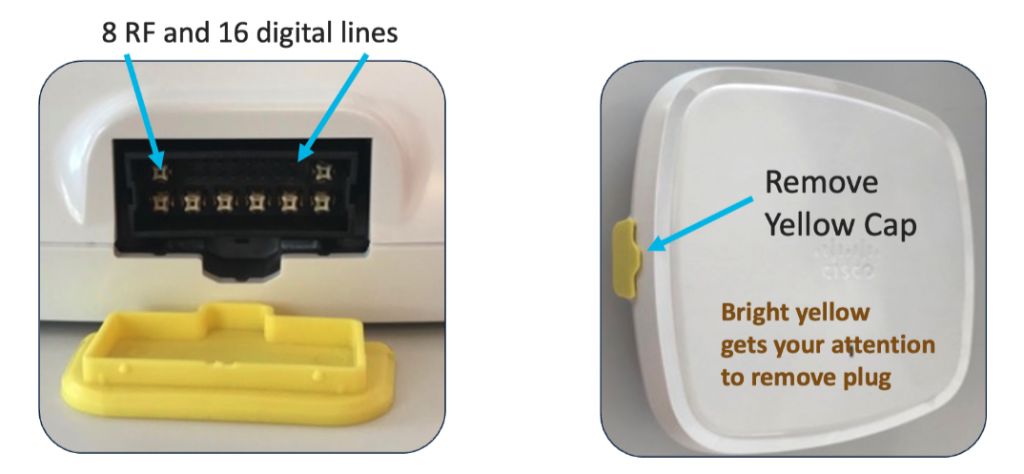
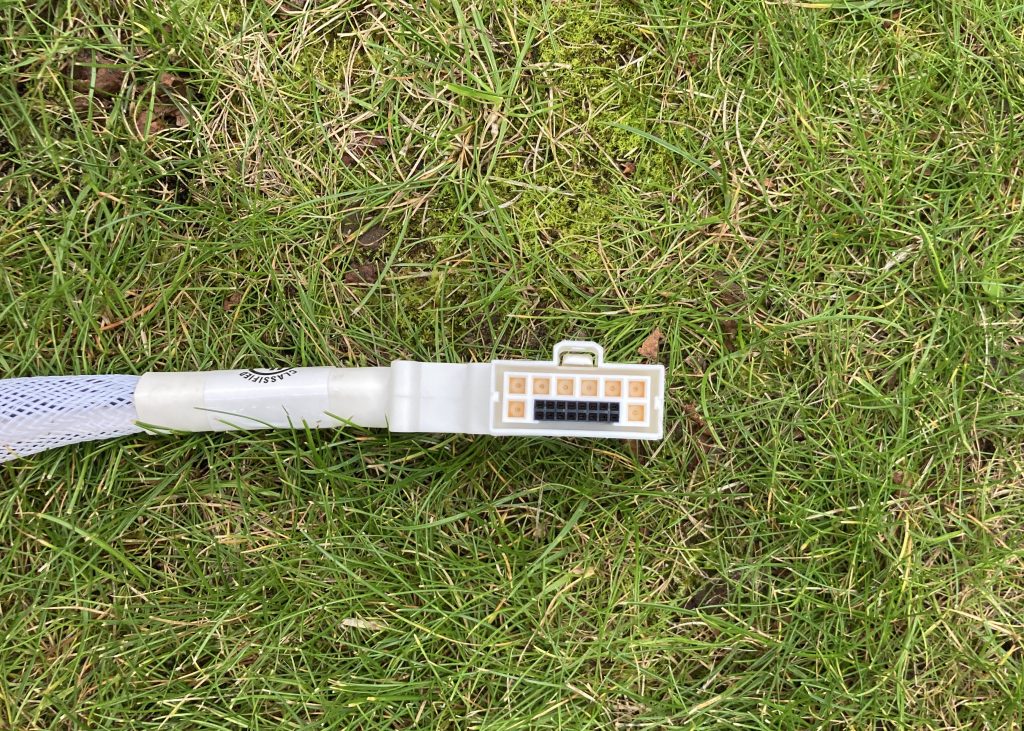
Cisco’s Catalyst 9130AXE access point (the external antenna model) doesn’t have any antennas built-in by design. It uses a DART connector with 8 RF lines and 16 digital lines. They carry the RF signals and allow communication between the AP and antenna.
All new C-ANT9101, C-ANT9102 and C-ANT9103 antennas connect natively using their directly-attached DART connector to the Catalyst 9130AXE access point. It significantly simplifies the deployment process, allows the AP to automatically detect the antenna model, type and gain, and it doesn’t allow any room for installation errors like loose RP-TNC connectors or swapped antenna RF ports.
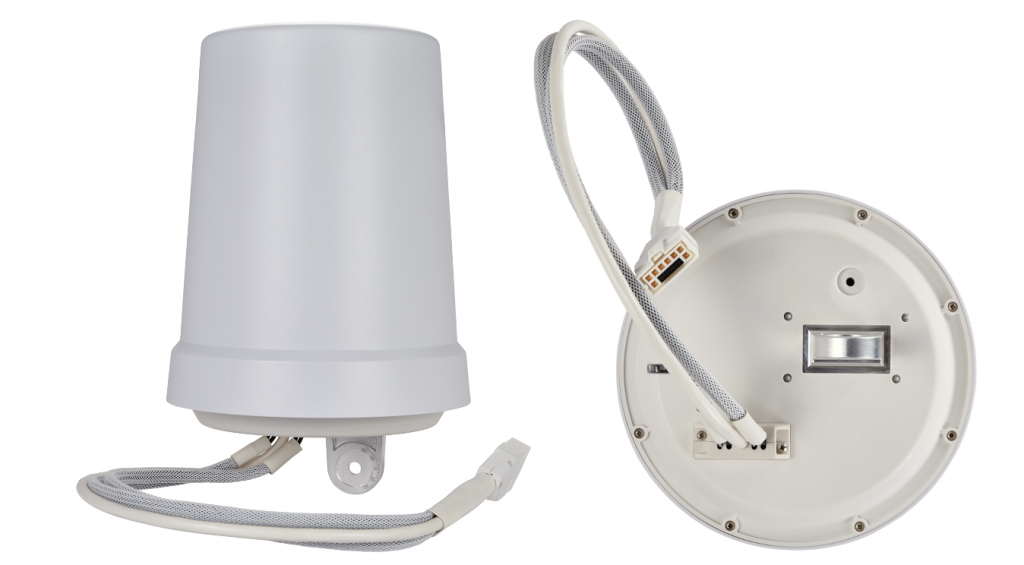
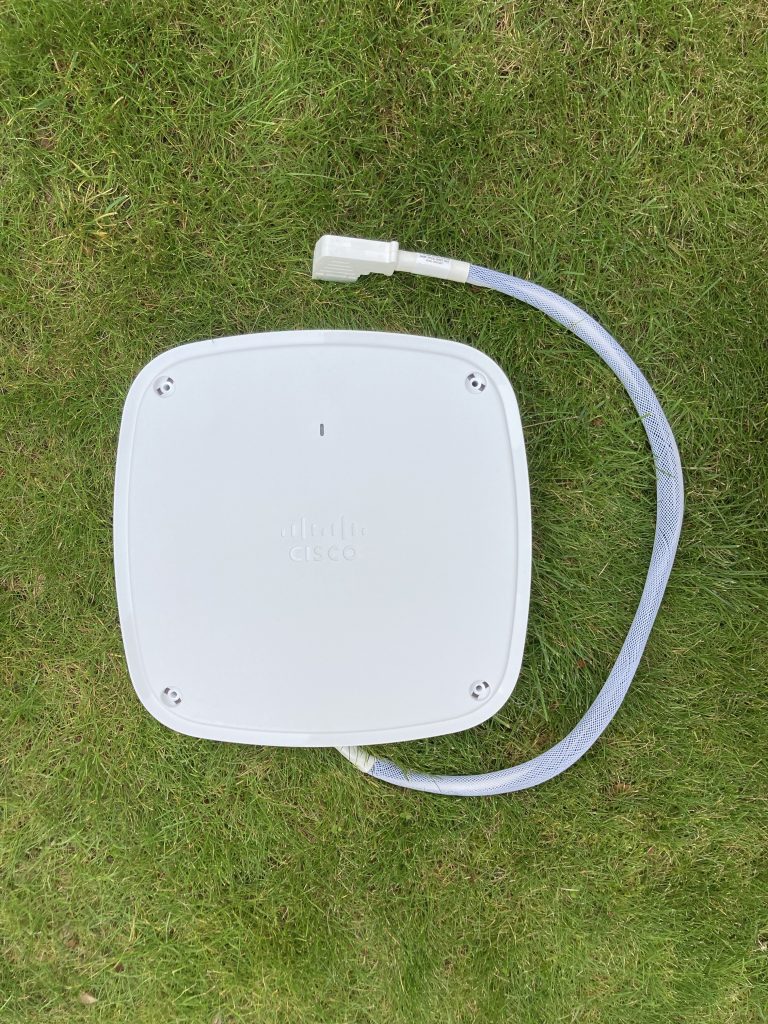
Here is an example of the new bell antenna C-ANT9102 with directly-attached DART connector.
And here is one connected to the C9130AXE-E access point.
Now, if your scenario requires the antenna to be installed further away from the access point (inside of a freezer for example) there is a 3-feet DART extension cable for that sold by Cisco.
The part number is AIR-CAB003-D8-D8=.
It has 90-degree 8-port plug on one side and straight 8-port jack on the other.
This question comes up and every now and then. So, let’s put it to bed.
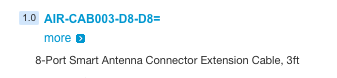
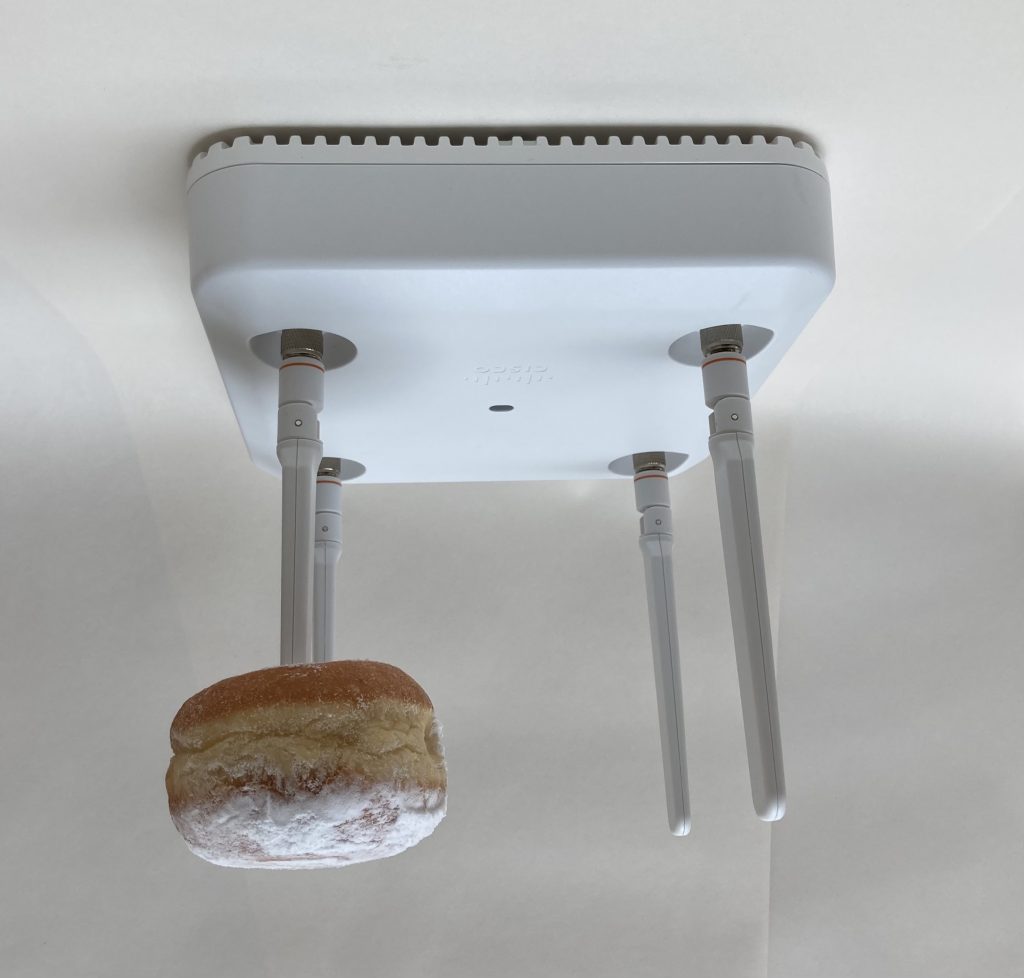
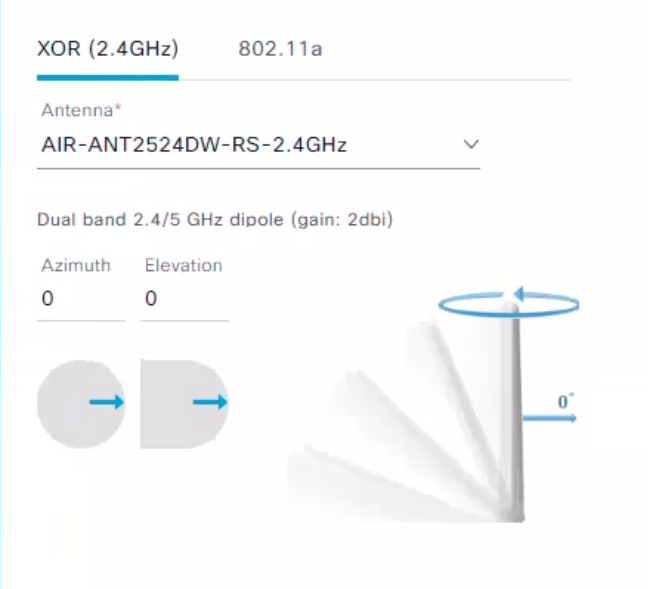
If you have a ceiling-mounted internal antenna AP (with built-in antennas), or external antenna AP with dipole antennas (AIR-ANT2524D), or with short dipole antennas (AIR-ANT2535SD), here are the correct Azimuth and Elevation angle settings.
This is how 0° Azimuth and 0° Elevation look like. Plus “squished doughnut” as a bonus to illustrate the coverage pattern 🍩
Azimuth angle does not matter in this case (it does for directional antennas), because these antennas have the same pattern regardless of how you rotate them clockwise or counterclockwise. Simply use the default value of 0°.
Elevation angle is 0° for this orientation.
Cisco DNA Center Azimuth and Elevation configuration
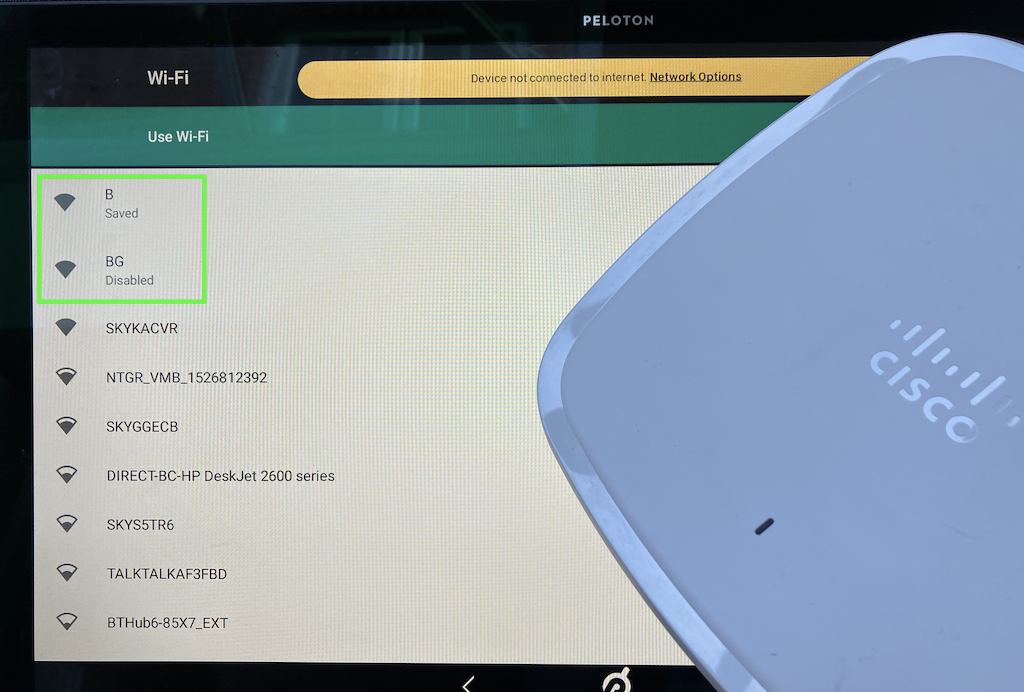
Has your bike suddenly lost its Wi-Fi connection after a Peloton software update? Is it saying “Device not connected to internet”?
Here is why and how to fix it before it hopefully gets fixed in one of the upcoming Peloton software updates.
Peloton bikes use Android operating system, and they have recently upgraded to Android 10. Unfortunately, this version has compatibility issues with Cisco Wi-Fi access points and Adaptive Fast Transition feature, which is enabled by default.
To resolve the issue, simply set Fast Transition to Enabled.
Connect to your Wireless LAN Controller, go to Configuration > Tags & Profiles > WLANs > select the network > click Edit > Security > Layer2 > Fast Transition > Enabled > Update & Apply To Device. Now, test that your bike can connect, and test few other devices to make sure everything is working as expected. Then click the floppy disk icon to save this new configuration.
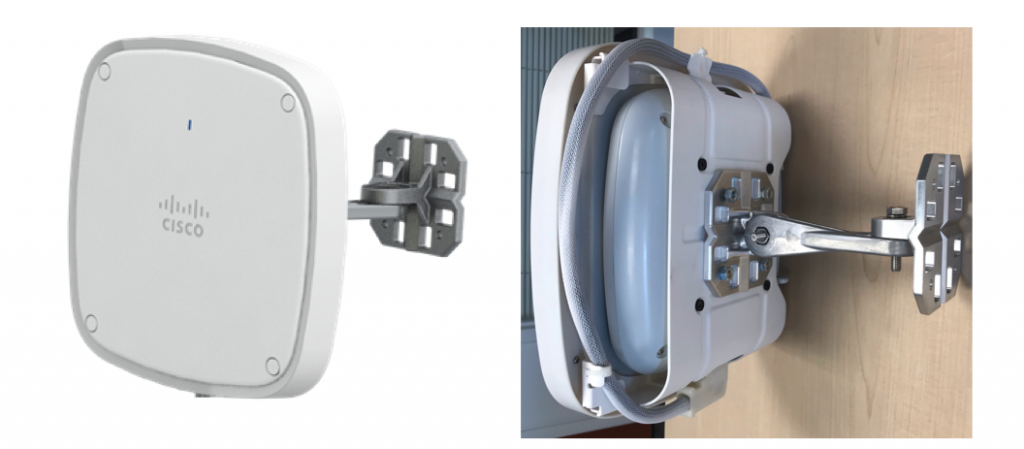
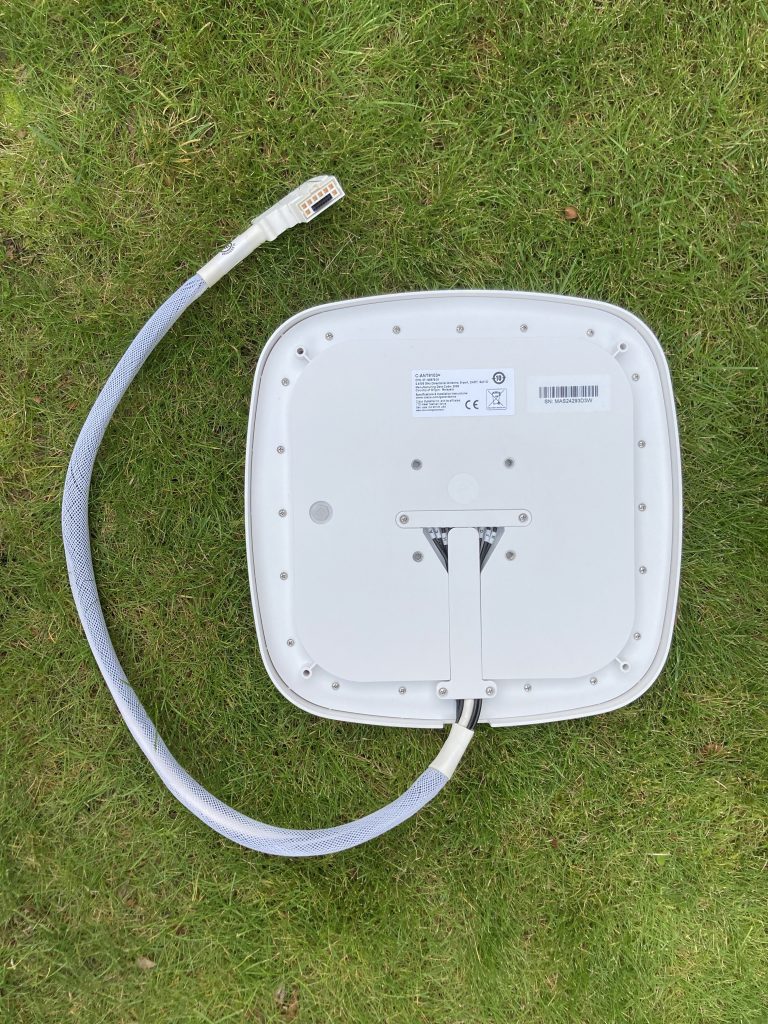
If you have not had a chance to see the new Cisco Catalyst antennas for Catalyst 9130AXE access points, here are a few photos of the C-ANT9103 antenna for your reference.
Optionally, you can order an AP + antenna collocation “pocket”, which the Catalyst 9130AXE slides nicely in. It is aesthetically pleasing it, and all it takes to install the AP and antenna is a single mounting bracket. You don’t have to worry about mounting the access point and antenna separately. This drastically simplifies temporary deployments – just think about Cisco Live for example.
The part number is AIR-AP-BRACKET-9=.
Previous generation with a separate AP bracket and antenna bracketThe new collocated, and aesthetically pleasing, solution with AP installed just behind the antenna
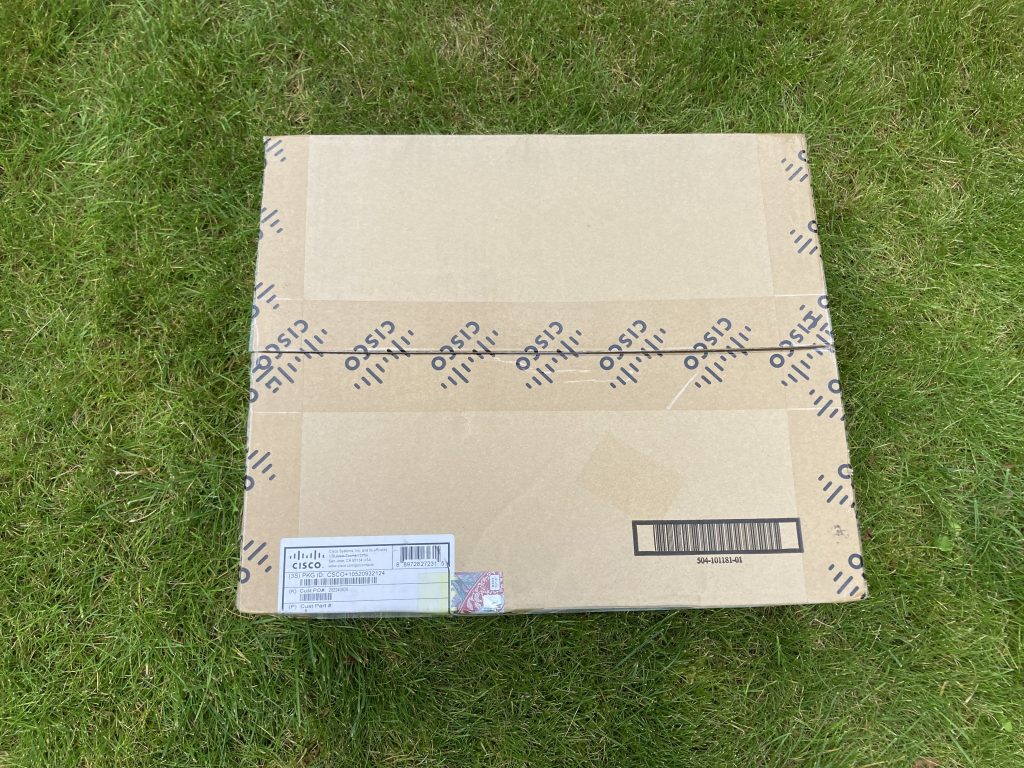
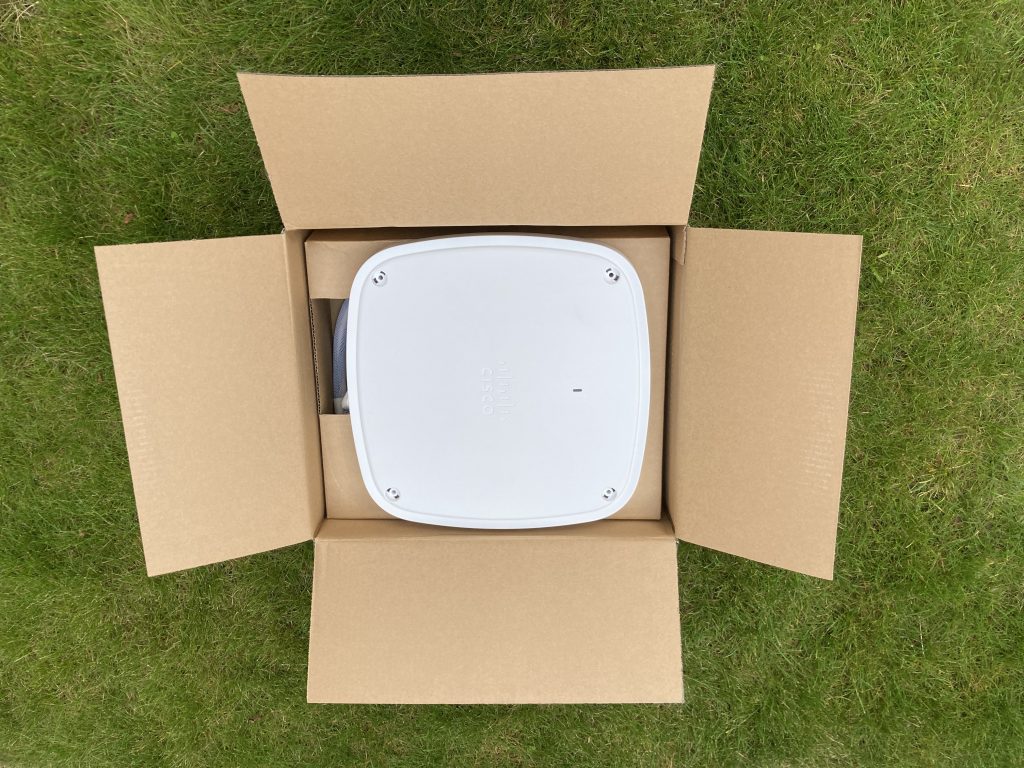
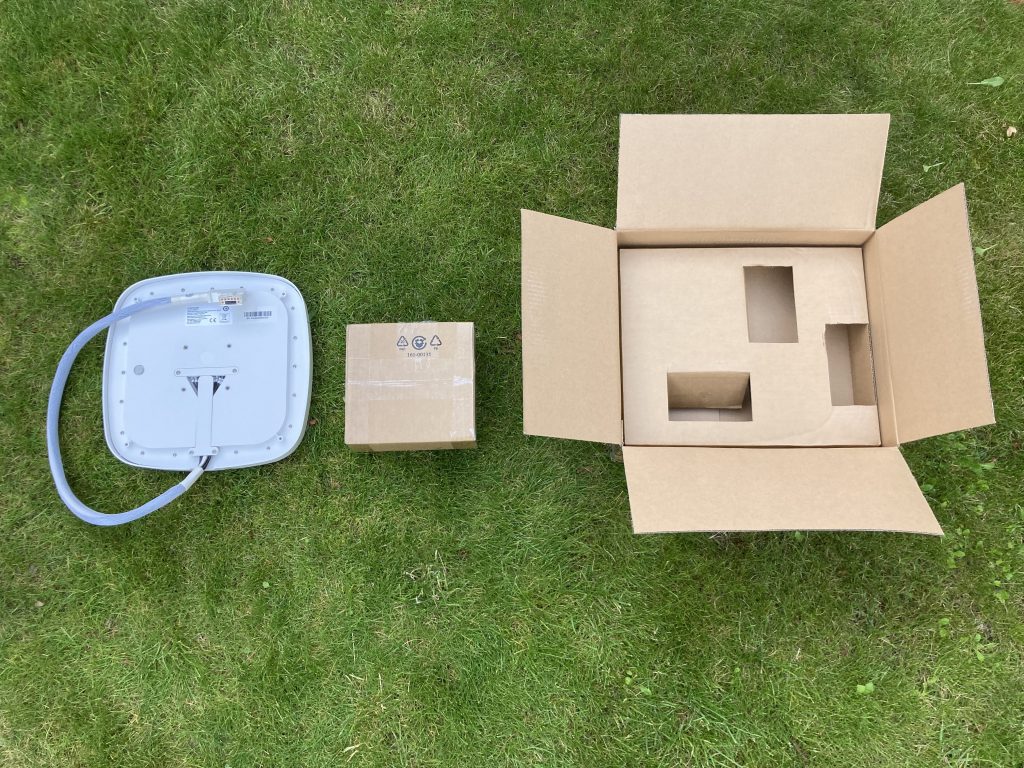
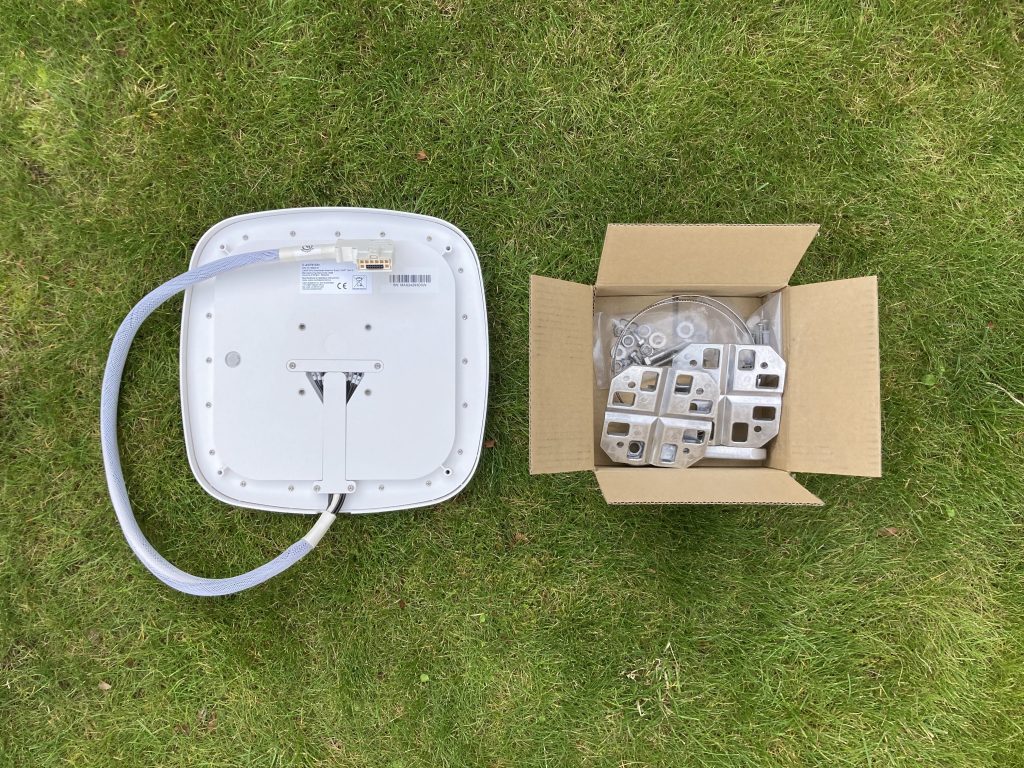
Unboxing
Please always refer to the official Cisco documentation for the latest information and package contents.
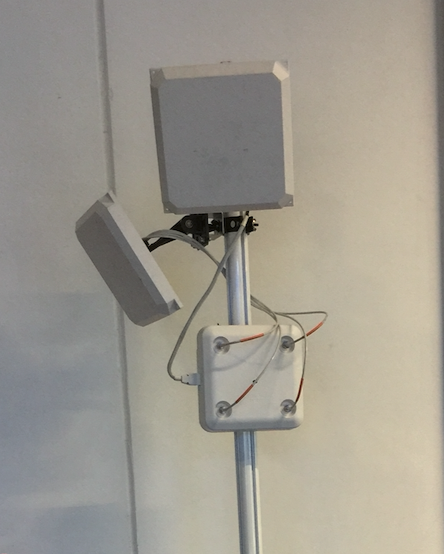
If you have followed my hot-swappable series, my goal was to find a solution to swapping multiple outdoor AP + antenna combinations and a variety of AP models on the same tripod. What is the use case? I only wanted to carry a single tripod on the site survey day while still having the flexibility to survey with variety of antennas and different AP models.
Please excuse the DYI approach. I did this during UK’s second COVID-19 lockdown. Shops were closed, access to tools was limited and I had no access to my lab.
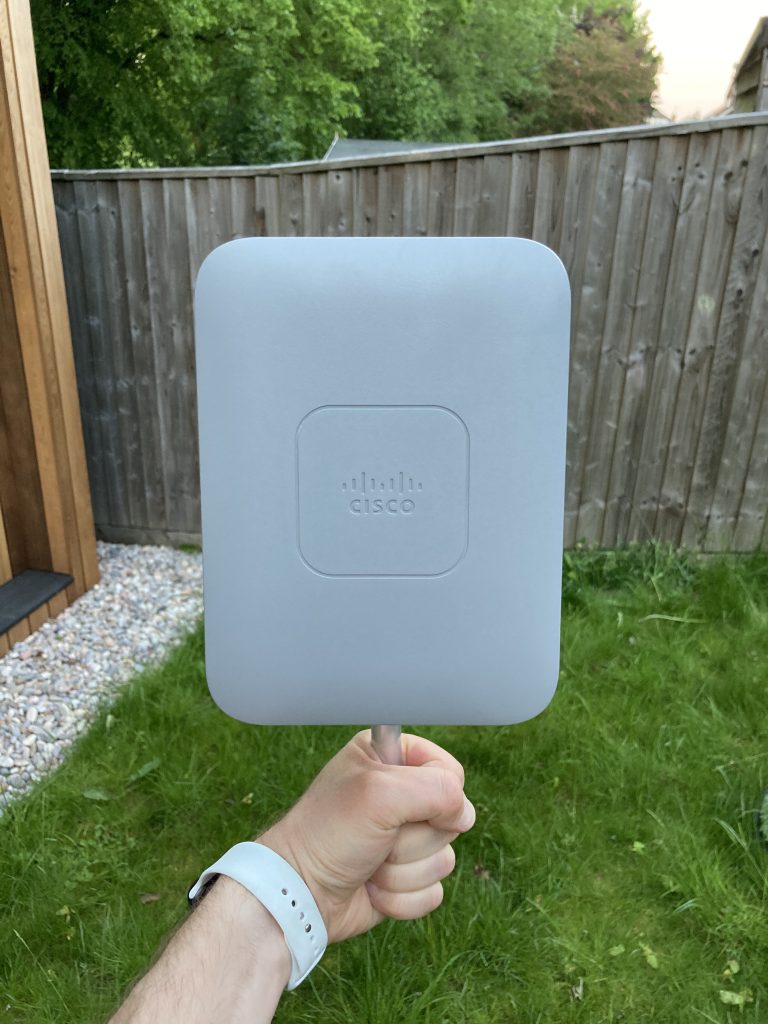
How it turned out?
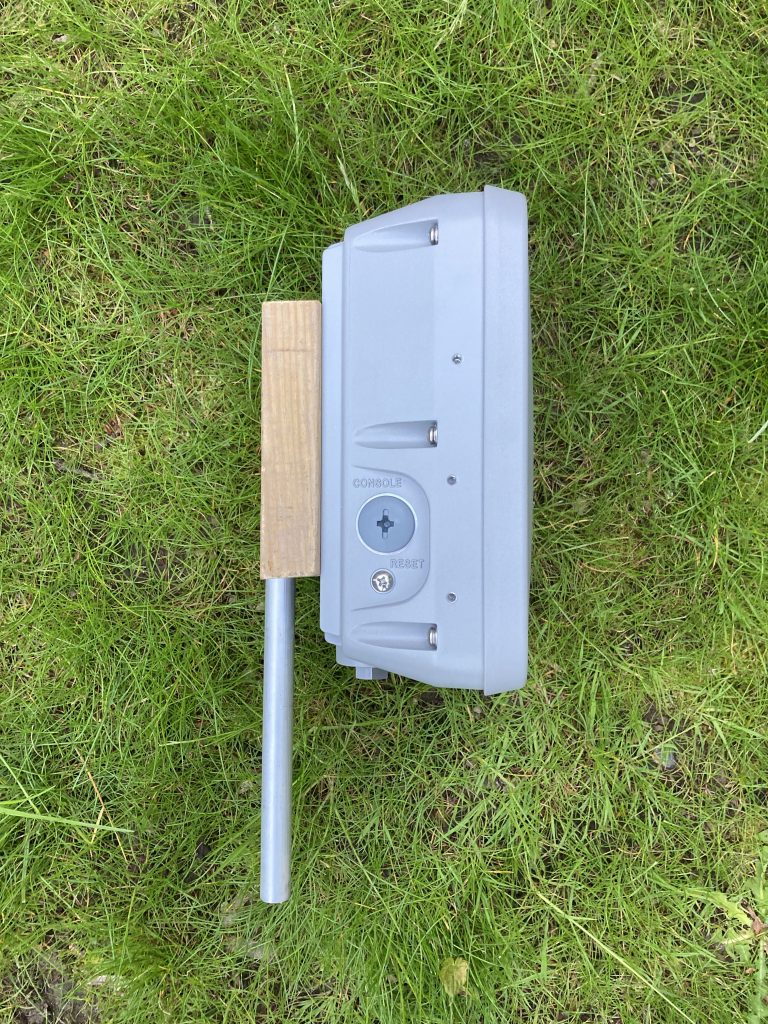
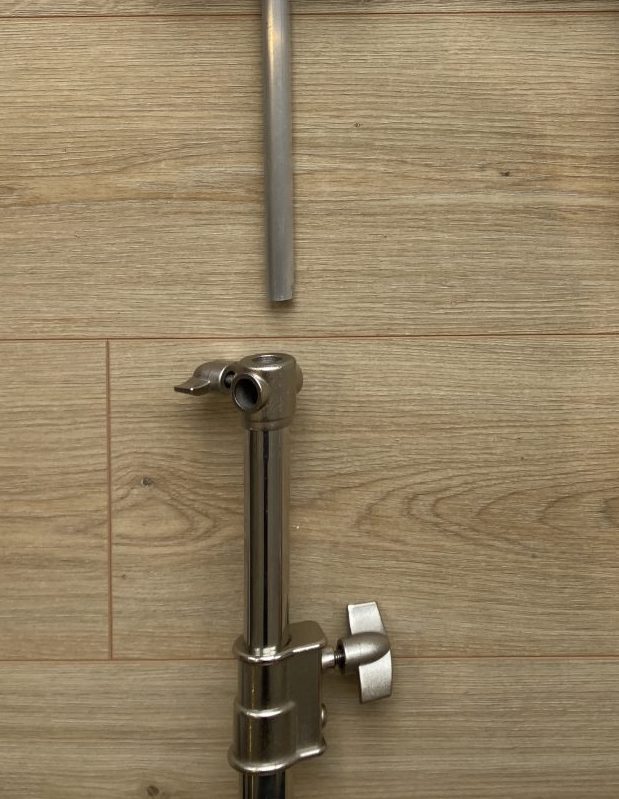
It went surprisingly well this time as I’ve already built a similar adapter for Cisco Meraki MR APs and this time it was even easier. Same as last time, the alu tube slides inside the top tripod tube and we are ready to roll.
The actual steps
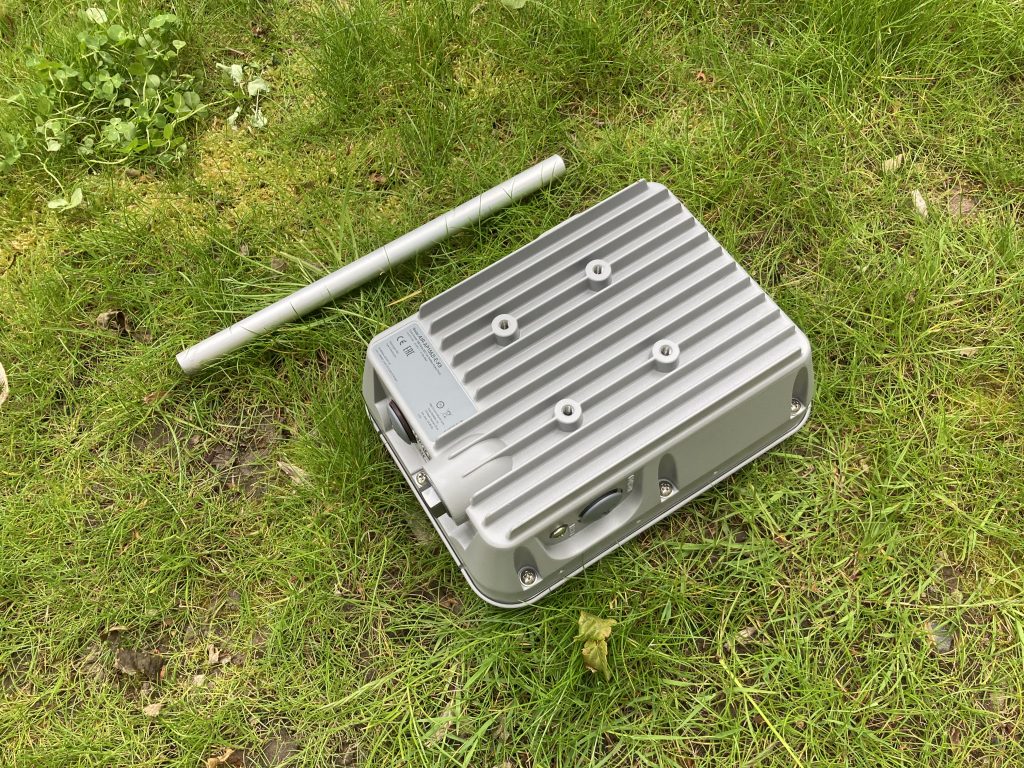
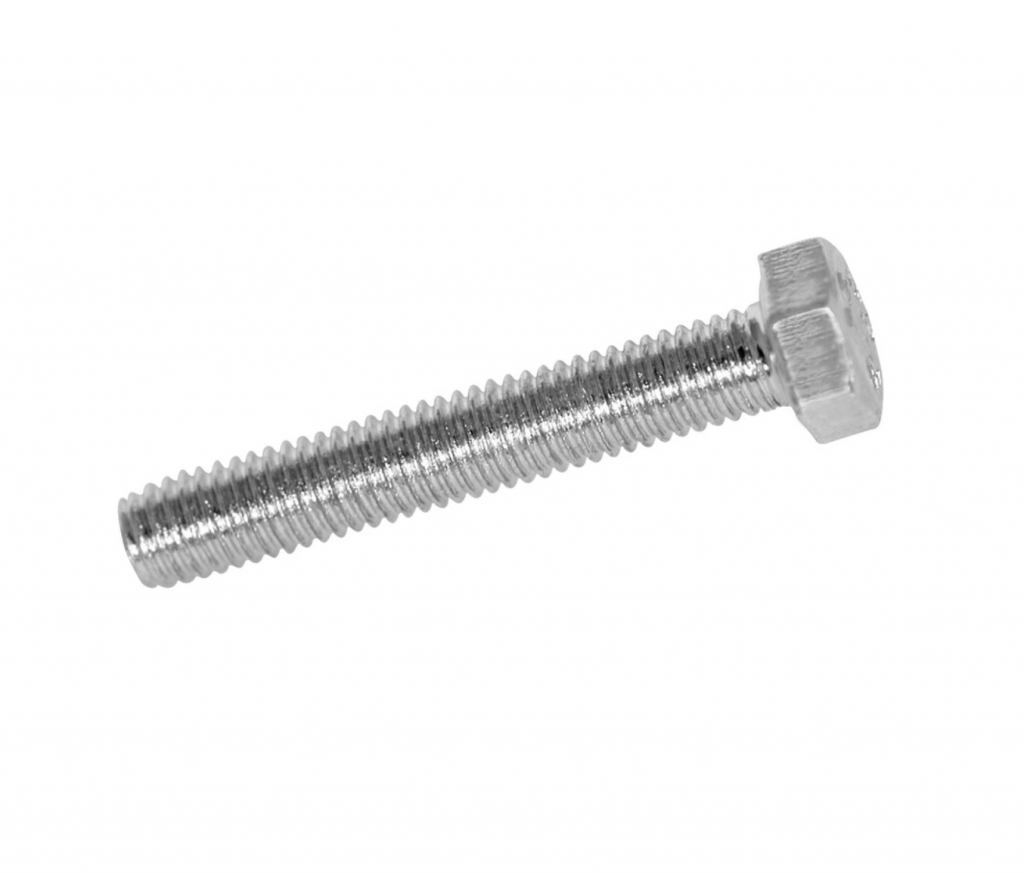
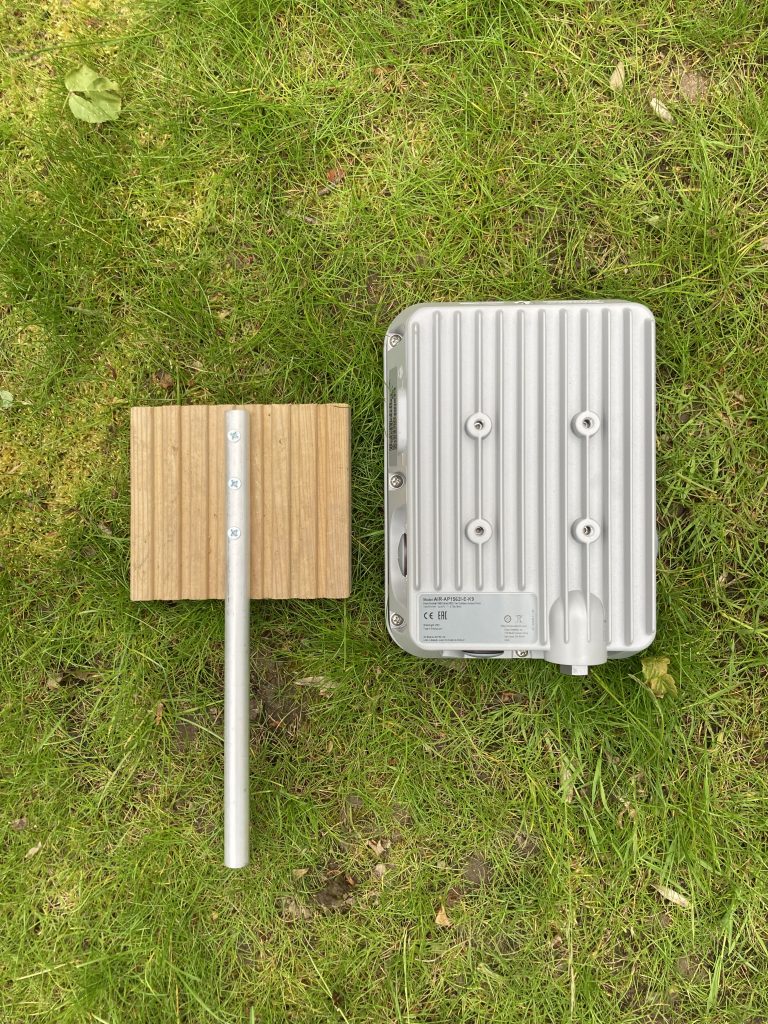
I stocked up on M6 x 30 mm bolts, cut the 16 mm aluminium tube to the right length and reused the last bit of decking from a different project.
M6 x 30 mm bolt
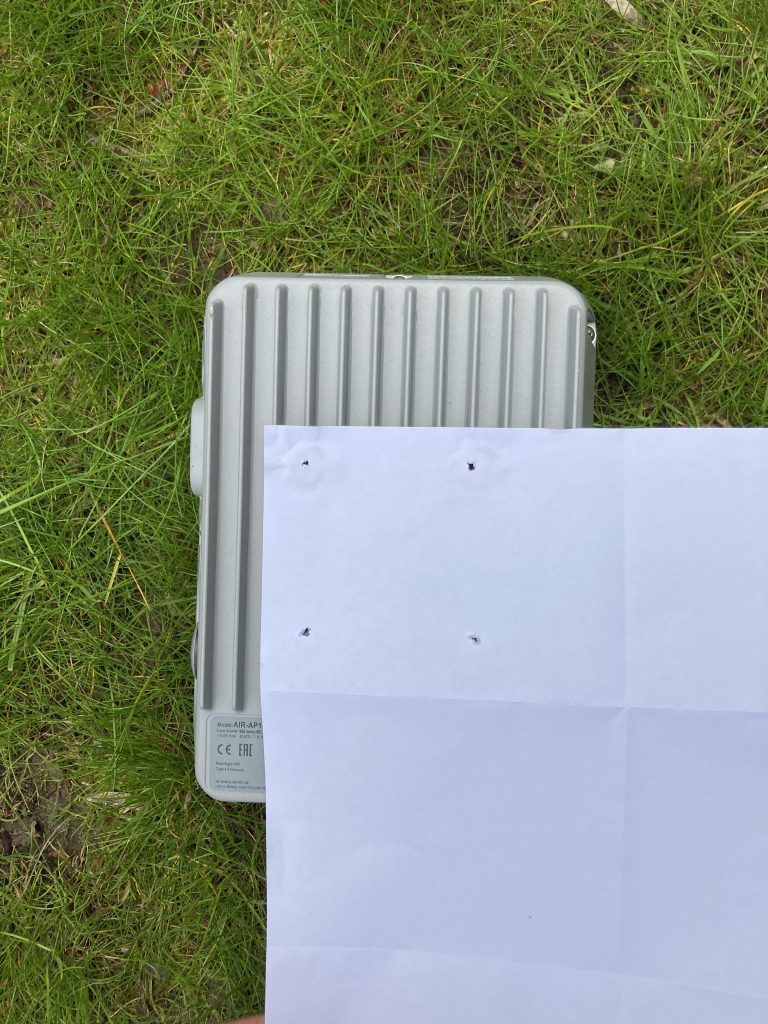
I thought I will try making a template, which I then transferred onto the wood. That wasn’t the best idea and it seems to work best when you watch someone using this “trick” on YouTube. Next time I will go for an analog pencil and ruler, lesson learned;-)
That trick did not go as well as I thought :)
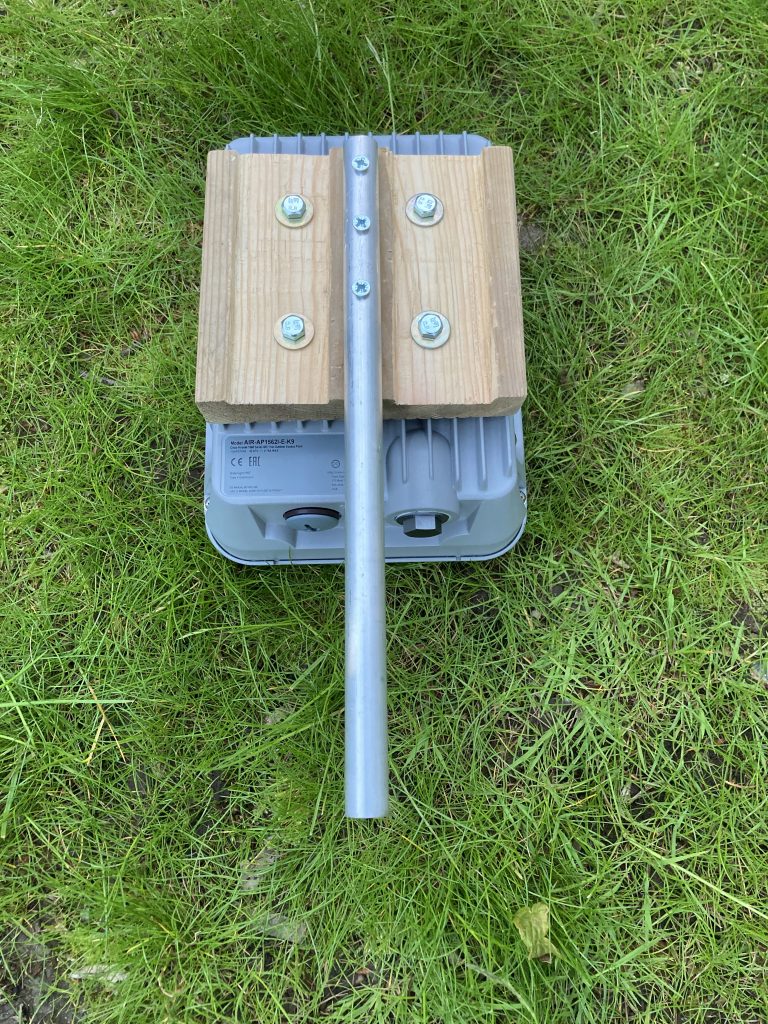
The decking is quite thick so I ended up shaving few millimeters off it. And here is the final adapter.
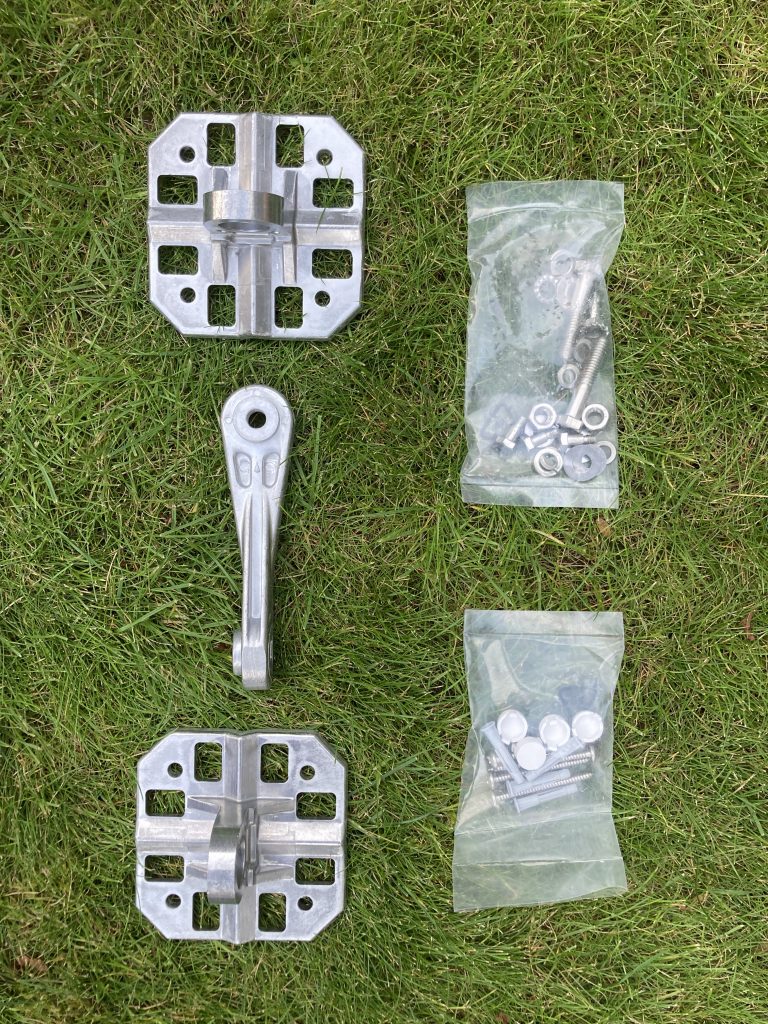
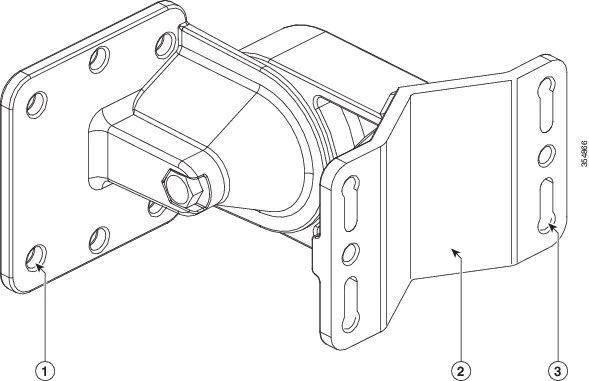
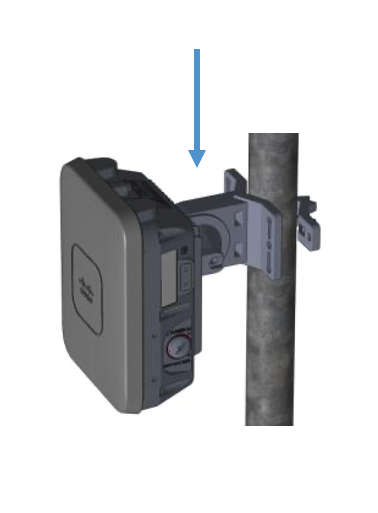
Thanks to Alan Wang, who suggested I use the official articulating pole mount AIR-ACC1530PMK2 and attach it to my “back board”. Obviously azimuth you can adjust by rotating the tripod, and this allow you to change the elevation angle.
Catalyst 9800 controllers come with built-in support for WLAN availability scheduling. When a WLAN becomes disabled, APs do not broadcast the SSID and channel utilisation decreases. Also, it can be implemented as a security enhancement to prevent client devices from connecting during specified hours.
At the time of writing IOS-XE 17.3.1 does not yet offer a GUI for this capability, but there is a couple of options how to schedule WLAN availability.
Before we start, please double-check time settings on the controller, enable NTP client and set a correct timezone.
Option 1: Built-in Calendar Profile
The configuration is self-explanatory, so let’s start with that. My example enables all WLANs mapped to the “default-policy-profile” from 9 am to 5 pm every week day. Outside of these times, the SSIDs will not be available for clients to join.
configure terminal
!
wireless profile policy default-policy-profile
shutdown
!
no wireless profile calendar-profile name WEEKDAYS-9-TO-5
!
wireless profile calendar-profile name WEEKDAYS-9-TO-5
day monday
day tuesday
day wednesday
day thursday
day friday
recurrence weekly
start 09:00:00 end 17:00:00
!
wireless profile policy default-policy-profile
calendar-profile name WEEKDAYS-9-TO-5
action wlan_enable
no shutdown
!
Verification
You can verify using a Wi-Fi client. If you do “show wlan summary”, the WLANs will still appear as “Enabled” and this is expected. To verify current status of WLANs controlled by the Calendar Profile, please use “show logging | include SCHEDULED_WLAN”.
If you like flexibility, an EEM script running on the controller triggered by CRON might work even better for you. Special thanks to Federico Ziliotto for this.