Direct 20 Gbps connection between Mac and Windows 11 machine with no Ethernet adapters

Problem statement

Here is the challenge. We have a MacBook Pro M2 and an Intel NUC 12th generation PC running Windows 11. We want to transfer a significant amount of data between the two and potentially sync content of 2 directories. The Mac has no Ethernet adapter.

Solution

Both machines support Thunderbolt 4 and USB4. I happen to have a 0.5 m (1.6 ft) Thunderbolt 4 cable in my tools bag. We connect the two machines back to back. They establish USB4 peer to peer 20/20 Gbps connection, and automatically assign locally significant IP addresses from the 169.254.0.0/16 APIPA range.

For the record, I am using the Thunderbolt 4 cable shipped with my trusty OWC 10 Gigabit Ethernet Thunderbolt adapter.

Direct MacBook to Intel NUC USB4 20/20 Gbps connection

The MacBook side

Let’s start with the Mac. Head over to System Settings and Network. Select the Thunderbolt Bridge adapter and explore its config.

Thunderbolt bridge interface and IP address

As far as I can tell, the machines have decided to use USB4. From what Windows network manager is telling us, they negotiated 20/20 Gbps link speed. I expected 40 Gbps but I think I set a wrong expectation in my head. 20 Gbps up and 20 Gbps down full duplex makes up 40 Gbps.

Windows PC on the other end of the Thunderbolt link

A quick iperf3 test gives us amazing throughput of 16.4 Gbps of TCP traffic from the Mac client to PC server. That’s fast!

16.4 Gbps of TCP traffic from Mac to PC

By default macOS uses standard MTU size of 1500 Bytes. This is important hold that thought.

Standard MTU

In the downstream direction, that is from Windows PC towards the Mac, we “only” get 5.3 Gbps. Windows claims 20/20 Gbps link speed, so what’s wrong?

Limited 5.3 Gbps TCP throughput from PC to Mac

Yes, we need to bump MTU (Maximum Transmission Unit) size to the maximum value of 9000 Bytes on my Mac. Apparently, Windows defaults to 62000 Bytes MTU on this peer to peer link type, and there is no UI option to change it. But that’s fine for now.

Enable Jumbo frame support on Mac

Let’s retest upload speed. Now we are talking. That’s 16.4 Gbps TCP from Mac to PC and 12.8 Gbps from PC to Mac. I am starting the file transfer.

12.8 Gbps TCP from PC to Mac with Jumbo frames enabled

We are not done yet.

Intel NUC and the Windows part

Windows sees this link as a peer to peer USB4 connection.

Connection status

The two machines negotiated a 20/20 Gbps link. Windows uses 62000 Bytes MTU by default with no obvious UI option to change it. Mac uses 9000 Bytes. MTU mismatch is bad and we should fix that.

20/20 Gbps USB4 P2P link
Adapter settings don’t offer MTU adjustment in the UI

Let’s deal with the MTU, and set it to 9000 Bytes on Windows. Same as the Mac.

Set MTU to 9000 Bytes on Windows 11 for this adapter

With matching MTU on both sides of the pipe, we get 15.1 Gbps TCP throughput from Mac to PC, and 13.6 Gbps from PC to Mac. Slightly more symmetrical in both directions.

Mac to PC
PC to Mac

Summary

I knew Thunderbolt 4 peer to peer connection was possible between 2 Macs but I’ve never tried connecting a Mac to a PC. It works.

Use a Thunderbolt 4 cable, not just a regular “USB-C to USB-C” cable. If there is a Mac involved, increase macOS MTU size to Jumbo 9000 Bytes and match MTU setting on both machines.

The outcome is a peer to peer 20/20 Gbps USB4 link with TCP throughput around 15 Gbps in either direction.

Micro SD card adapter that travels inside your MacBook’s SD card reader

I flash Micro SD cards few times a day (hello WLAN Pi team 😉), and I thought it might be a good idea to always have an SD card to Micro SD card adapter on me. The easiest way to do that is to insert one in your MacBook built-in SD card reader slot. But which one do you buy?
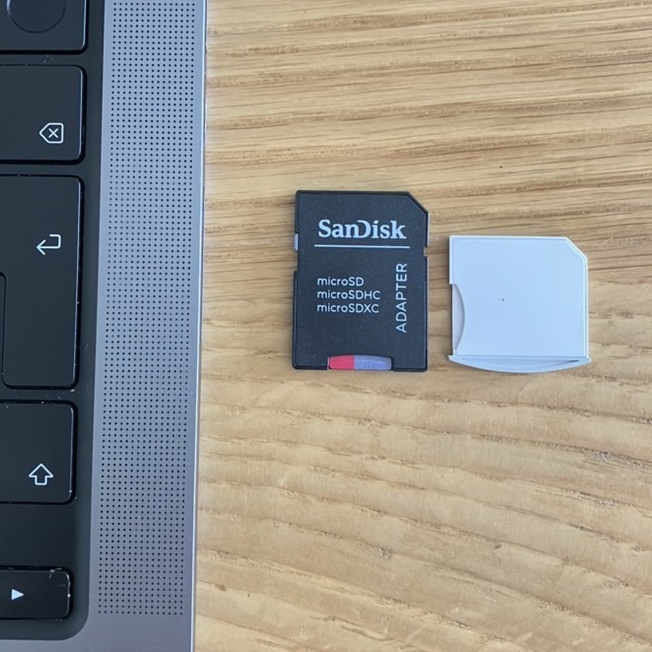
Supplied adapter

There is nothing wrong with this SanDisk adapter. But it sticks out of your laptop. You can’t leave it inserted in the Mac while travelling. And also, the Micro SD card might slip out of the adapter.

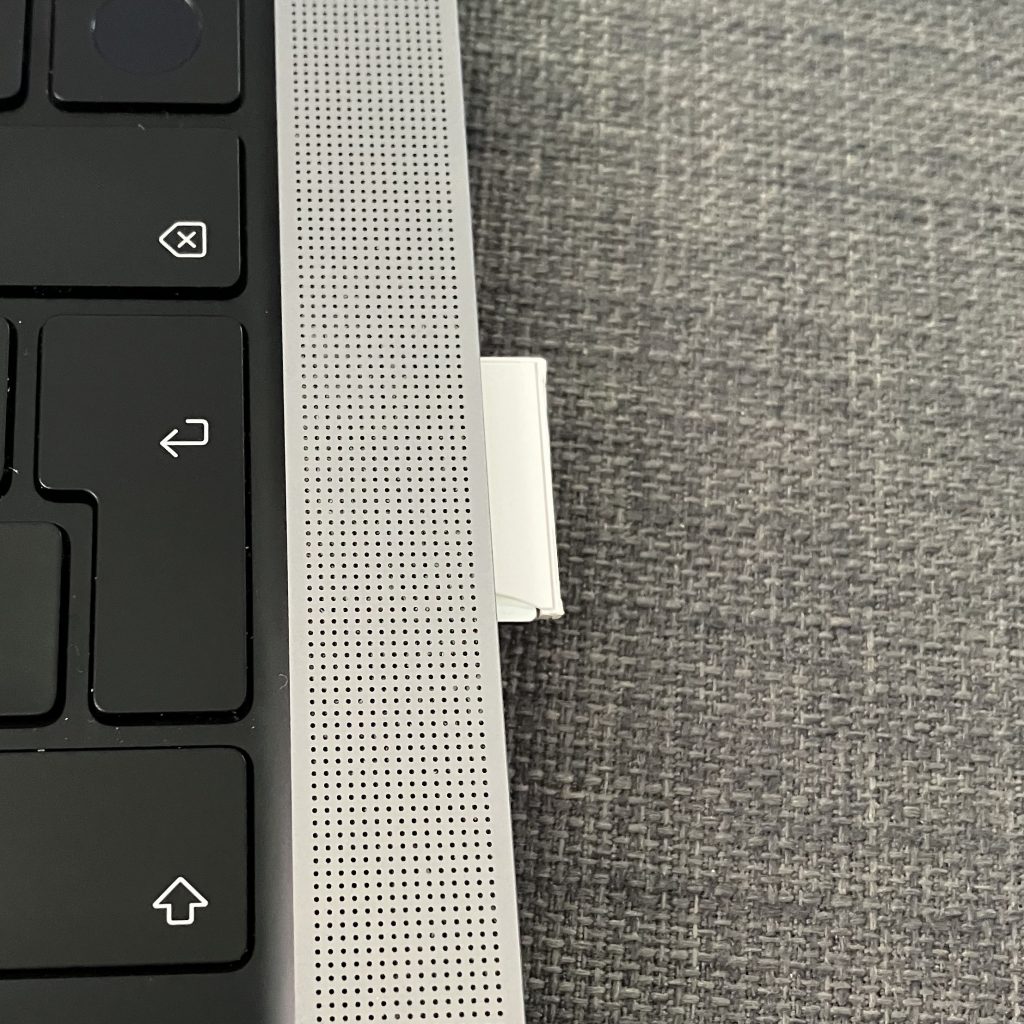
White OEM Micro SD to SD card adapter

To my surprise, this £2.60 adapter worked great… for a couple of weeks 😅 Until it disintegrated. It was designed for previous generations of MacBooks and it is not flush with the body of M1 MacBook, but it is still smaller than the full-size adapter.

You can shave off the grey plastic part, and make it even smaller. The white part allows you to easily remove and reinsert the adapter. No nails required.

The Micro SD card goes in the adapter from the side, so it won’t eject in your backpack or laptop bag.

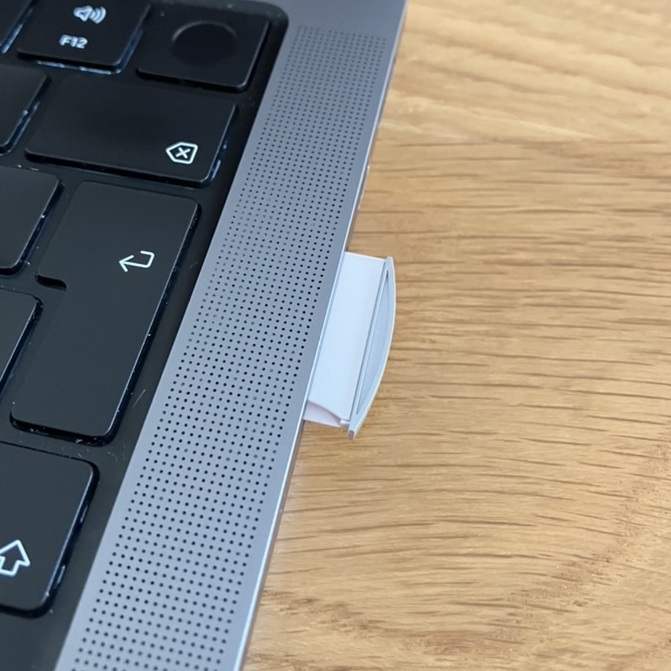
It flashes cards at the exact same speed 61.8 MB/s as the premium £30 BaseQi. And it is easy to remove from the MacBook card reader slot.
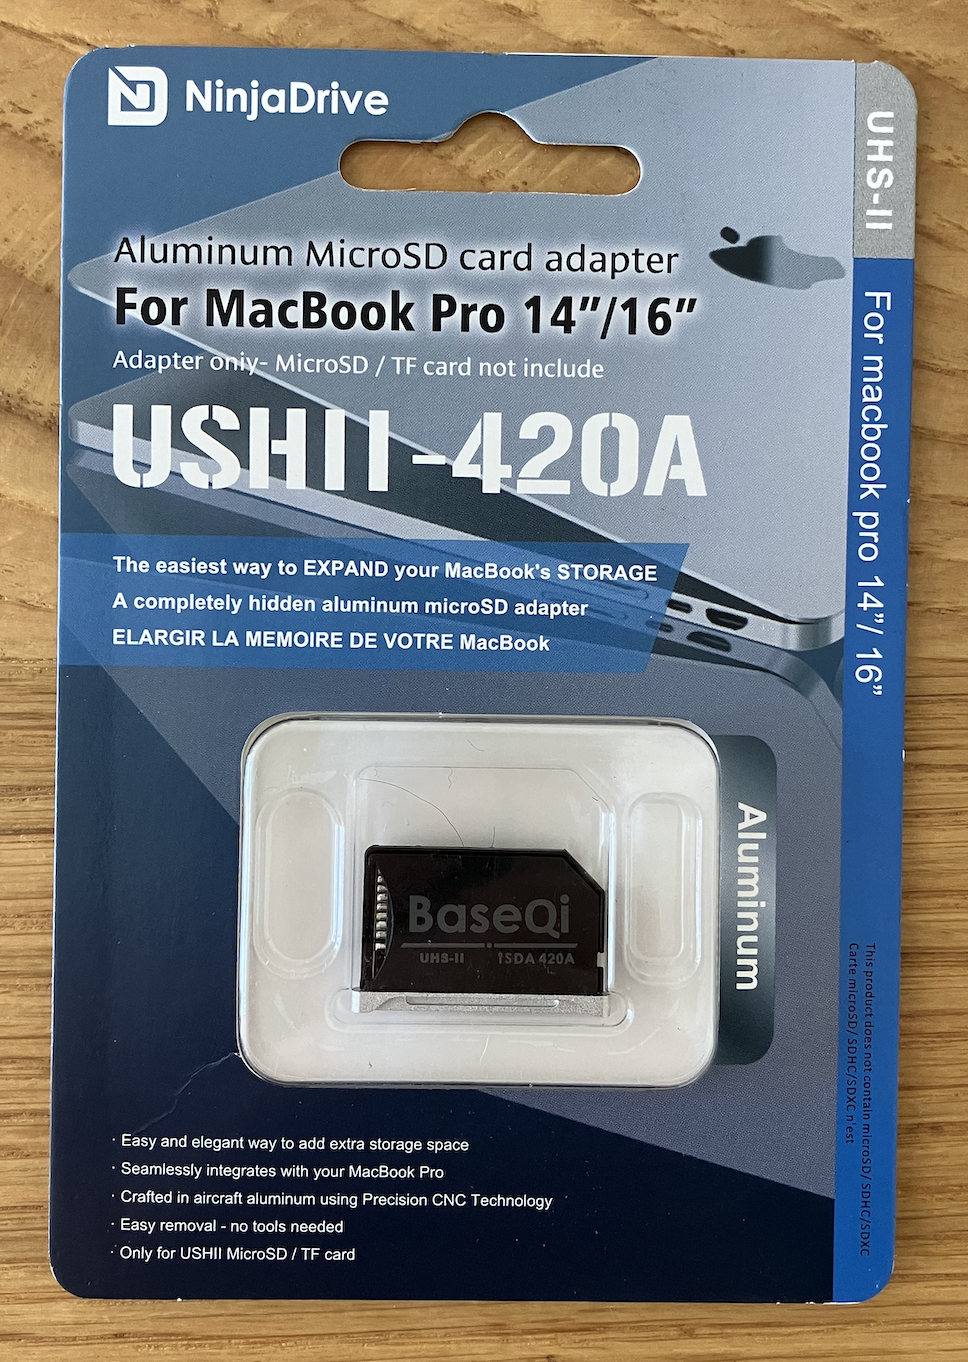
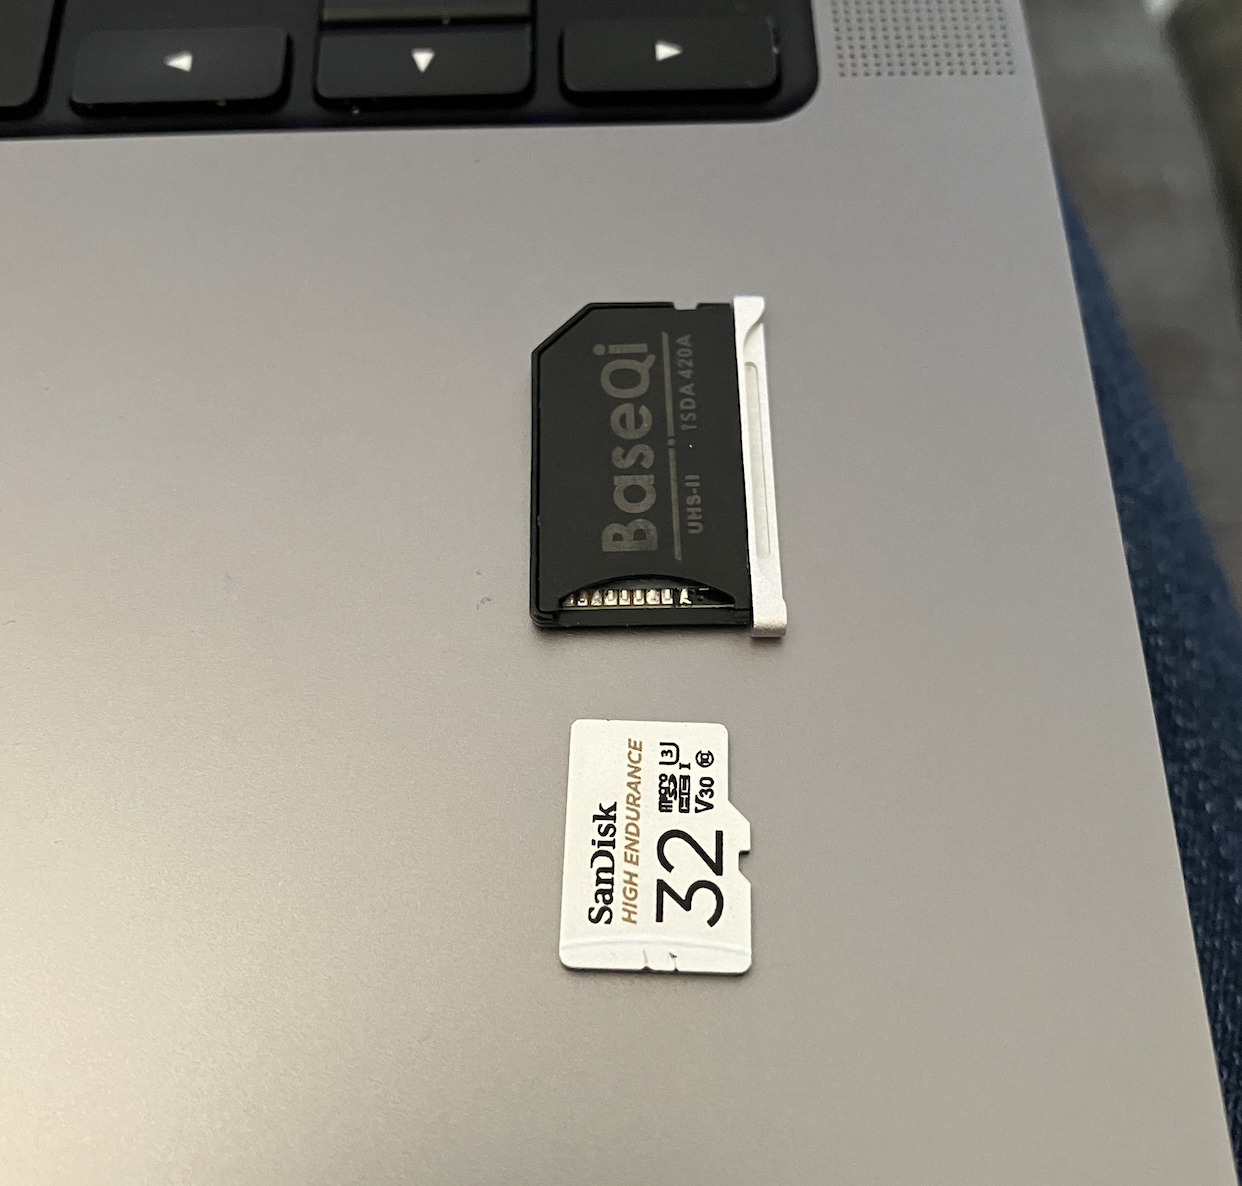
BaseQi 420A

This adapter is primarily designed for those who want to expand storage capacity of their MacBook. And it does that really well. It fits perfectly inside SD card reader slot of 14″ M1 2021 MacBook. The problem is that it works ‘too well’. Once you insert the Micro SD card to it, it is very hard to remove the Micro SD card. Now, when you insert it into MacBook SD card reader, it is designed to stay there and again it does that ‘really well’.

Removal of BaseQi from the MacBook card reader takes 2 fingers and 2 nails. Yes, it takes significant effort.

Would I recommend it to someone who wants to use it to flash Micro SD card few times a day? No. It takes a huge effort.

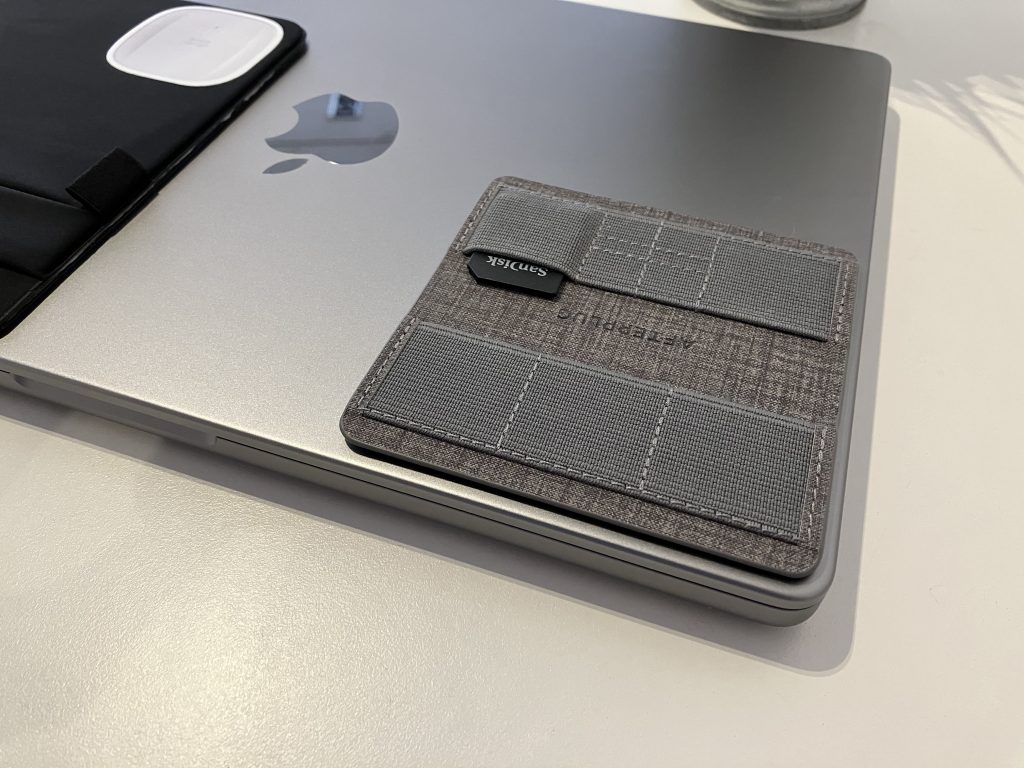
Afterplug Ultra Slim Stick On SD and MicroSD Card Holder with Reusable Adhesive

Problem solved! This stick on card holder did the trick. I can reuse all my SanDisk SD card to micro SD card adapters. And I can carry a handful of them, label them and store the micro SD cards inside the adapters.