How to power any 802.3bt Wi-Fi access point using standard USB-C battery pack

I’ve been on a mission to fully power my Wi-Fi demo kit using a standard USB-C battery pack. That way I don’t need to worry about power sockets and power cables with the right plugs. I can temporarily install the AP at the exact location where I want it, power up my AP anywhere, and get work done while I am travelling.

With battery pack detached from the power injector, I can replace the battery back in case I need longer battery life. And when the battery pack loses capacity in few years, I can just swap the battery pack out. If I spot an AC 230 V socket nearby, I can just use a USB-C GaN charger instead and use the battery to fast-charge my phone or laptop.

“So what are your requirements?” you might ask. The solution should power a high-end access point using UPOE, 802.3bt, PoE++, PoE+++ (pick your favourite name) and allow it to negotiate up to 10 Gbps multigigabit Ethernet on its uplink. And I will take 4 hours of battery life, please.

Let me share the solution with you first. If you are interested in the (rather long, expensive and painful) journey, scroll all the way down.

It works! Here is how I use it.

Yes, yay, hurrah, sláva! It works great and does exactly what I wanted it to do! I guess you can feel my level of excitement 😊

I’ve been testing several outdoor point-to-point links. While I can power the infrastructure side AP by a PoE capable switch, I can now easily use a USB-C battery to power the remote C9124AXD AP.

Battery-powered C9124AXD outdoor access point

Let’s enable site survey mode on this large public venue CW9179F access point for a couple of colleagues. Shout-out to you, Olu and Pete. I put a quick guide together on how to enable site survey mode. Make sure that your site survey AP is only used temporarily by a trained engineer and clearly labelled as site survey equipment. It can’t be used in production by any clients. From compliance perspective, the 6 GHz LPI AP can’t be battery-powered.

USB-C battery pack delivering UPOE power to Cisco CW9179F AP

When I was measuring difference between dipole and directional patch antennas connected to CW9163E, this allowed me to easily mount the AP wherever I needed it. No strings attached. Yes, I did use a longer cable and a tripod.

CW9163E with dipoles

The CW9176I happily ran for about 3.5 hours. No reliance on 230 V sockets. Keep in mind that LPI restrictions apply, 6 GHz capable LPI AP can’t be powered by a battery.

Mobile Wi-Fi 7 CW9176I AP running in full power mode

Now, how do you join an AP to Dashboard and perform few quick configurations? You plug it in your switch, right? But what if that switch doesn’t support PoE (yes, those still exist)? I only had a small battery pack in my bag, but it still worked like a charm and gave me 1 hour of battery life.

CW9179F powered by 802.3bt using smaller USB-C battery pack

But how? Where did you buy this thing?

I tested many power injectors. Scroll all the way down if you are interested in the journey. This is the best solution that I could find for me.

Let me introduce you to Phihong POE90D-1BTP-R power injector. It takes 20-55 Volts DC on the 3-pin terminal block input and provides 802.3bt 90 W on its PoE output.

Phihong POE90D-1BTP-R 802.3bt 90W 2.5 GbE power injector

The battery packs I use are Anker A1336 (20,000 mAh). Potentially Anker 533 A1256 (5,000 mAh), but it has significantly lower capacity, and you would be pushing it to its limits with regards to power.

Always make sure that the battery pack can comfortably provide more power than the AP requires! They important part is that your battery must support 20 V on the USB-C output. Not all of them do. Check the data sheet.

Anker A1336 battery pack powering Phihong injector

Negotiation of 20 V with the battery pack is job for a USB Power Delivery (PD) trigger cable. It has a built-in chip inside the USB-C connector which tells the battery pack to supply 20 Volts.

20 cm USB PD trigger cable programmed to request 20 V

Wi-Fi is a discipline of engineering and art. So, here comes the art part! Let’s trim the trigger cable to the right length. We will keep the part with USB-C connector and keep the barrel jack with a bit of cable for another project.

Let’s terminate it onto the 3-pin terminal block of the injector. Take a deep breath. Double-check polarity to avoid any magic smoke escape moments.

USB PD trigger cable connected to injector

Finally, why don’t we make the connection aesthetically pleasing and permanent using about half sachet of black Sugru.

Cable connected to terminal block and protected by Sugru

That’s it.

All I need to power any 802.3bt access point by a USB-C battery pack

Tested access points

I am using about 2 meters of twisted pair CAT6 cable in total.

Outdoor C9124AXD and CW9163E APs worked absolutely fine.

To test backwards compatibility, Catalyst C9105AXI worked great too and used its 1 Gbps uplink.

The only valid reason for powering Wi-Fi 7 LPI APs is for site survey purposes as I mentioned above:

  • Cisco’s CW9176I access point as well as CW9179F large venue AP both negotiate 10 Gbps Ethernet connection. If you need a significantly longer twisted pair cable, you might want to test it first, since this injector is officially certified for 2.5 Gbps Ethernet.
  • Powering CW9172H wall plate access point was no problem at all. Ethernet port ran at 2.5 Gbps and the PoE Out port of the access point happily powered my WLAN Pi M4+.
  • Likewise, CW9172I access point negotiated at 2.5 Gbps and CW9174I ran at 5 Gbps.

If you tested any other models and vendors, share them with us in the comments below.

Incompatibility with Meraki MS220 switch

Depending on your use case, you will likely never run into this and your injector “DATA IN” uplink port will have no cable connected in it.

When I connected the 802.3bt injector uplink to MS220 switch, many of the APs switched to 802.3at “Medium Power” mode. I suspect there is something going on with LLDP negotiation between the switch and the AP. The AP doesn’t figure out that it’s actually powered by an injector and it ends up defaulting to Medium Power 802.at mode.

Most APs fall back to 802.3at mode when connected to MS220

When I connected the injector uplink to a different switch like C9200CX, the access points drew full 802.3bt power from the injector.

Fully powered by injector, injector uplink connected to C9200CX

AC vs DC power injector

Here is side-by-side comparison of Cisco’s official 802.3bt 60 W power injector CW-INJ-8 with AC input to my 802.3bt 90 W battery-powered DC injector. Power socket not shown in the photo 🔌 There wasn’t any socket where I took this photo! 🤷🏻‍♂️

AC power injector CW-INJ-8 vs Phihong battery-powered injector

There are purpose-built site survey PoE battery packs available from the great people at AccelTex and Ventev.

Use whatever works best for you or your customer.

The journey

This is one of the very few projects when I’ve nearly given up. I purchased and tested all of these injectors hoping that the first, second, third, will hopefully work and I kept fast-failing again and again.

“Success is not final, failure is not fatal: it is the courage to continue that counts.” Attributed to Winston Churchill.

Yet another night in the office

Few hundred pounds later, I thought I was done. Nothing seemed to work the way I wanted it to.

802.3bt and 802.3at PoE power injectors

The industrial Procet injector on the left only provided 802.3at power although it was supposed to support 802.3bt. Their documentation was also extremely poor with conflicting information about input DC power range, they were heavy and not necessarily of the best form factor.

Few weeks later I ordered the Planet industrial injector but it only provided 802.3bt power to high-end CW9176 and CW9179F access points and failed to power CW9172I and CW912H APs completely.

I found this Phihong injector data sheet online but it was out of stock in the UK. I just couldn’t win! It was about time to get out of this rabbit hole and see what was the best way to deal with all of this. I contacted the manufacturer, who kindly helped me find a nice local distributor Heading Power Limited who had one in stock and the rest of the story you’ve just read above. I just had to figure out how to power it and connect everything as nearly as possible. Happy days!!!

To paint the full picture, the 2 injectors on the right were my shot in the dark into the 802.3at (the 30-Watt standard) world. I love the right-most PoE Texas 802.3at injector so much that it found its place in my every day bag. If you are looking for a light and compact injector and don’t mind 802.3at, read more about it here (I will add link as soon as I publish it).

The safety and regulatory part

You are all smart people but let’s get the safety warning out of the way first.

Since we are modifying electrical equipment and dealing with batteries, please note that you are performing everything described in this blog post at your own risk. None of the hardware manufacturers and other parties including myself can’t be held responsible in case of any damage or harm caused.

Use caution when it comes to 6 GHz. Lower Power Indoor (LPI) 6 GHz access points shall not be battery-powered. Refer to EN 303 687 and FCC KDB 987594.

How to power Cisco Meraki MR access point by USB-C battery pack

Battery-powered access points are typically used for site surveys. The engineer uses a professional battery pack with 802.3at/802.3bt PoE output which delivers power to the AP via Ethernet. I do love professional battery packs. Accelerator and VenVolt are your friends. I haven’t had a chance to test either one, but I’ve seen them in very capable hands of others.

Now, when you don’t have a PoE battery pack by hand and want to achieve a similar outcome, this tip might help you.

Use case and requirements

I am building a compact pocket-sized package consisting of an AP, small battery pack and I want to achieve at least 2-3 hours of battery life.

What am I going to use it for? I need to temporary install (and hide) an AP which we will then locate during my presentation using WLAN Pi Go – a mobile Wi-Fi tool which snaps magnetically to iPhone.

In the coming weeks, I am going to use the same setup for point-to-point Wi-Fi testing. So, this will help us kill two birds with one … battery pack I guess 😊

MR78 AP powered by USB-C battery pack

Solution

Cisco Meraki APs do have 12V DC input via barrel jack 5.5 mm x 2.5 mm connector. I then researched USB-C battery packs with USB Power Delivery 12V output. This part is important! Not all USB-C packs support this output voltage.

Finally, I found a USB-C PD cable which negotiates 12V with the battery pack, and outputs 12V DC to the AP’s barrel jack input.

Trust but verify

I run the APs in Site Survey mode. To enable this mode connect to this AP’s SSID in normal cloud-managed mode, and browse to the Local Status Page (LSP). It is powered by a web server running locally on the AP. Access LSP via http://10.128.128.126/ while associated to the AP. I do recommend MR32 or newer software release which has some great survey mode enhancements.

Now, it is time to test and see if we can break things. How long does the battery last for? We get 6+ hours of battery life.

Let’s appreciate that the battery pack is nearly 7x smaller in volume than the already compact access point.

Kit list

  • Cisco Meraki MR20, MR78, or other AP which accepts 12V barrel jack input. Newer Cisco Wireless APs do have a barrel jack connector but they require 54V input. This approach won’t work.
  • Anker 533 Power Bank PowerCore 30W or any other battery pack – just make sure it supports USB PD 12V output, not all do

It doesn’t stop there

Many other devices like routers, modems, home automation hubs use the same barrel jack connector and take 12V input. The main fact to keep in mind is that this Anker battery pack can output up to 12 Volts at 1.5 Amps on its USB-C port. We don’t want to overshoot these 18 Watts.

Affordable battery pack for occasional Wi-Fi “AP on a stick” site surveys

Since I don’t survey every day, I could not justify the purchase of a full-blown battery pack. My goal is to get a universal battery pack, which would allow me to survey for 5 hours and provide power to my laptop or USB device (like the WLAN Pi) at the same time.

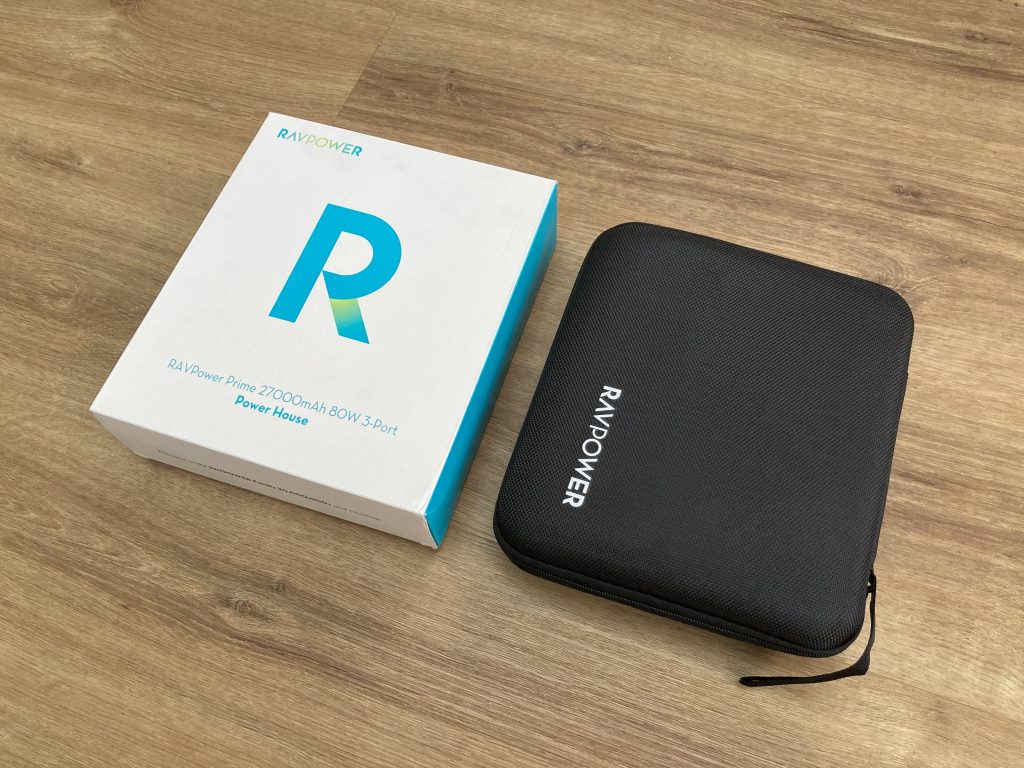
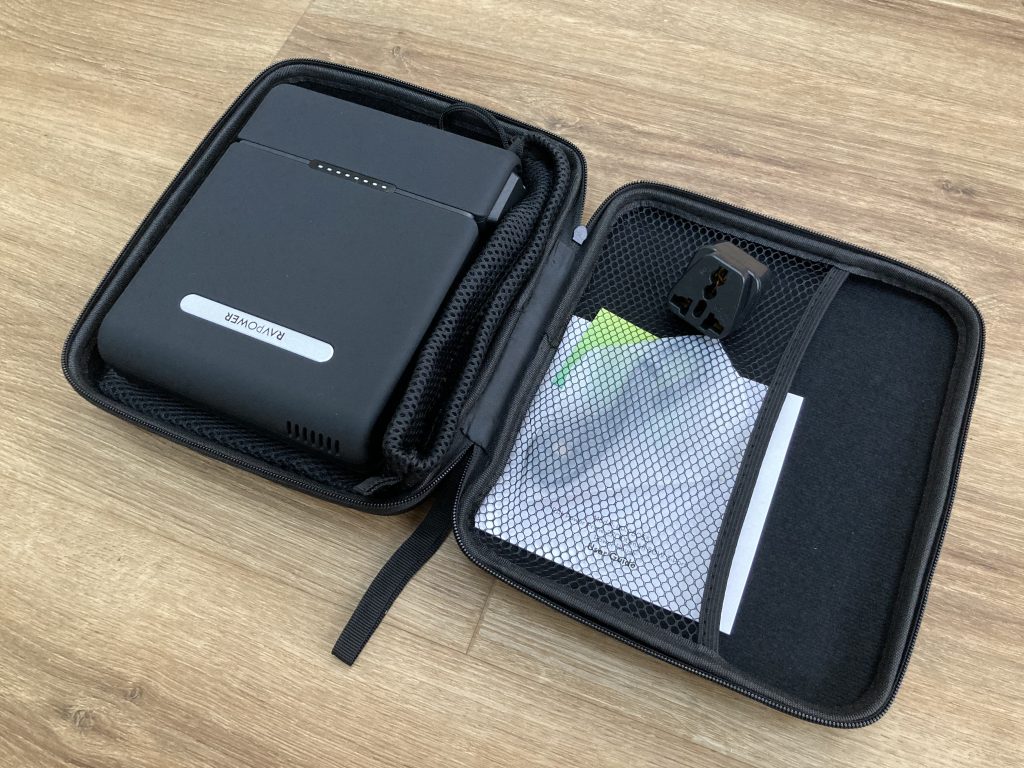
A quick research made me to test the RAVPower AC 27000 mAh Power Bank. Here is what I’ve learned after using it for a few days:

  • The 2 built-in fans kick in when AC device starts drawing more than 20 Watts. Below this threshold, the fan is off. With the fan on, it actually becomes annoyingly loud (watch this video).
  • The AC inverter seems to operate with 82% efficiency
  • MacBook Pro 61 Watt power brick charges the battery using USB type C port
  • It powers USB devices and 230V AC devices (power injector in my case)
  • Capacity of 99.9 Wh

Things I like about this battery pack:

  • It is universal and power USB and AC devices
  • Its size and capacity are great

Things I don’t like:

  • When AC load exceeds 20 Watts, the 2 fans become generate significant noise
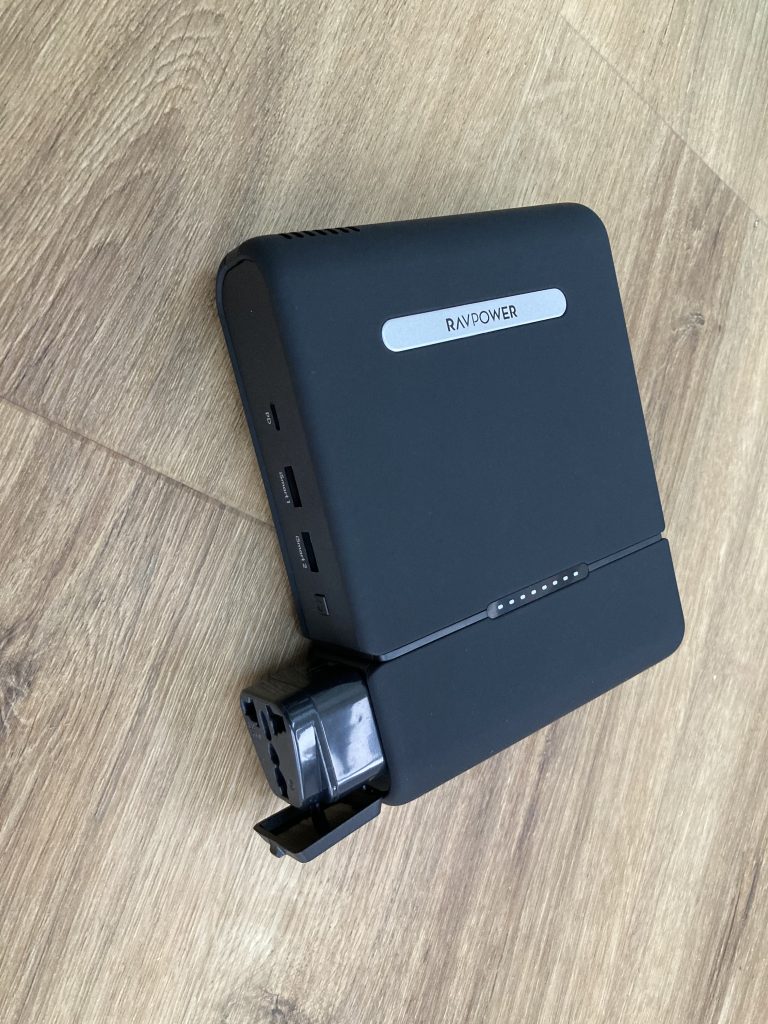
  • The adapter from its AC socket to UK socket is really poor, does disconnect very easily and cuts power. This is a huge downside.
  • AC power automatically switches off when the connected device draws less than 8 Watts or so. If you need to power a very low power device, use the USB port or plug one more device in to increase total load.

Battery life tests

I tested a few access points powered by a PoE+ 802.3at injector:

Cisco Catalyst 9115 in site survey Embedded Wireless Controller mode stays powered for 6 hours and 24 minutes and draws around 13 Watts.

Cisco Aironet 1560I (in 2SS only mode) in Mobility Express site survey mode stays powered for 5 hours and 28 minutes and draws around 15 Watts.

Formula to estimate battery life

Cisco Aironet 1540I draws around 8 Watts (measured by a smart plug) and estimated battery life is:

Run time = Battery capacity in Wh * Battery inverter efficiency / Power drawn by device in Watts = 99.9 * 0.82 / 8 = 10.2 hours

Tested devices powered by AC power

MacBook Pro (13-inch, 2019, Four Thunderbolt 3 ports) powered using MacBook 61W USB-C power adapter connected to the battery pack charged the laptop with no problem. The only annoyance is the battery fan noice. I can’t imagine using this in an open plan office as it would disturb others. Charging while on site or in a car is not a problem.

I was able to power Cisco WLC 2504 and 3504 with no problem at all and they drew around 25 Watts. You can use the above formula to calculate estimated battery life.

Cisco Catalyst compact switch WS-C3560CX-8XPD-S is not able to be powered by this battery, the battery goes into overload mode and cuts power. I suspect the AC wave output of the inverter is far from “perfect sine” and it prevents some devices to be powered. A different battery pack with better filters would be my suggestion if you need to power a device like this.

Another Cisco Catalyst compact switch WS-C3560CG-8PC-S works perfectly fine and draws about 17 Watts with no Ethernet ports connected and no PoE provided to its downstream devices.

Maximum AC load test

It tried connecting as many devices to the battery pack and power them using the inverter. These devices can be powered concurrently just fine:

  • Cisco Meraki MS220, Cisco Small Business SF100-08P switch, Aironet 3800 AP, Catalyst 9105AXI AP, Aironet 1800S Wi-Fi active sensor, Aironet 1560I, MR32 AP, MR20 AP, Aironet 1815W, a Bluetooth speaker and Raspberry Pi 4

How I fixed the supplied AC adapter issue

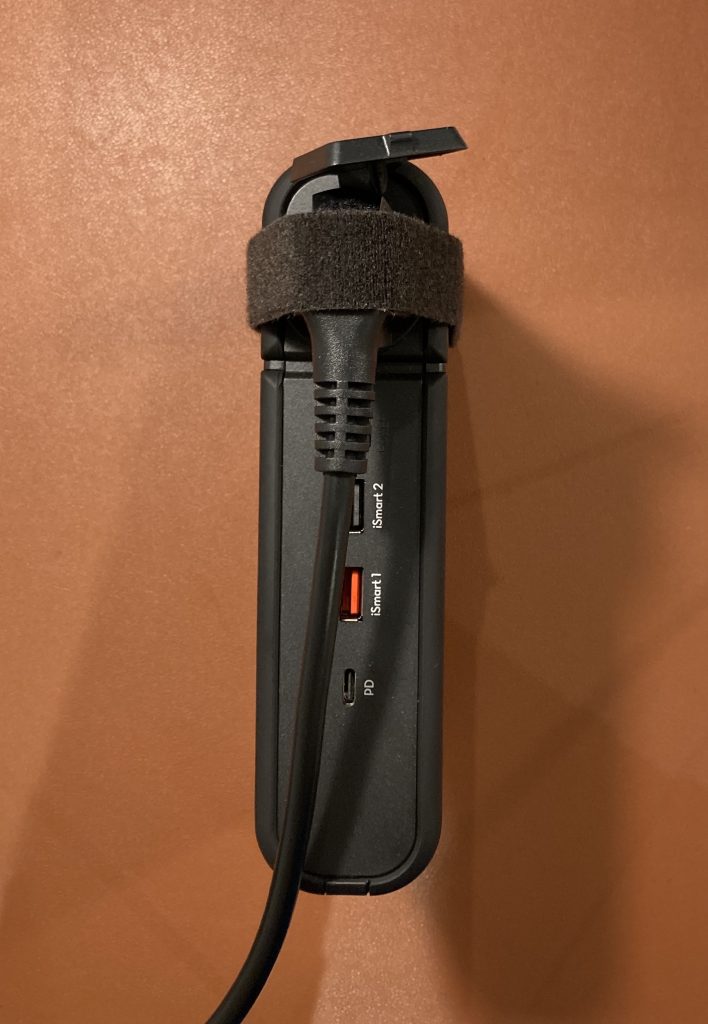
As I mentioned, the provided power adapter is a joke and not fit for purpose if you want to connect a device using a UK power plug. Just the weight of the power cable itself pulls the adapter from the battery pack socket and stops power supply to the connected device.
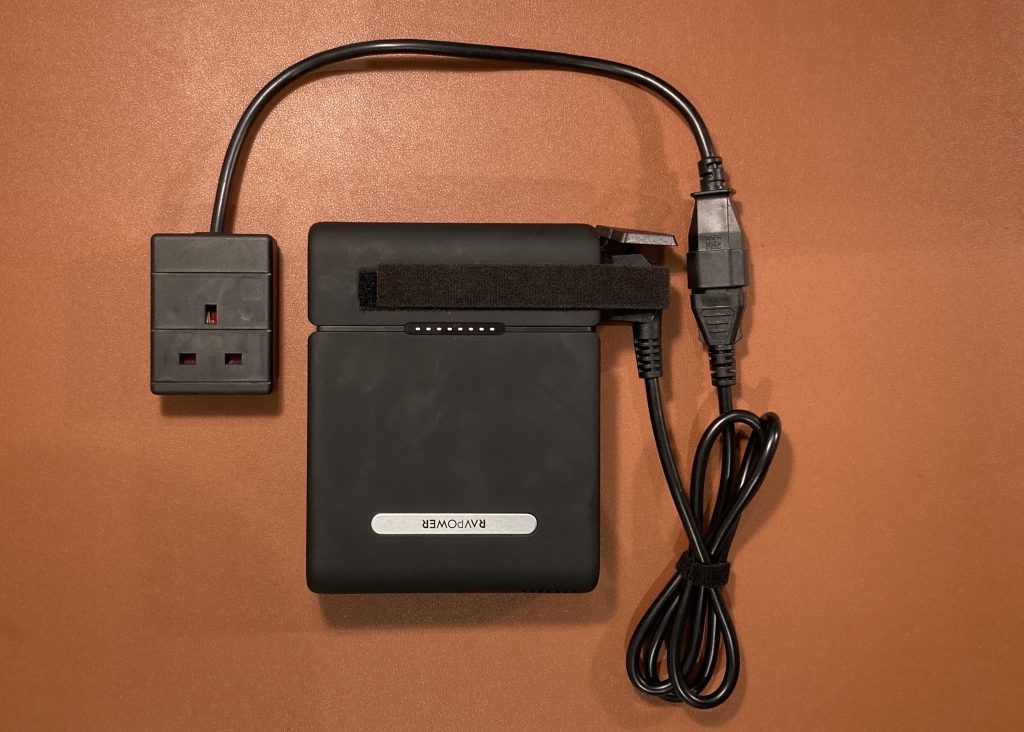
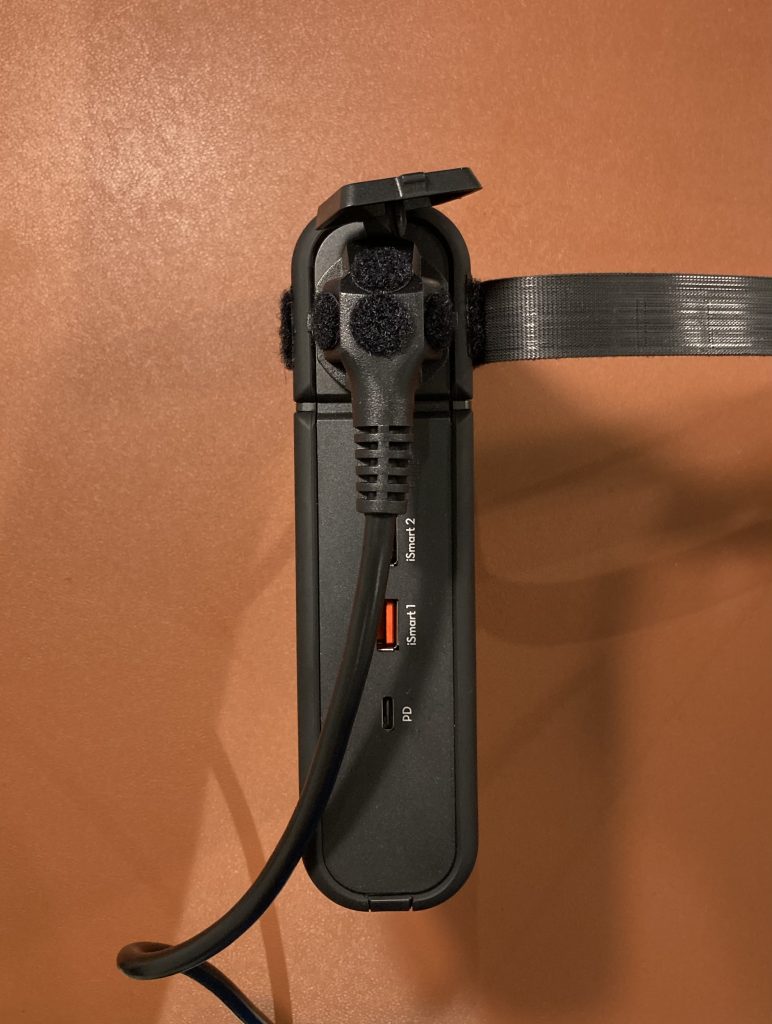
I decided to keep the battery pack as everything else works quite well and I replaced the provided adapter by a power cable with European plug and IEC C14 to UK socket “UPS” power adapter. This on its own stays connected in the battery inverter’s socket quite nicely and I added a couple of velcro straps to keep it securely in place at all times.
Fan noise