How to mount WLAN Pi to a tripod

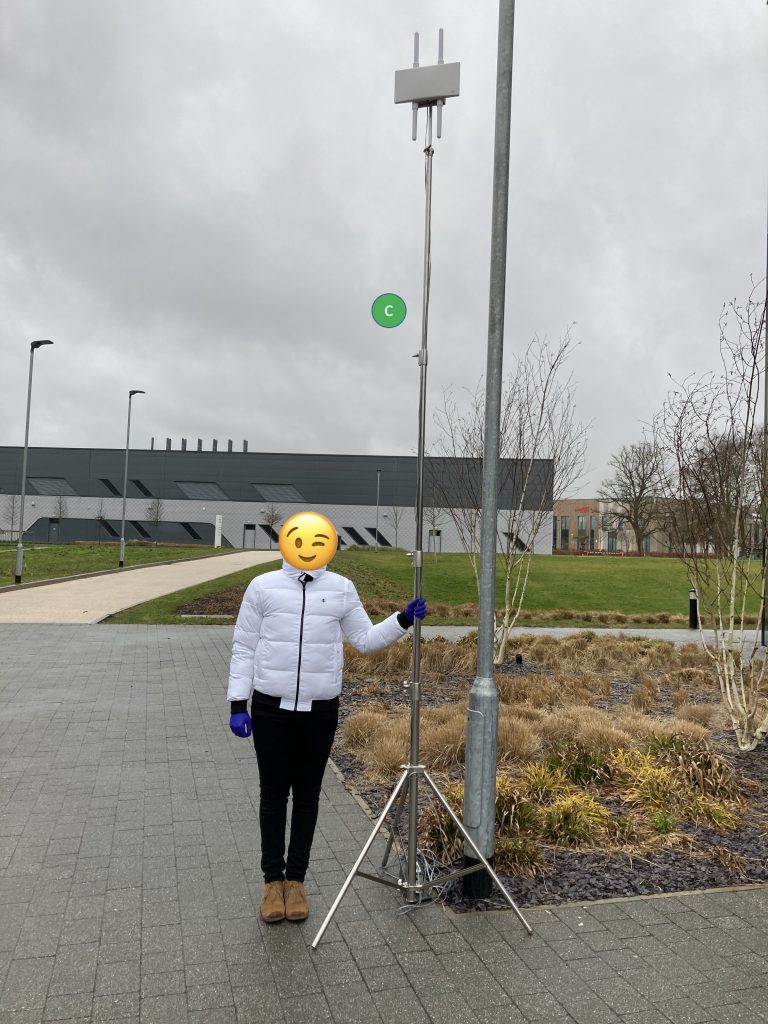
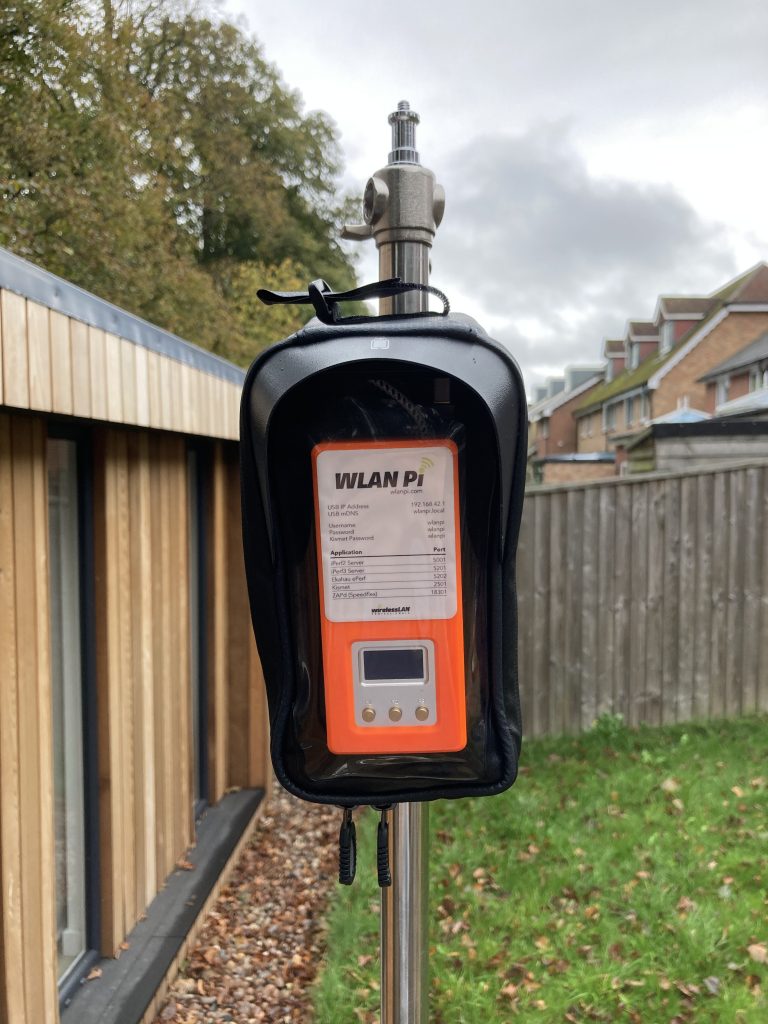
You might remember me saying something about designing a 3D printed WLAN Pi tripod mount. Yes, that was the plan… until I found a much better solution, which I had already owned.

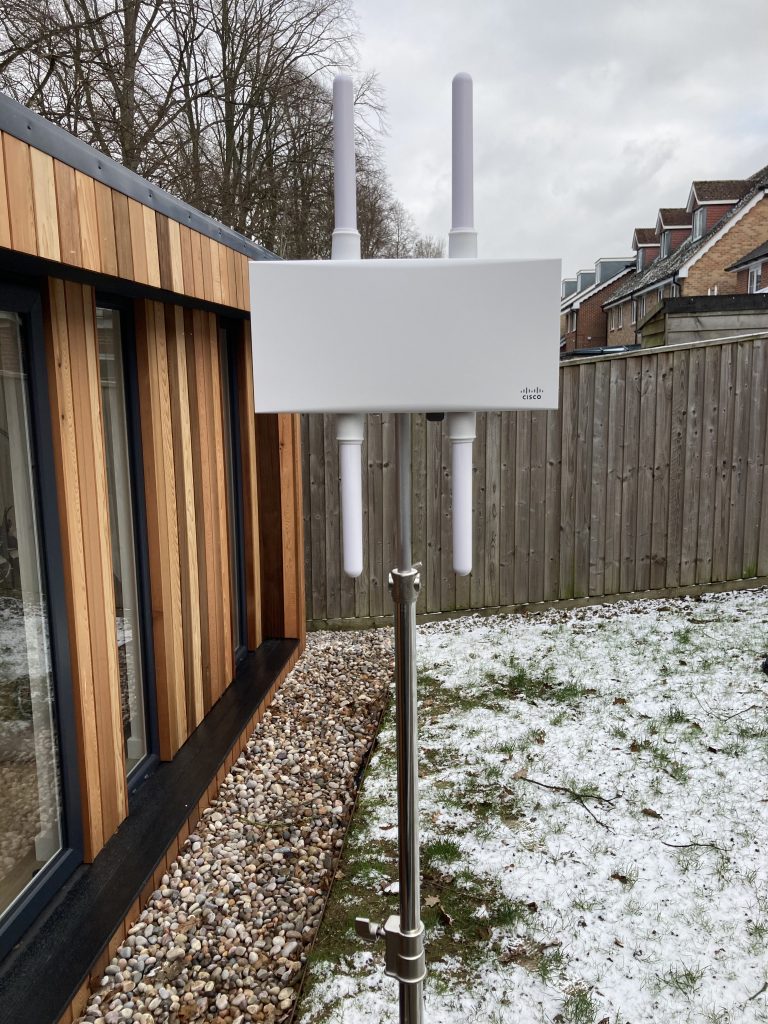
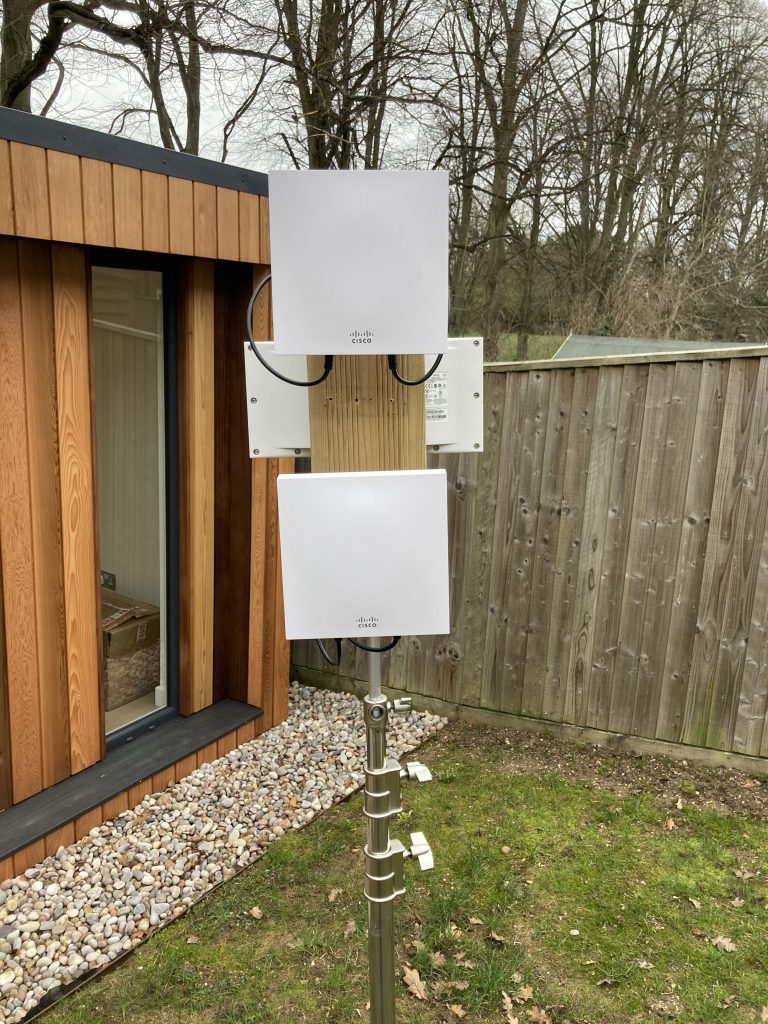
Why tripod mounted? Well, occasionally I work on an outdoor Wi-Fi project. WLAN Pi can be a really useful for throughput testing, or it can share your phone’s cellular internet connectivity with your access point. This is really useful in cloud-managed surveys, labs, and projects.

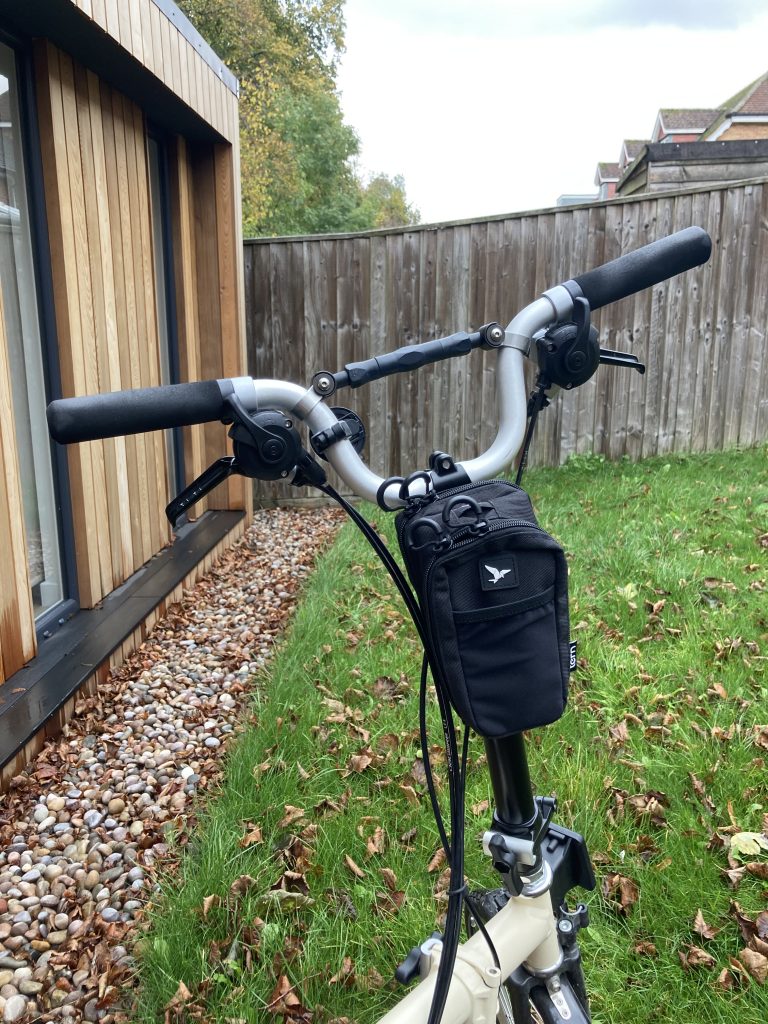
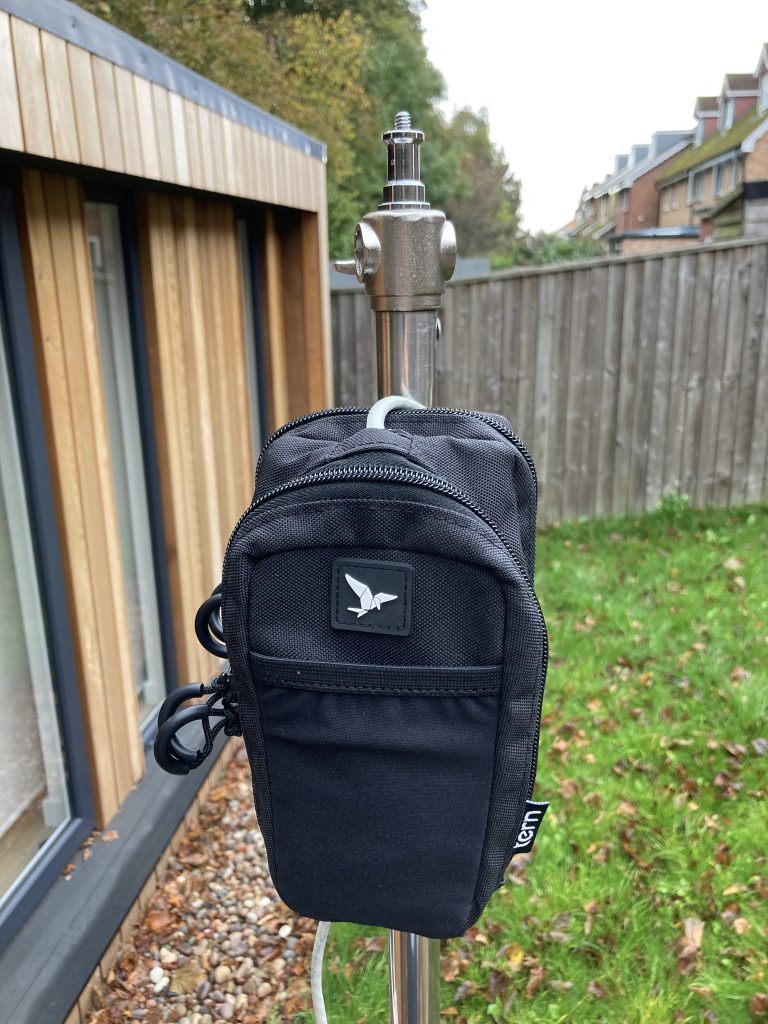
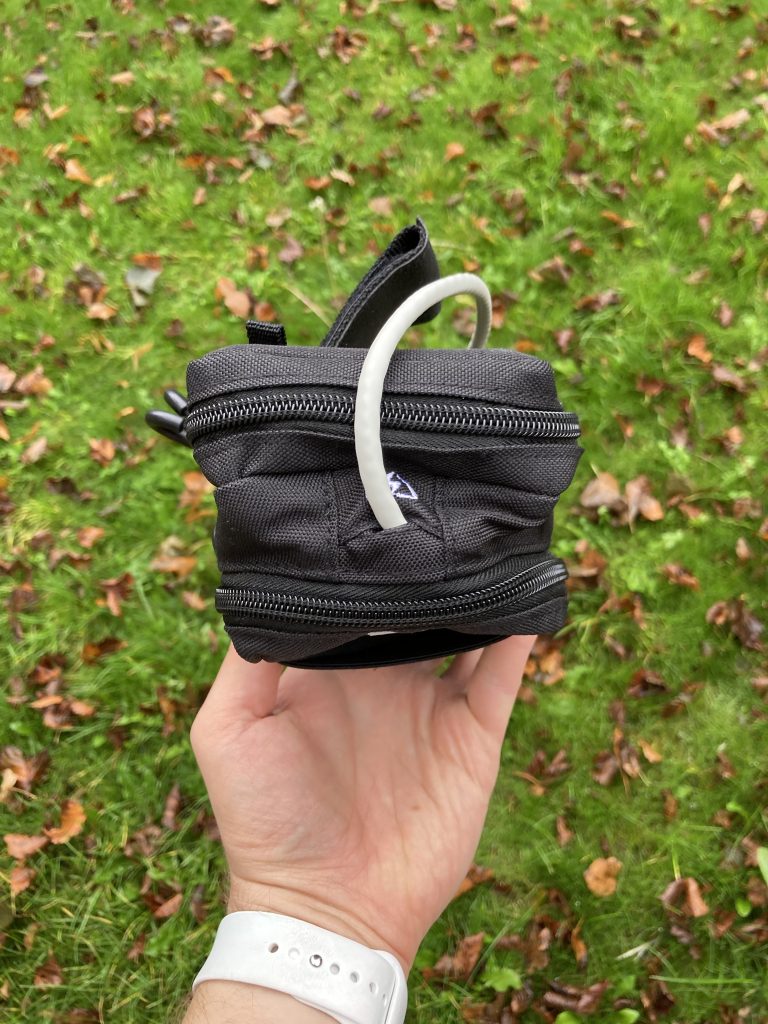
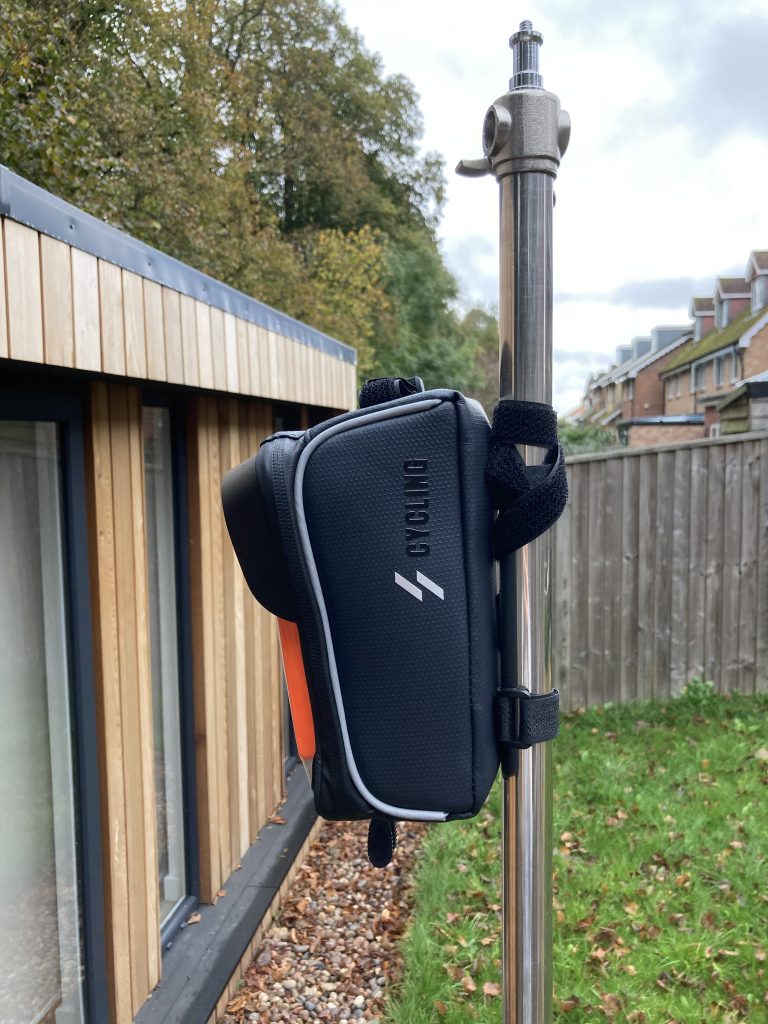
Tern RidePocket Handlebar Bag

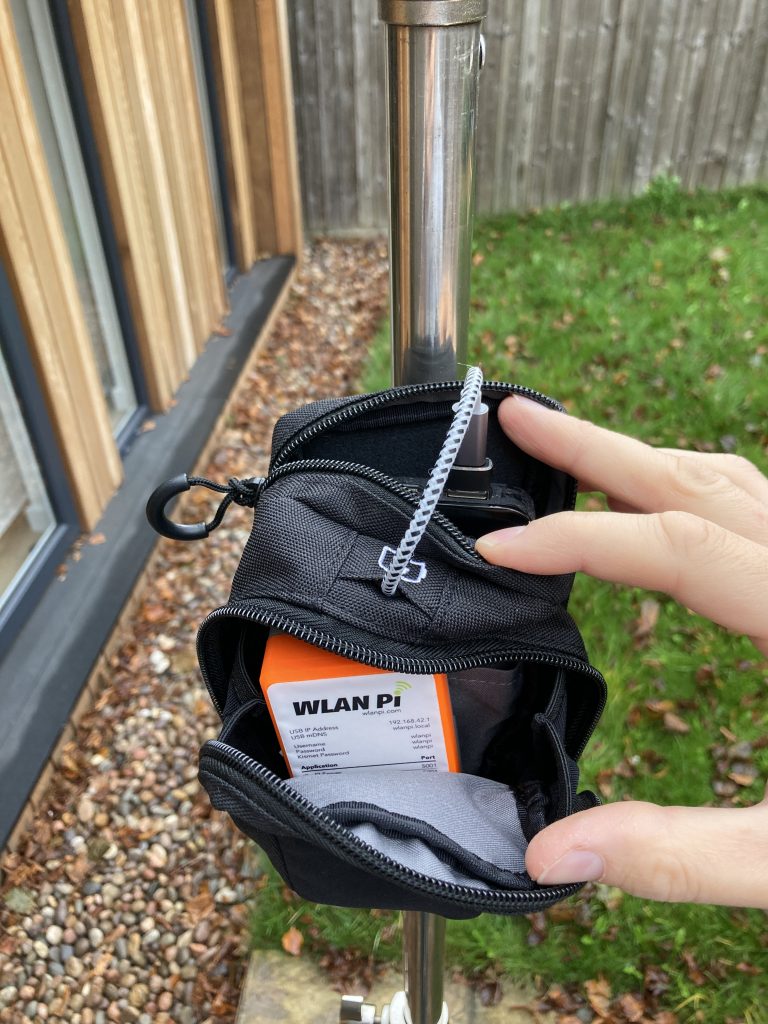
I present to you this small, well designed, and weatherproof Tern RidePocket bag. It is a fantastic bicycle bag, and as good bag for your WLAN Pi. You can purchase one in many countries around the globe and made by a big bike company, which is here to stay.

WLAN Pi in the Tern RidePocket bag on a tripod
WLAN Pi powered by PoE using PoE splitter
Cable management works really well

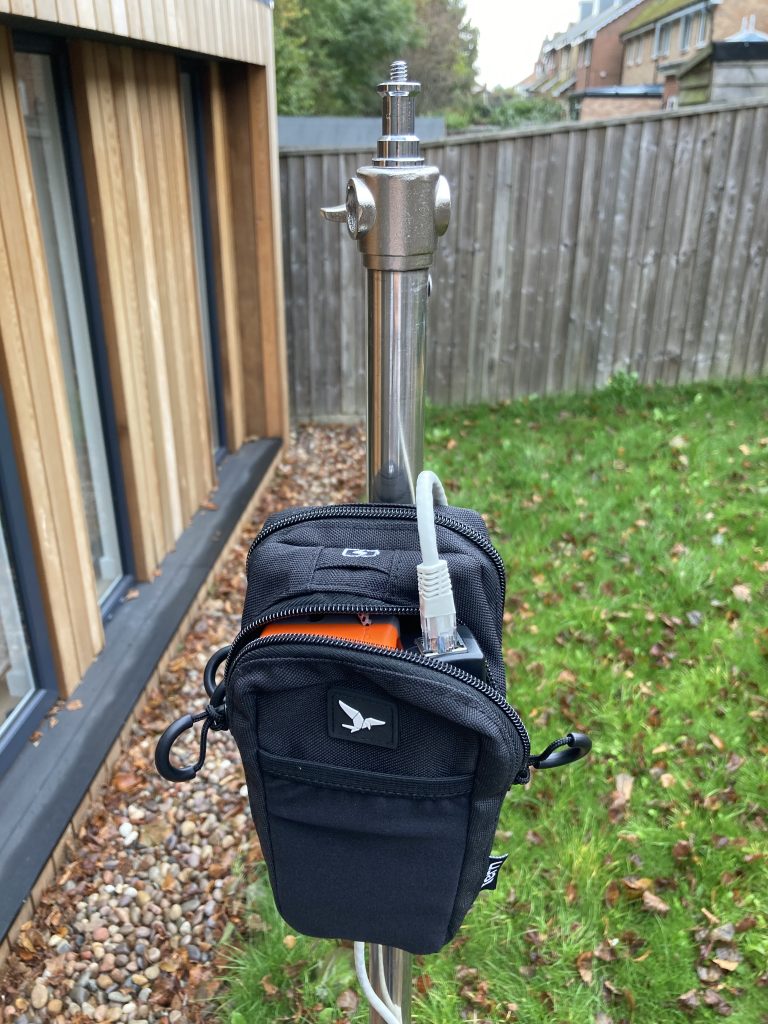
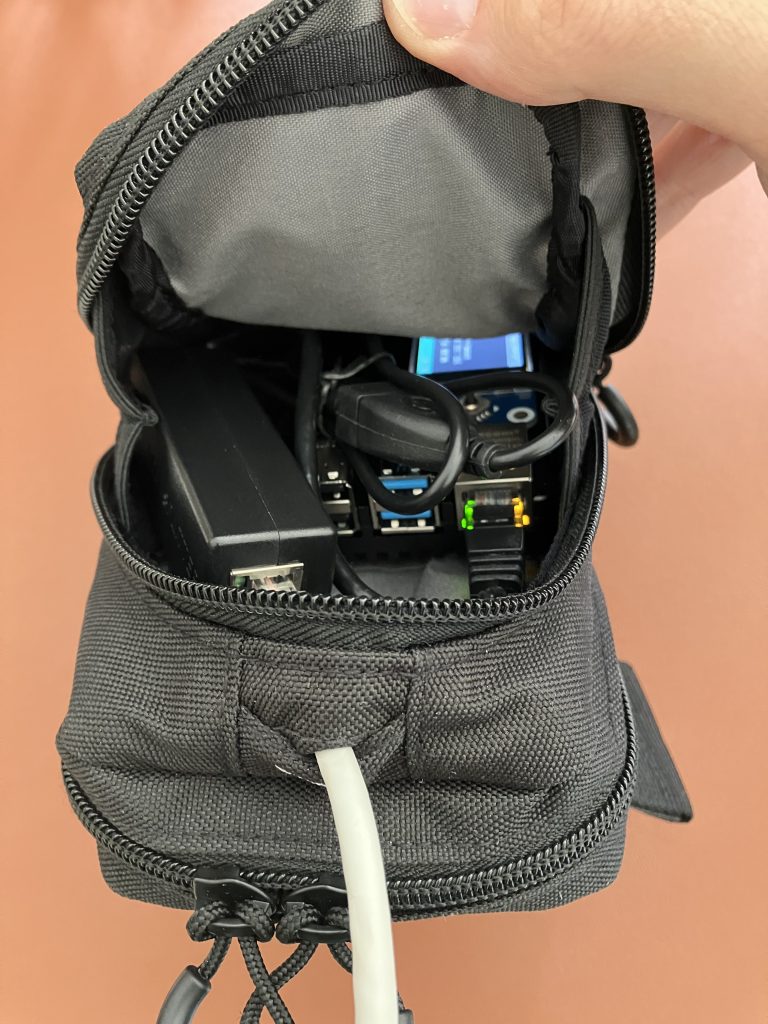
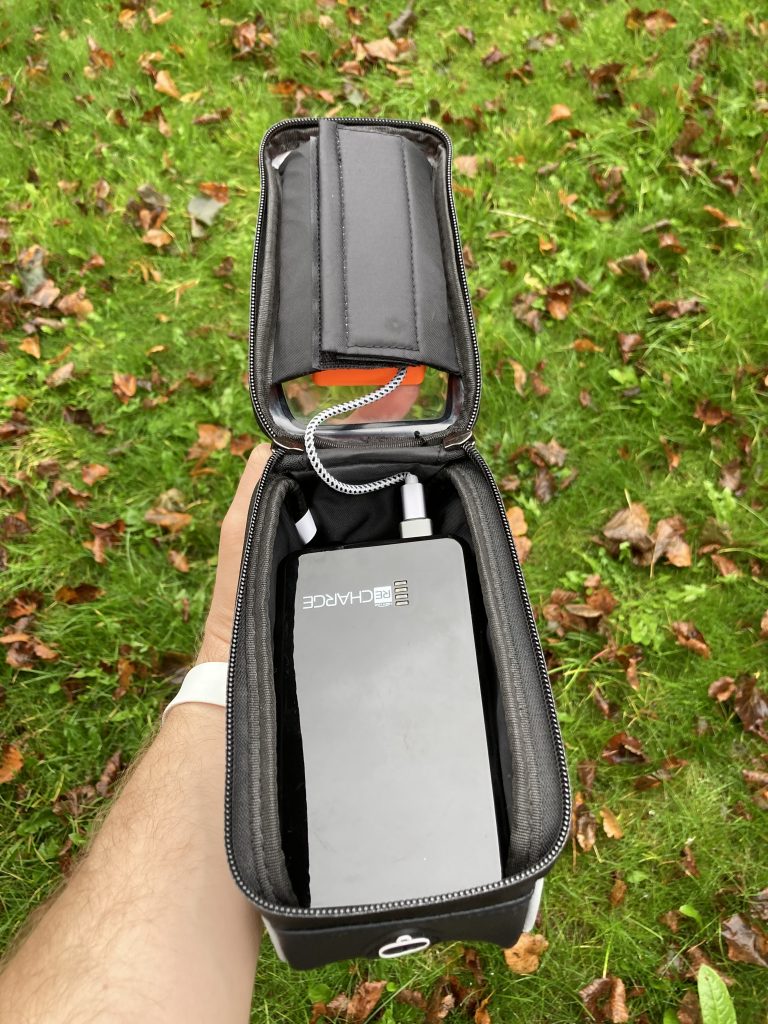
If you wanted to, you can battery power your Pi. Just add a battery pack of your choice.

WLAN Pi powered by a USB battery pack

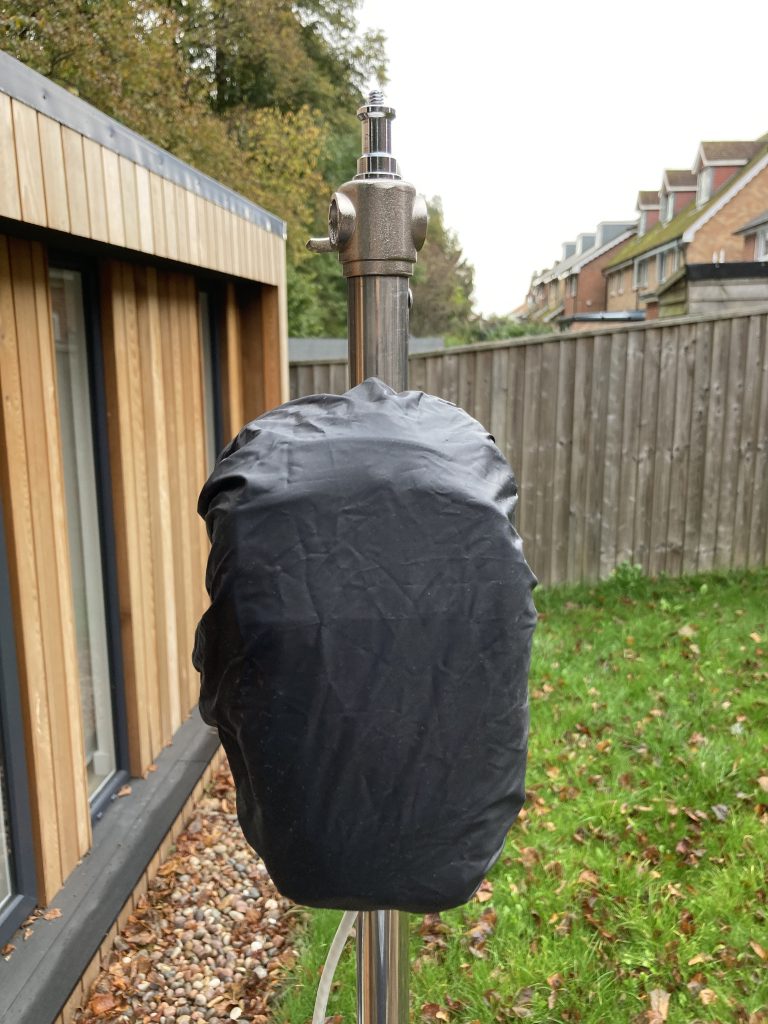
Outdoor surveys involve all kinds of weather, and that’s where this rain cover becomes really useful.

Rain cover

What makes it work better than other or cheaper bags? It mounts securely, and does not slide down the tripod thanks to its strap coated with a layer of anti-slip rubber material.

Anti-slip material on the strap and a hook towards the top
Attached to a tripod
Closer look at the cable hole

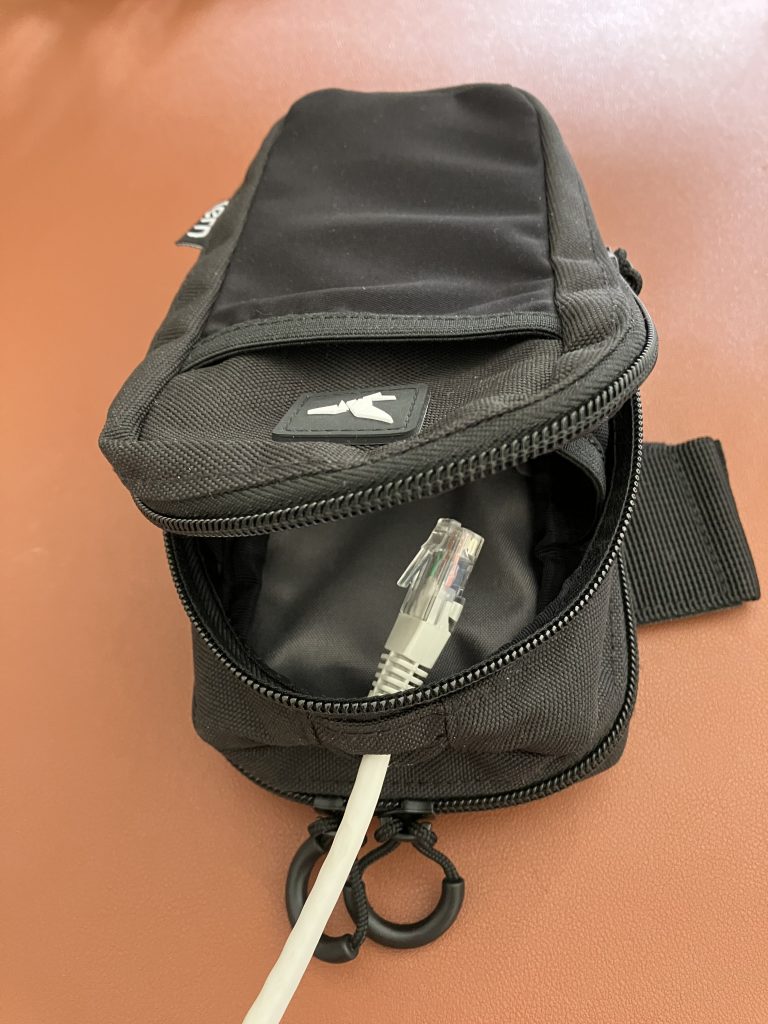
If you prefer a Raspberry Pi 4, or WLAN Pi Community Edition based on Raspberry Pi 4, it fits in this bag too including a PoE splitter with little effort.
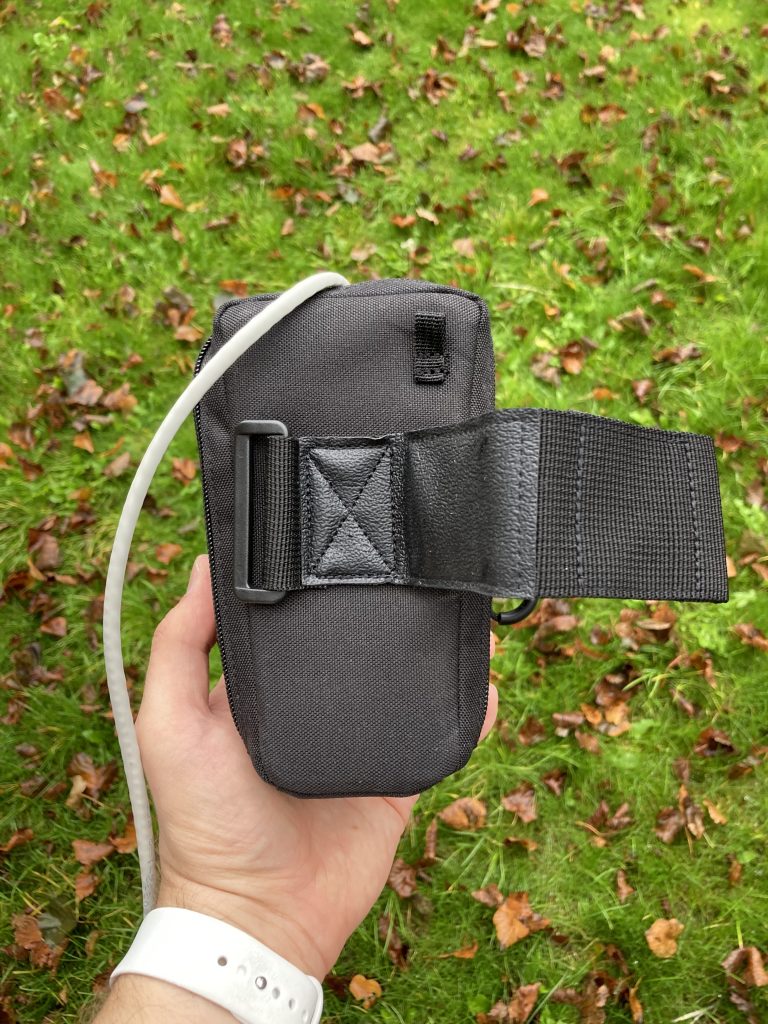
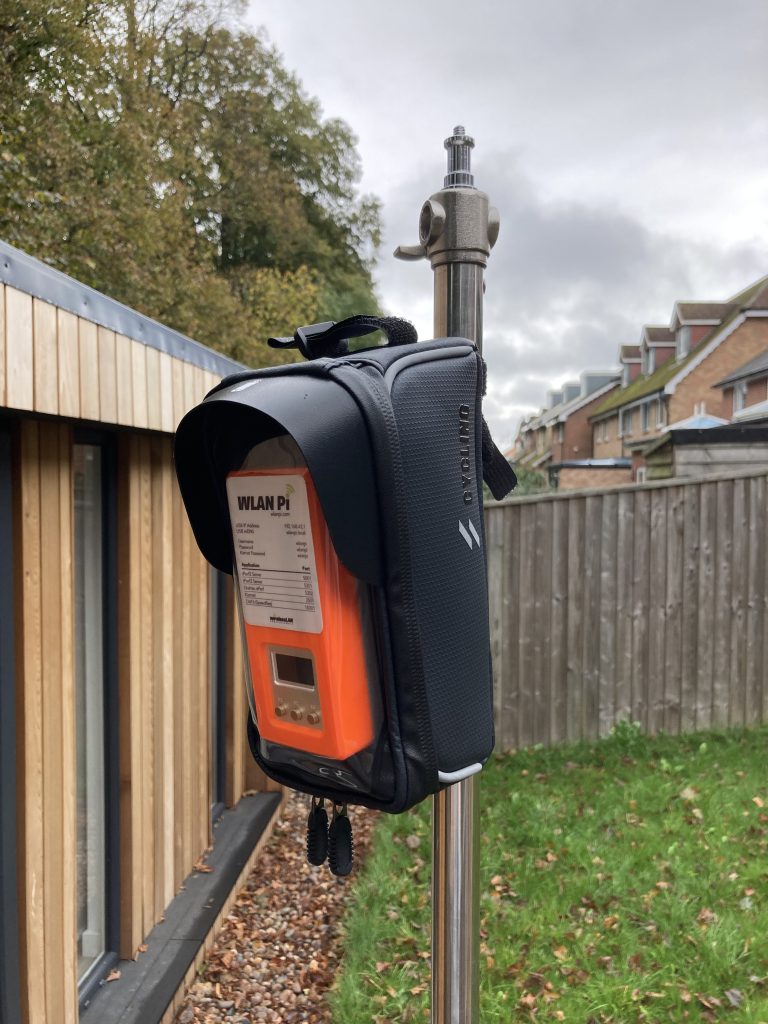
It fits Raspberry Pi 4 and PoE splitter

Lenlun Bike bag set

Do you need to interact with your WLAN Pi while it is mounted? No problem. I’ve tested a handful of other bags and Lenlun Bike bag set is the best fit. It allows you to see the display and press buttons while it protects everything stored inside.

WLAN Pi in the Lenlun bag
Attachment to tripod is not as clean as Tern
Battery pack and WLAN Pi inside the bag

Finally, after you are done working, these bags can happily carry your keys, phone, battery pack, and wallet.

Brompton bike with Tern RidePocket

Tripod mounting adapter for Cisco Meraki MR outdoor access points

I needed to find a solution to swapping multiple outdoor AP and antenna combinations on the same tripod. Specifically MR86 with MA-ANT-20 dipoles and MR86 with two MA-ANT-25 directional antennas. Quick swapping was a key requirement. Some coverage areas required directional pattern while other locations with low traffic and low client density would really benefit from omnidirectional coverage.

MRs ship with standard pole mounting hardware, which is great for permanent installation, but it didn’t allow fast swapping of the AP and antenna sets. Also, pole mounting kit requires tools, which is not practical as it add additional weight to your survey backpack.

Please excuse the DYI approach. I did this during UK’s second COVID-19 lockdown. Shops were closed, tools were limited and I had no access to my lab.

You are smart people, so I don’t need to stress this point, but please don’t take this write-up as Cisco’s official guide or recommendation. This is just me trying to find a solution to a problem.

So, what’s the solution?

Let me show you the final adapter and we can then look into the detail.

MR86 with MA-ANT-20 dipoles and we also had some snow here down south;-)
MR86 with MA-ANT-25 antennas

Under the hood

It all started when I spotted my wife’s aluminium 16 mm gardening tubes;-) I realised they were perfect fit for my tripod. They slide nicely inside the top tripod tube about a couple of inches (5 cm) or so.

16 mm aluminium tube
Tripod and mounting adapter with the standard AP bracket
Grooves in the decking board helped me align the tube
Two drill bits later: Directional adapter with AP mounted on the back for stability

What would I improve?

If I were to build a second iteration of this adapter, I would add a safety wire and attach the AP mounting bracket to the tripod. I would call this mandatory, especially if you are not the only user of these adapters or if there is going to be a person stood underneath the tripod.

Safety wire

Apart from that, it works really well, it is rock-solid, and allows me to swap the MR with omnis and MR with directional antennas in less than 10 seconds.

Affordable tripods for occasional Wi-Fi site surveys

As I mentioned in my battery pack review, I am fortunate to rely on our field engineers and partners when it comes to predictive design validation, wall measurements and AP on a stick surveys. Having said that, I enjoy going on site a few days a month and staying close to our projects. Which leads me to yet another blog post from the “affordable series”;-)

This time I tested 3 tripods. Key factors I considered were value for money, build quality, and suitability for outdoor surveys ability to hold anything from an indoor or outdoor AP to a camera.

Tripods

Left to right/up to down:
(A) Neewer Stainless Steel Heavy Duty Light Stand 118″/300CM
(B) Phot-R 4m Heavy Duty Photo Studio 2-in-1 Combi Light Boom Stand
(C) Neewer Heavy-Duty Light Stand 13 Feet/4 Meters Spring Cushioned Aluminum Alloy Pro Tripod

Maximum height comparison
Collapsed length comparison
Width of the base is comparable, see the slabs

The numbers don’t lie

Tripod ATripod BTripod C
Collapsed length104 cm112 cm115 cm
Measured max height283 cm366 cm393 cm
Weight2.45 kg2.55 kg5.9 kg
Price£65£70£68
Short summaryVery good, not tall enough for outdoor surveysUnstable, too light, loose locking mechanism, unsuitable for holding APsGreat value for money, rock-solid, tall, heavier

Summary

I decided for tripod (C). It is high enough for outdoor surveys, rock-solid, and very stable. I also built an adapter that allows me to easily mount any outdoor Cisco AP (Catalyst, Aironet or Meraki MR). Here is more about my outdoor Meraki MR universal tripod adapter. Stay tuned for the Aironet and Catalyst one.

The only downside is its weight. Also, watch out for packaging. The first one I ordered arrived with the bottom of the box open and the head, where you insert the 1/3″ and 3/8″ adapter, was damaged. So, it took one return to get an undamaged one.

 All three tripods are supplied with 1/4″ to 3/8″ adapter.

Neewer 4-meter tripod in the wild
Even the replacement one had some extra tape applied, fortunately undamaged this time