OWC Thunderbolt 3 to 10 Gbps Ethernet Adapter – The Fastest Multigigabit Adapter For Your Mac

When it comes to the fastest copper Ethernet adapter for your Mac, you have only 2 options:

  • If your other half approves, get yourself an M1 Mac Mini with built-in 10 GbE port. It doesn’t get much better than this.
  • Or you can consider an add-on 10 Gigabit Ethernet Thunderbolt 3 adapter for your current Mac.

We will focus on the latter today.

Thunderbolt 3, not USB

While the USB-C connector might temp you to connect these adapters to a standard USB port, these adapters don’t support USB protocol. They use Thunderbolt 3 and they happen to use the same USB-C connector as USB. That’s the only thing USB and Thunderbolt have in common. Before you order one of these adapters, double-check that your computer supports Thunderbolt 3. That should be most new MacBooks, Mac Minis, Intel NUCs and similar platforms.

Which 10 GbE adapter shall I buy?

I tested two of these Thunderbolt 10 GbE adapters. One made by Sabrent, and the other by OWC. They both look alike, both perform very well, both get quite warm, and both work out of the box on macOS. Yes, no driver installation required on your part on macOS! 🎉

Mainly because of the loose Sabrent cable issue explained below, I recommend the OWC adapter. It comes with great documentation, and even the Thunderbolt cable itself is thicker, feels premium, and most likely delivers better shielding.

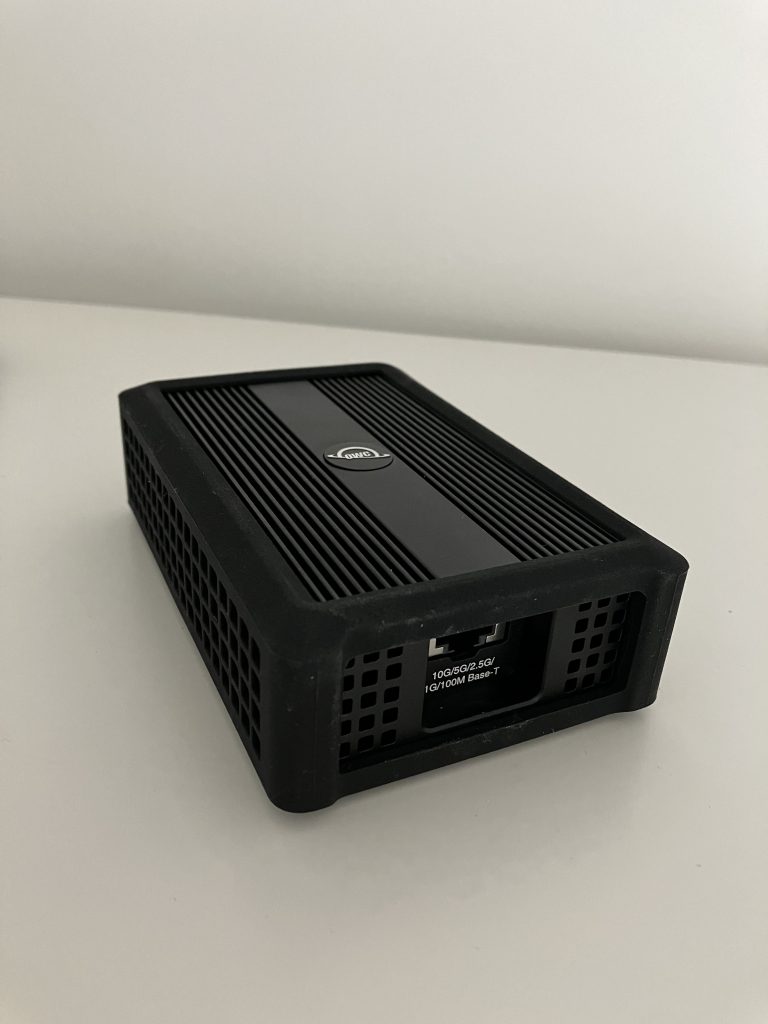
OWC Thunderbolt 3 10G Ethernet Adapter OWCTB3ADP10GBE

From throughput perspective, I personally tested it up to 3 Gbps down and 3.3 Gbps up using iperf3 with default settings. The limitation is on my part, I just don’t have another 10 GbE computer I could test against.

I’ve seen reports of:

  • between 7 Gbps and 8.74 Gbps uplink speeds with default iperf3 settings
  • 9.5 Gbps uplink iperf3 speeds with Jumbo frames enabled

When I reviewed 2.5 GbE and 5 GbE adapters, this setup has become my reference I ran all iperf3 tests against.
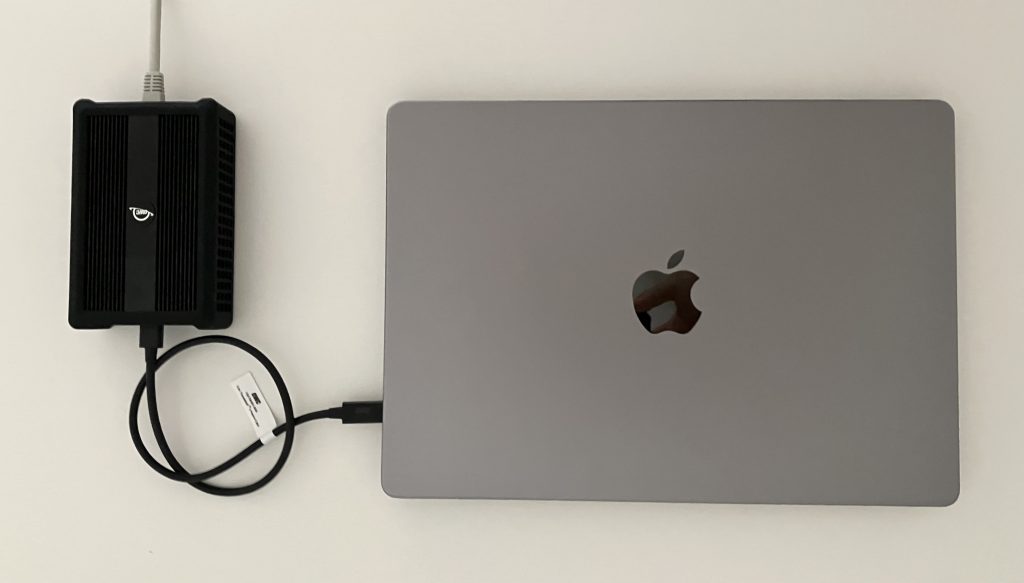
OWC connected to an M1 MacBook Pro
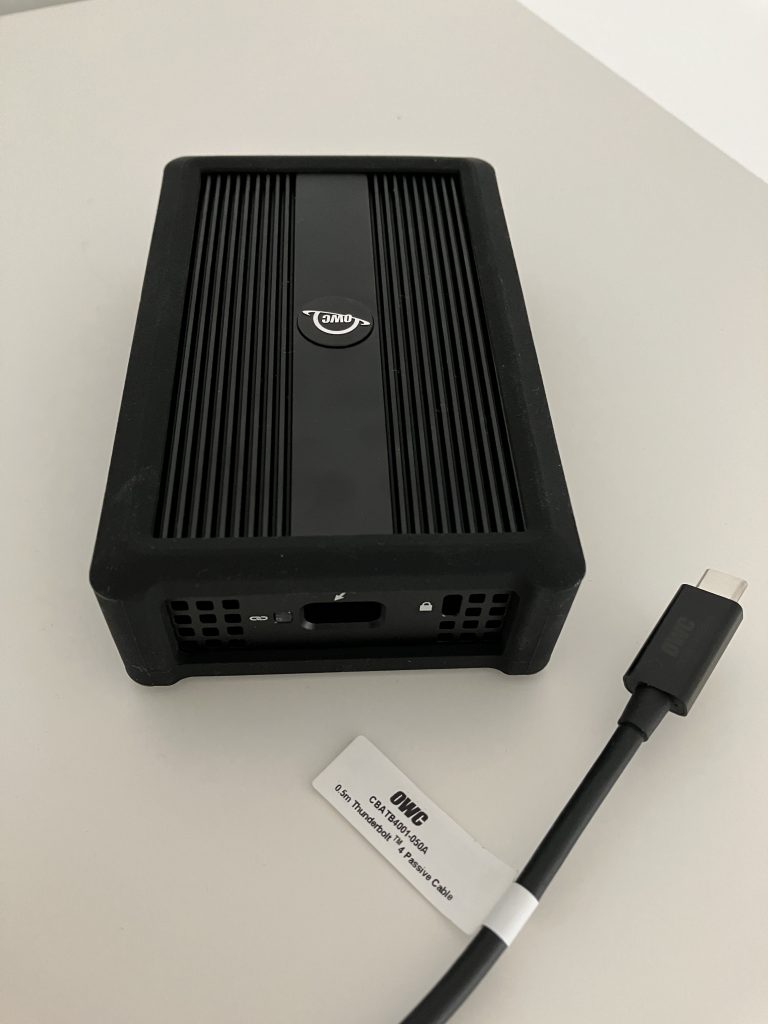
Thunderbolt side
Ethernet side
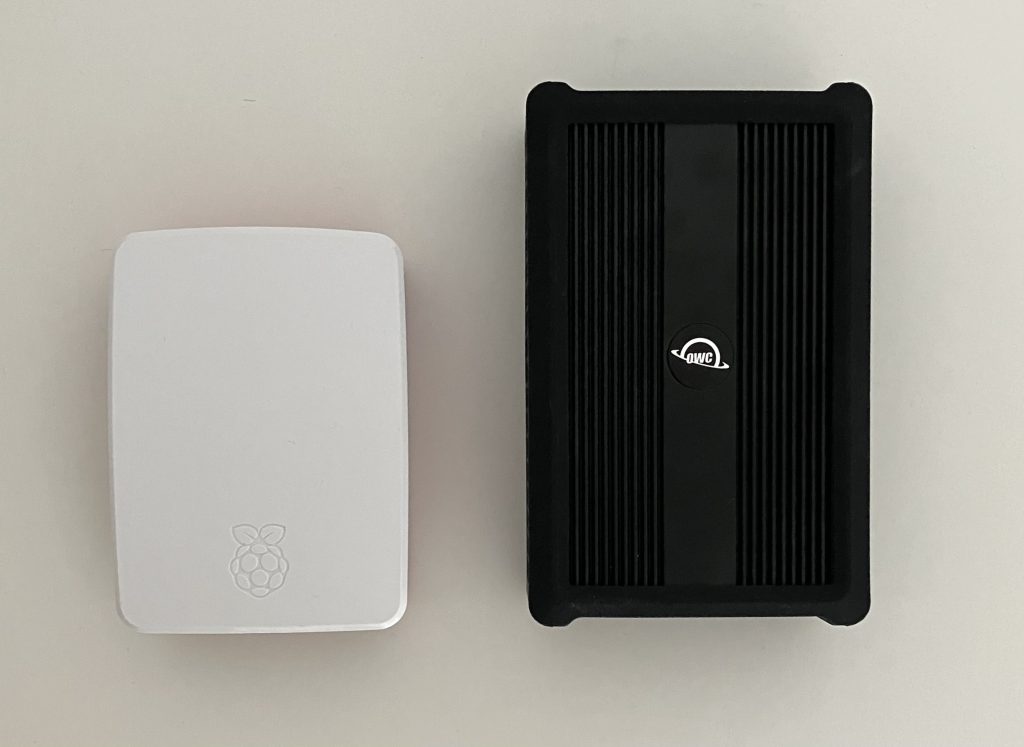
Raspberry Pi 4 for scale
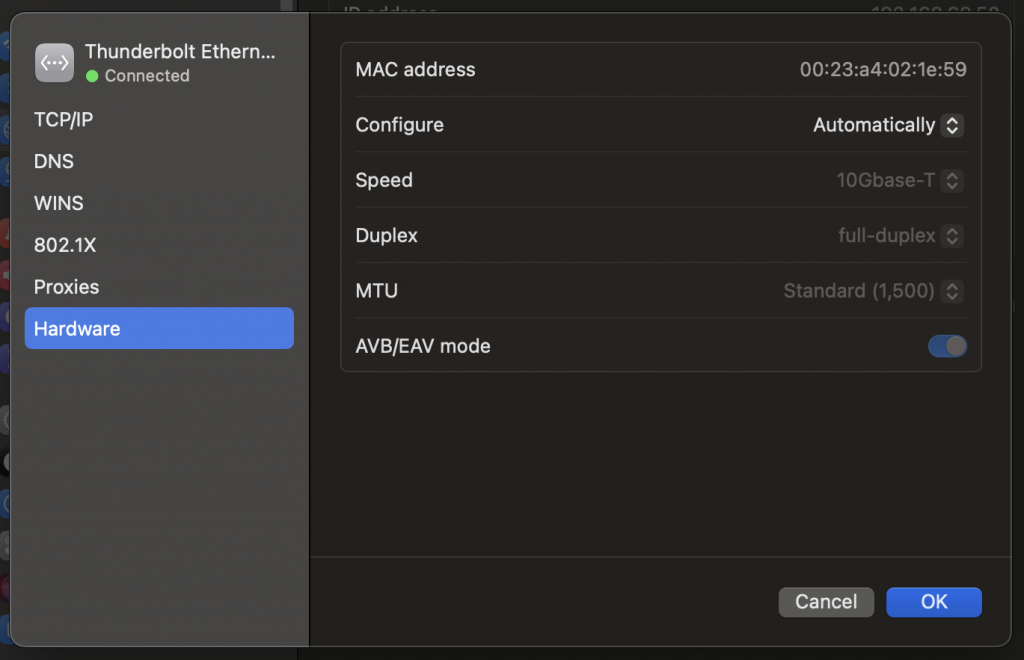
10 Gbps Full Duplex
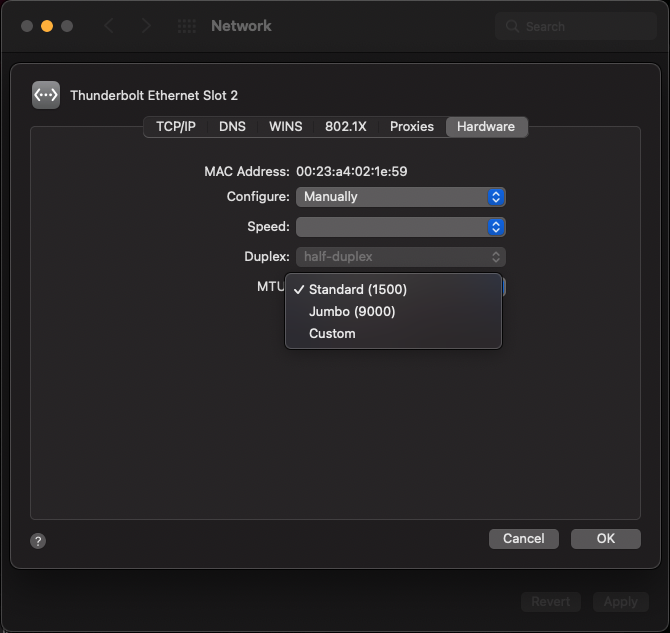
It supports Jumbo frames including a custom MTU setting

VLAN tagging

The OWC adapter also supports VLAN tagging. Here is my Trunk port with Native VLAN 129:

Trunk port configured on the access switch

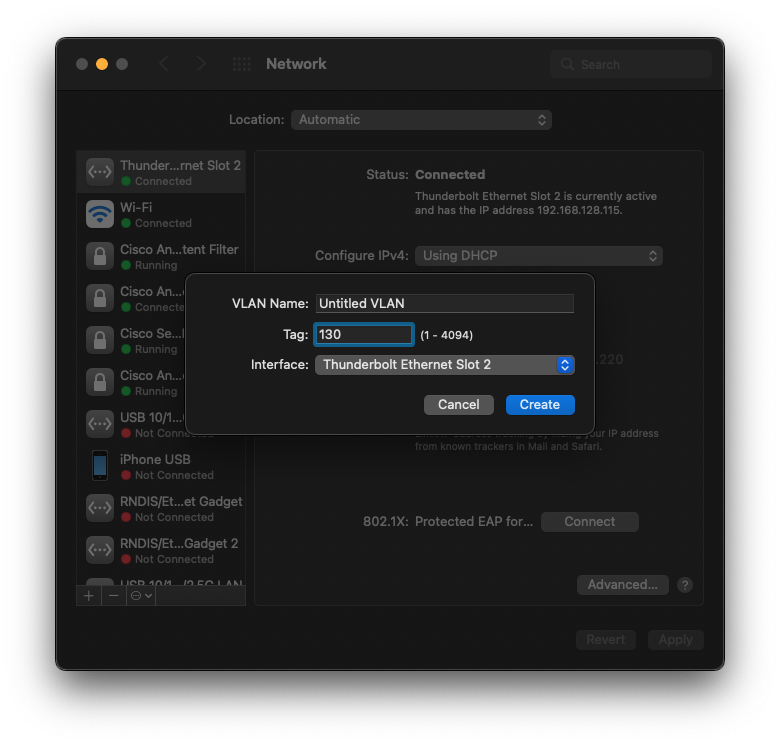
Let’s tag all traffic with VLAN 130:

Create VLAN interface on macOS

Verify that we are indeed in VLAN 130:
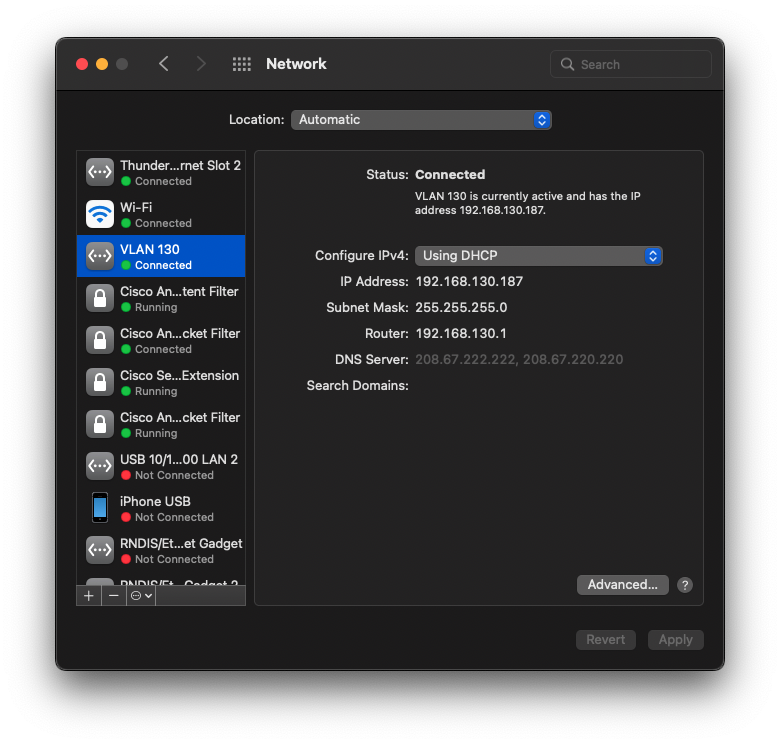
VLAN 130 is being used instead of the Native VLAN 129

If you only want to use VLAN 130 (without touching the Native VLAN 129), you can disable the adapter itself. VLAN 130 virtual interface will stay up and forward traffic.
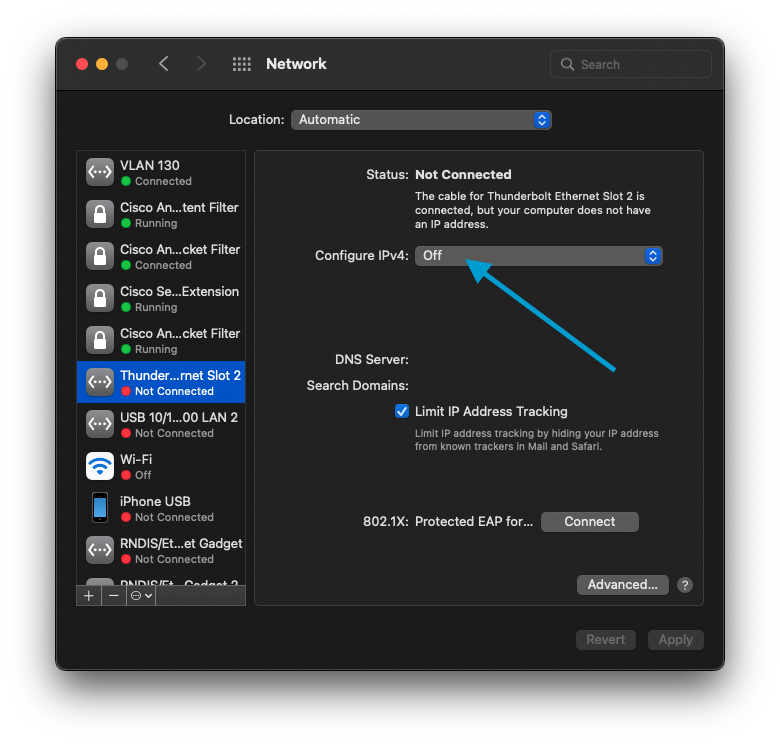
Disable the Native VLAN 129 and only use VLAN 130 for all traffic

Sabrent Thunderbolt 3 to 10 Gbps Ethernet Adapter TH-S3EA

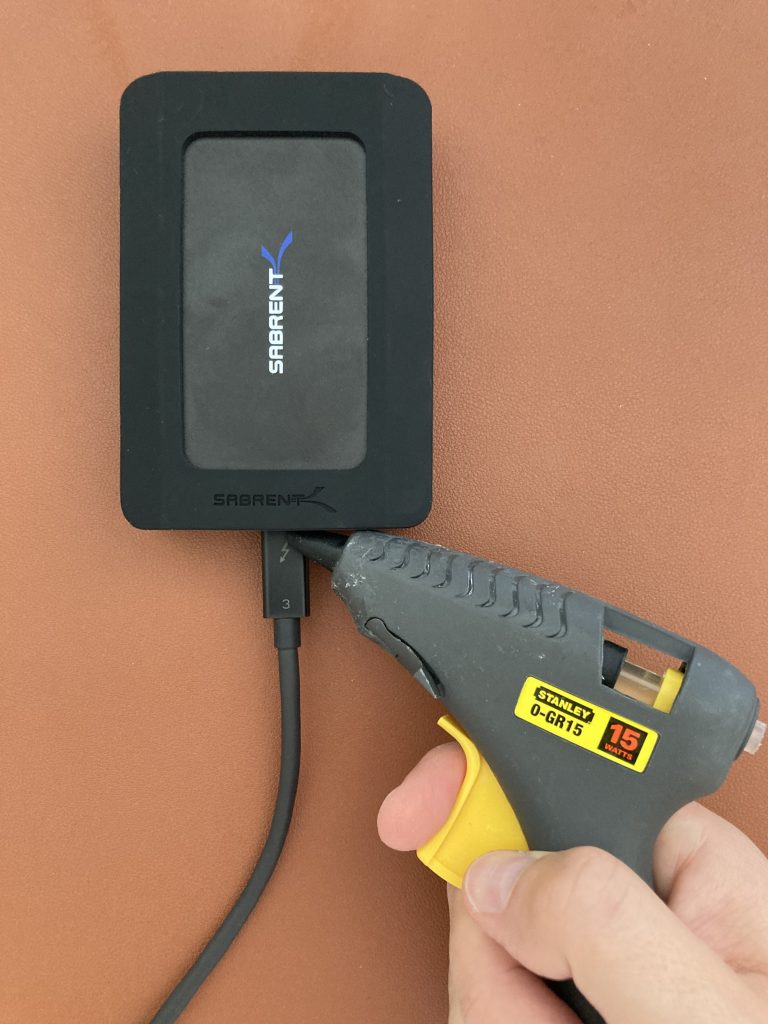
I won’t go into the detail, but my main challenge with the Sabrent adapter was its loose Thunderbolt cable. The connection between the USB-C socket on the adapter and the USB-C connector on the Thunderbolt cable is very loose and practically pulls out just by the tension of the cable itself. It might have been just my unit, but I can’t recommend it.
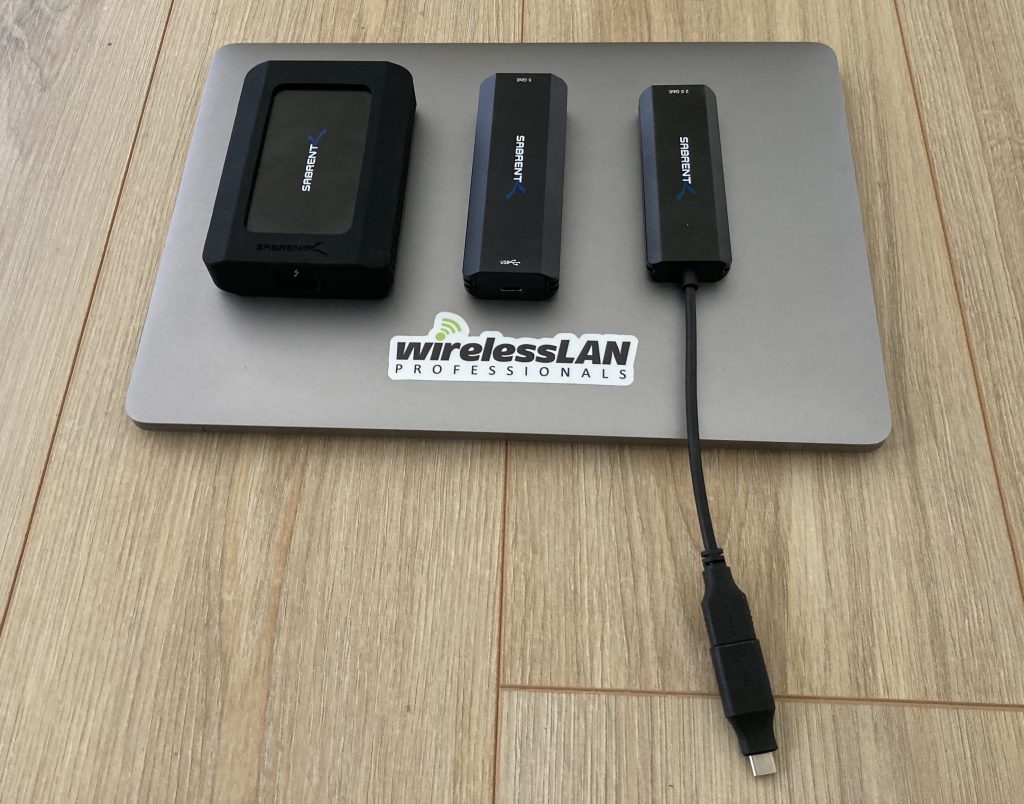
Sabrent Thunderbolt 3 to 10Gbps Ethernet Adapter on the left
It almost felt like it needed some hot glue to keep the Thunderbolt cable connected

What about Windows and Linux support?

I tested the Sabrent adapter on Windows 10. It required a Sabrent driver installation and then it worked just fine. I would assume the same for the OWC.

I don’t have a Linux computer with a Thunderbolt port, so I can’t share anything on that front.
Apple AirTag from iPhone SE user’s perspective

Many people are talking about the Ultra Wide Band (UWB) precision finding supported by AirTags and the last two generations of iPhones. It is possible thanks to Apple’s U1 chip. This feature on its own might quite likely be a good enough reason for many users to upgrade to the latest iPhone.

Since I don’t own iPhone 11 or 12, I was curious what the experience was from iPhone SE or XR user’s perspective. Due to the lack of the U1 chip, these phones don’t support UWB and “Precision Finding”. Instead, they use Bluetooth and “Proximity Finding”.

“With You” Bluetooth accuracy and audible alarm

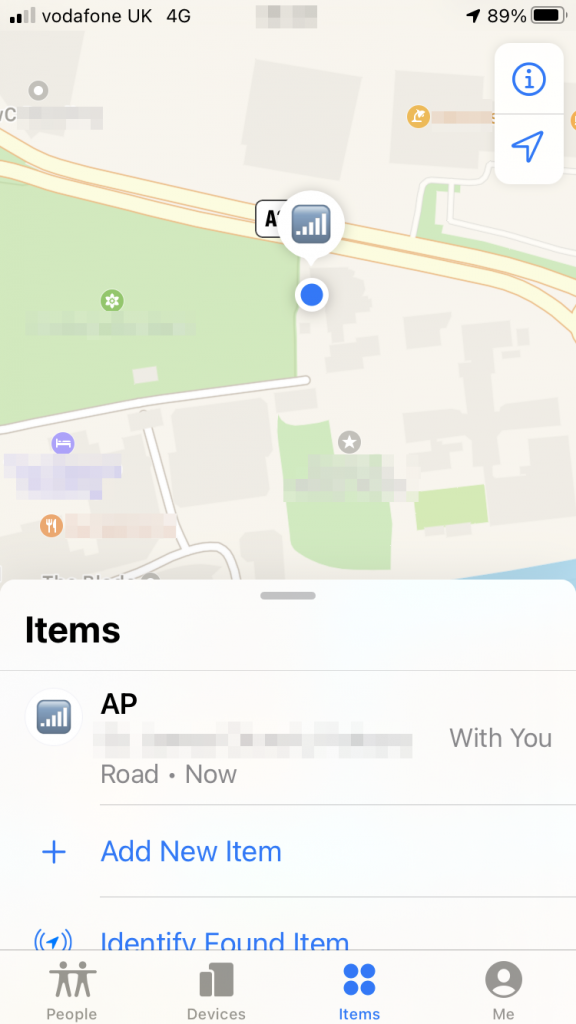
When the tag is “With You”, that means that your iPhone or macOS device can hear the Bluetooth signal beaconed by the AirTag. In this mode, location accuracy seems to be around 10 meters (depending on where it is and if indoors or outdoors). The lack of the UWB support means that the SE or XR can’t detect the direction you or the AirTag is moving in.

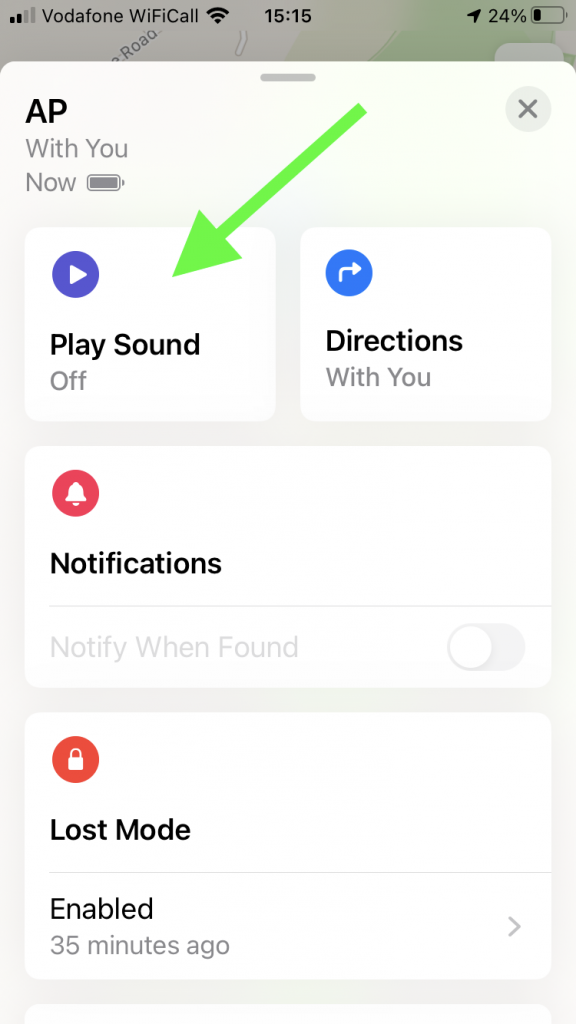
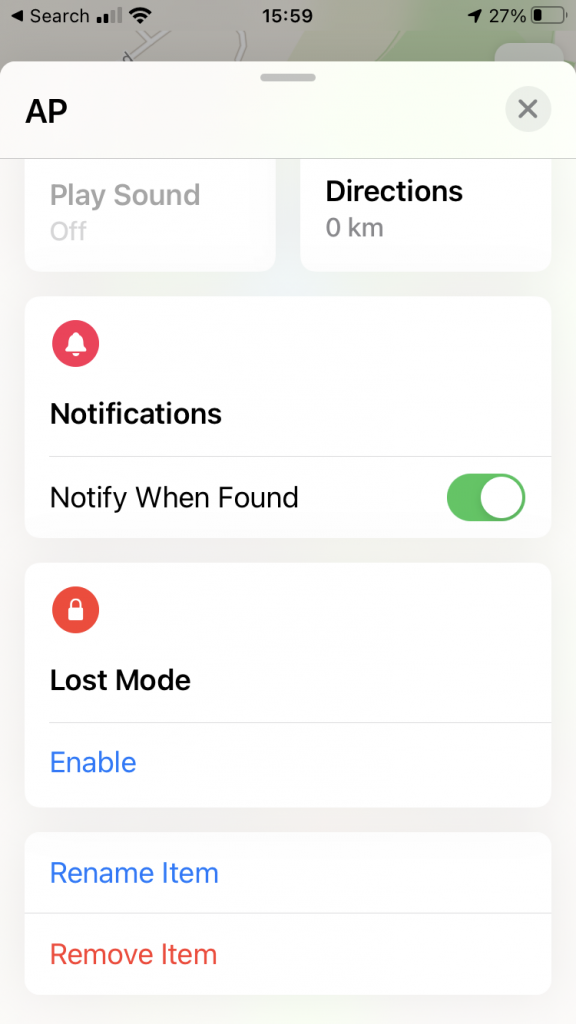
Since the AirTags is “With You” (shown in the screenshot above) and is reachable via Bluetooth, you can activate the audible alarm and find its exact location this way.

Active Bluetooth connection to the tag is required to activate Play Sound

Detached mode accuracy and refresh rate

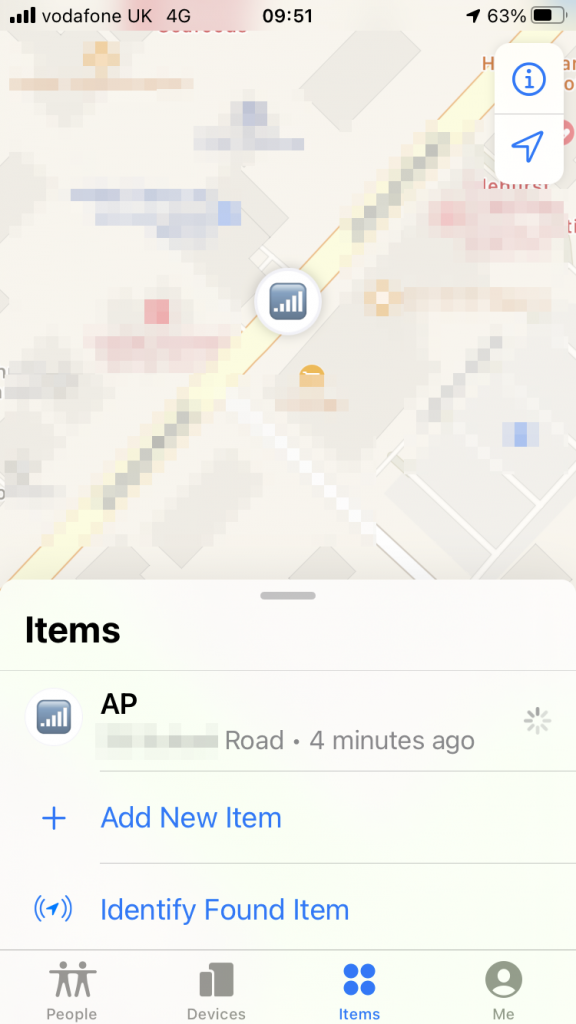
When the AirTag becomes detached from your iPhone or macOS device (tag’s Bluetooth signal is lost), the tag then relies on other people’s iPhones and macOS devices. As soon as their device hears the Bluetooth signal of your lost AirTag, it relays (or reports if you will) the tag location to iCloud. Thanks to the crown-sourced relayed location, you will be able to see your tag’s current location in the Find My app although you are not anywhere the tag. The AirTag does not even have to be in the Lost Mode. Location finding works in its standard mode.

Location in the Find My does not update instantly. Based on my tests, it refreshes every 5 to 15 minutes.

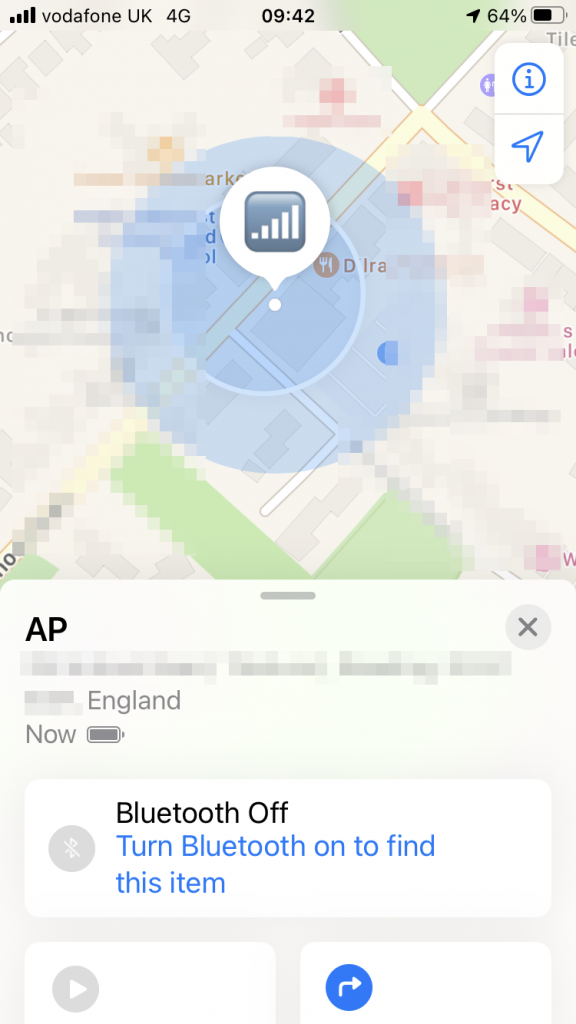
When it comes to location accuracy relayed by other people’s iPhones and macOS devices, it ranges from approximately 10 meters to 110 meters.

Relayed location – accuracy around 10 meters
Relayed location – accuracy around 110 meters

Can Wi-Fi-only iPads relay location?

No, they can’t. I tested a couple of iPads connected to Wi-Fi with Bluetooth enabled and placed them in close proximity of the AirTag. They did not relay location. As far as I can tell, only iPhones and macOS devices can relay location of a tag.

Can cellular iPads relay location?

I don’t know. Please test it if you have one and tell me;-)

Lost mode

In the unfortunate event of losing your item, you can switch the tag to the “Lost mode” and receive a push notification whenever the AirTags gets automatically reported by someone’s iPhone or macOS device.

Activate Lost Mode and push notification

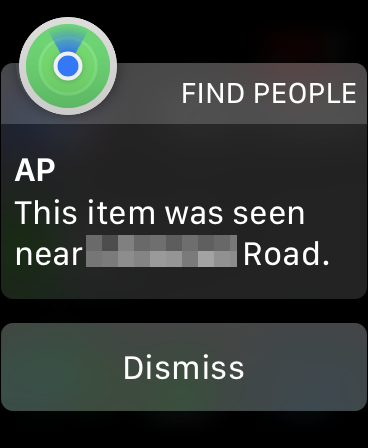
When that happens location, you receive a notification. Currently, there seems to be a cosmetic bug as the text of the notification does not show the latest location of the tag, but its previous location. When you open “Find My” app, you will see the correct and latest location though.

Item found notification received on Apple Watch

My test setup

  • iPhone SE 2nd generation running iOS 14.5
  • MacBook Pro running Big Sur 11.3.1
  • iPad Mini 5th generation running iOS 14.5
  • iPad Air 2nd generation running iOS 14.5

What is your experience with AirTags?

I am curious what your experience was. Have you tested any other scenarios? Have I missed anything. Please do let me know in the comments and I will update the post.