With the help of few others, I added some new features to the Front Panel Menu System (FPMS) of the WLAN Pi. I refer to these as “networkinfo”, if you were wondering where the name came from. I am really pleased that most of them actually made it into the official WLAN Pi image and are available to you out of the box. Here is some documentation for you so that you do not have to reverse-engineer the code.
iPhone USB Tethering on WLAN Pi
iPhone USB tethering on the WLAN Pi lets you use your iPhone or iPad as a cellular modem and share the internet connectivity with the WLAN Pi. It also charges your iPhone, which is nice.
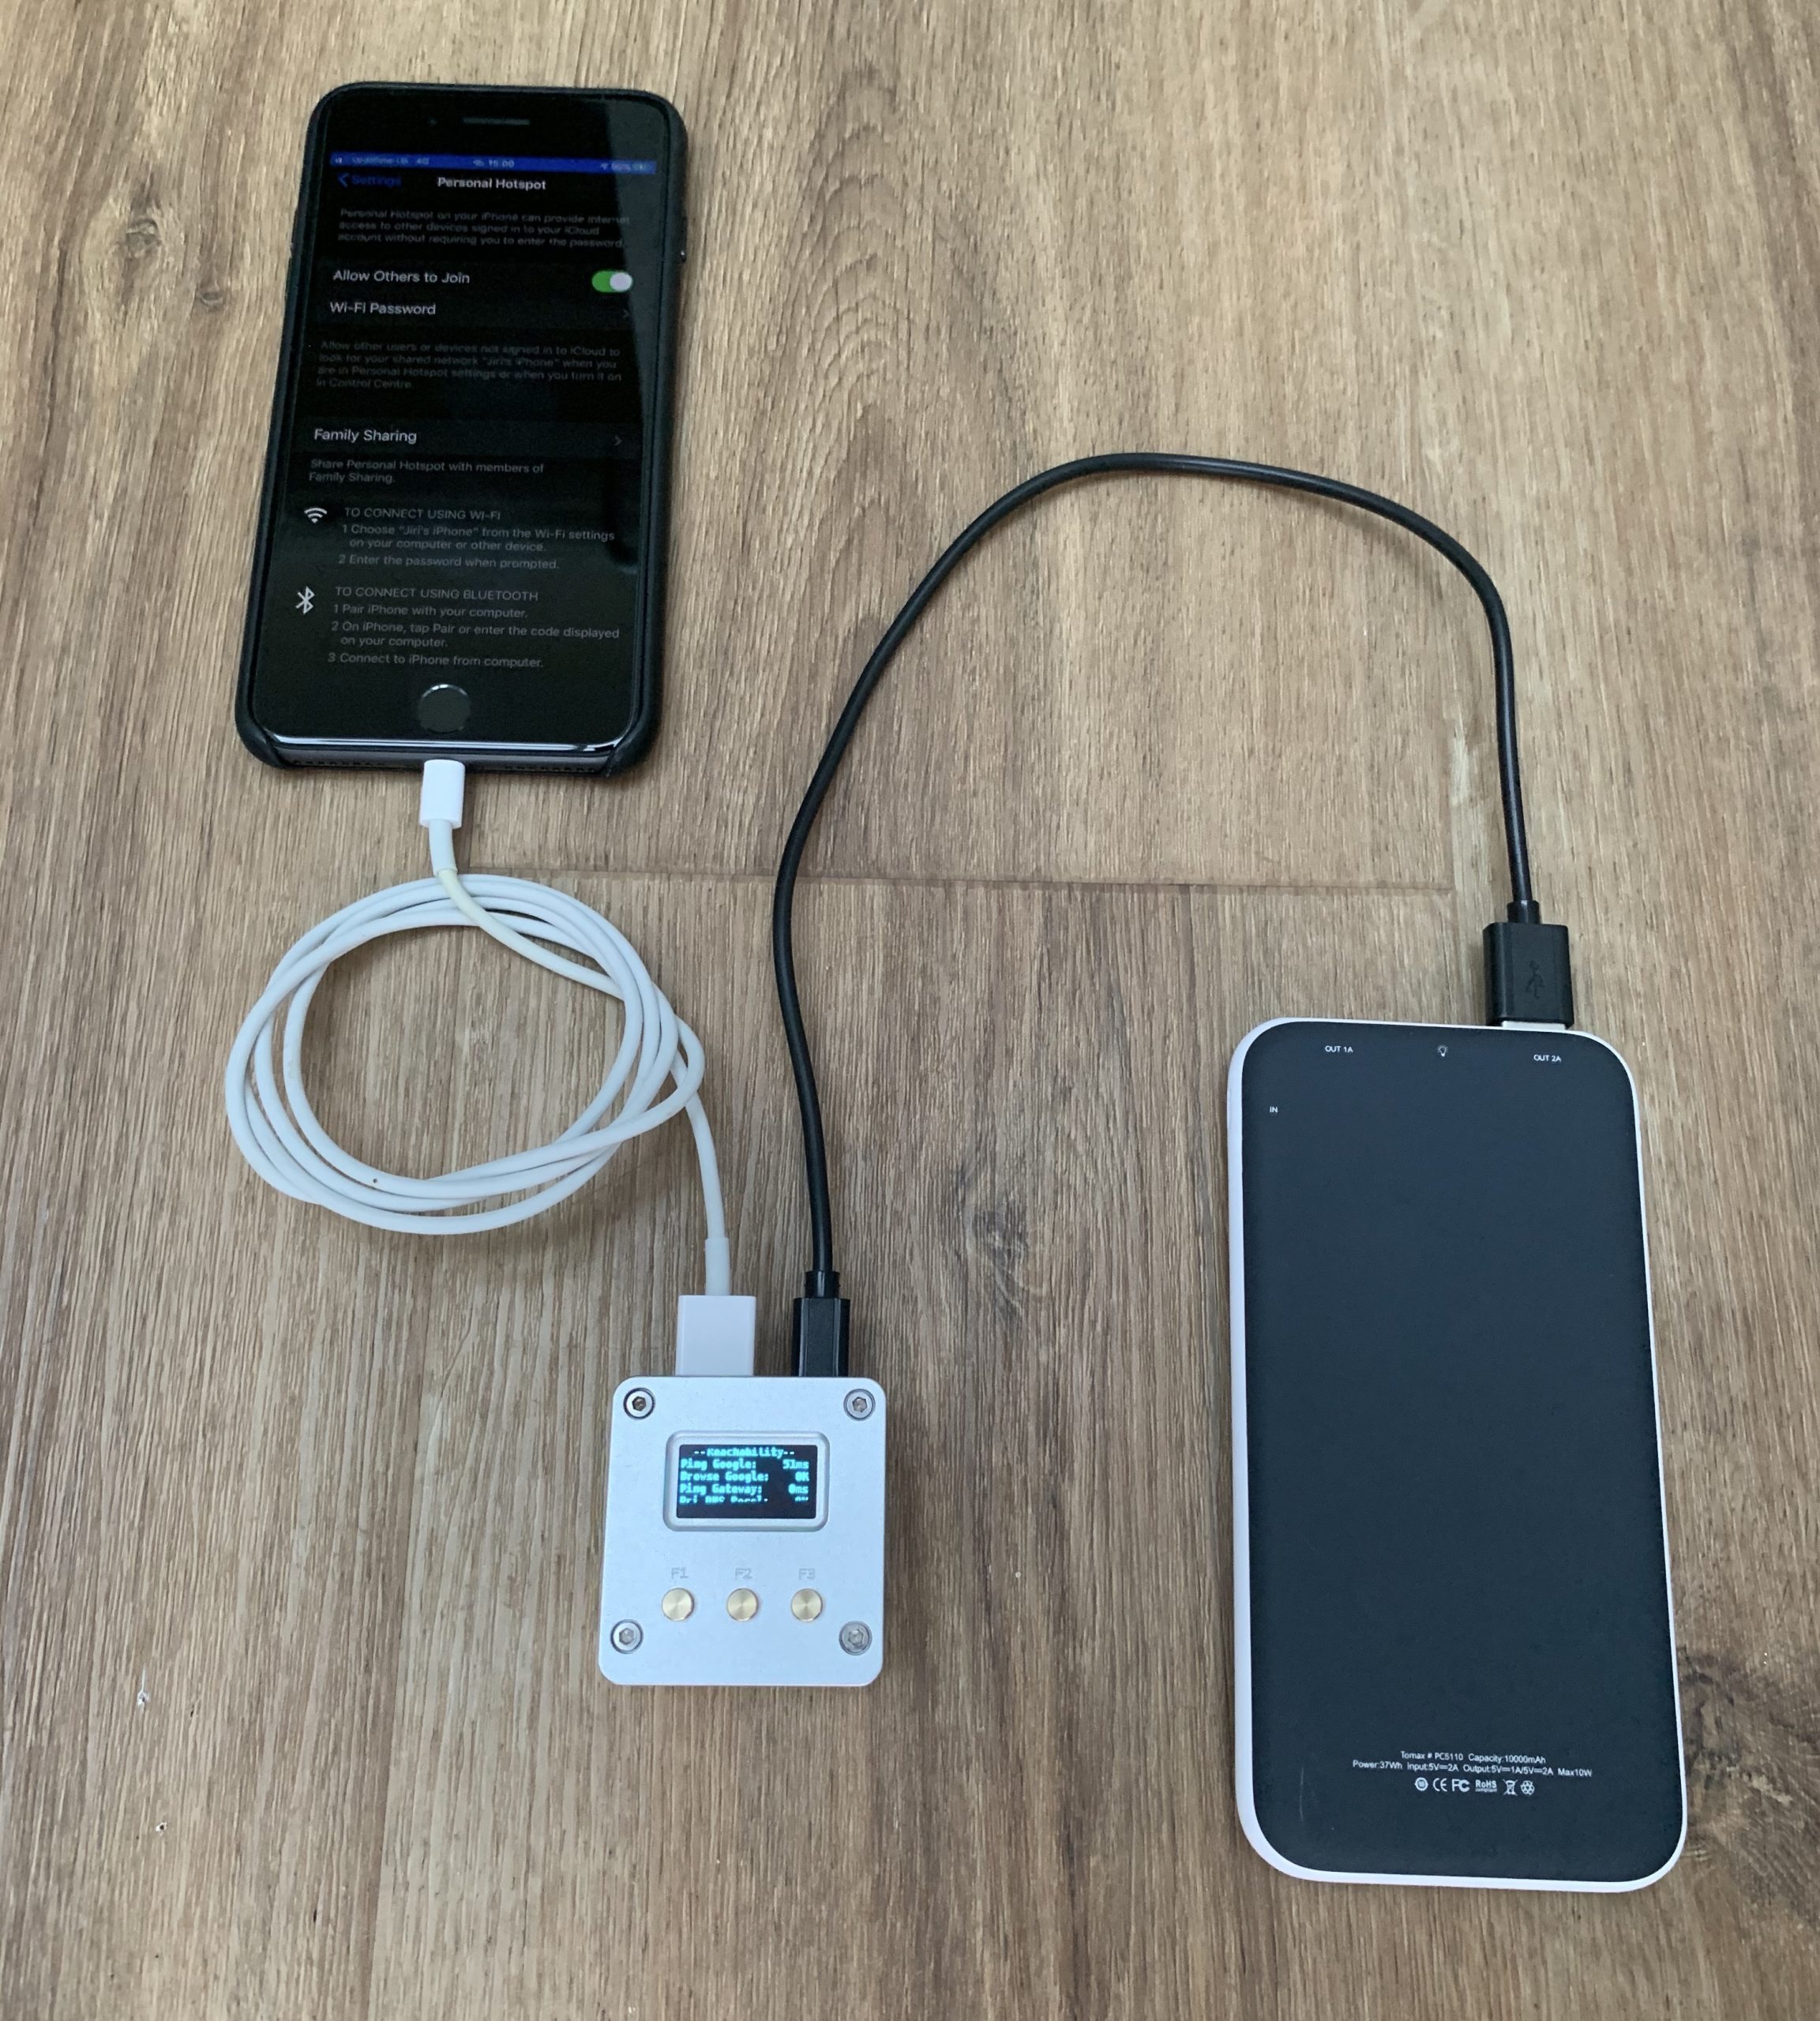
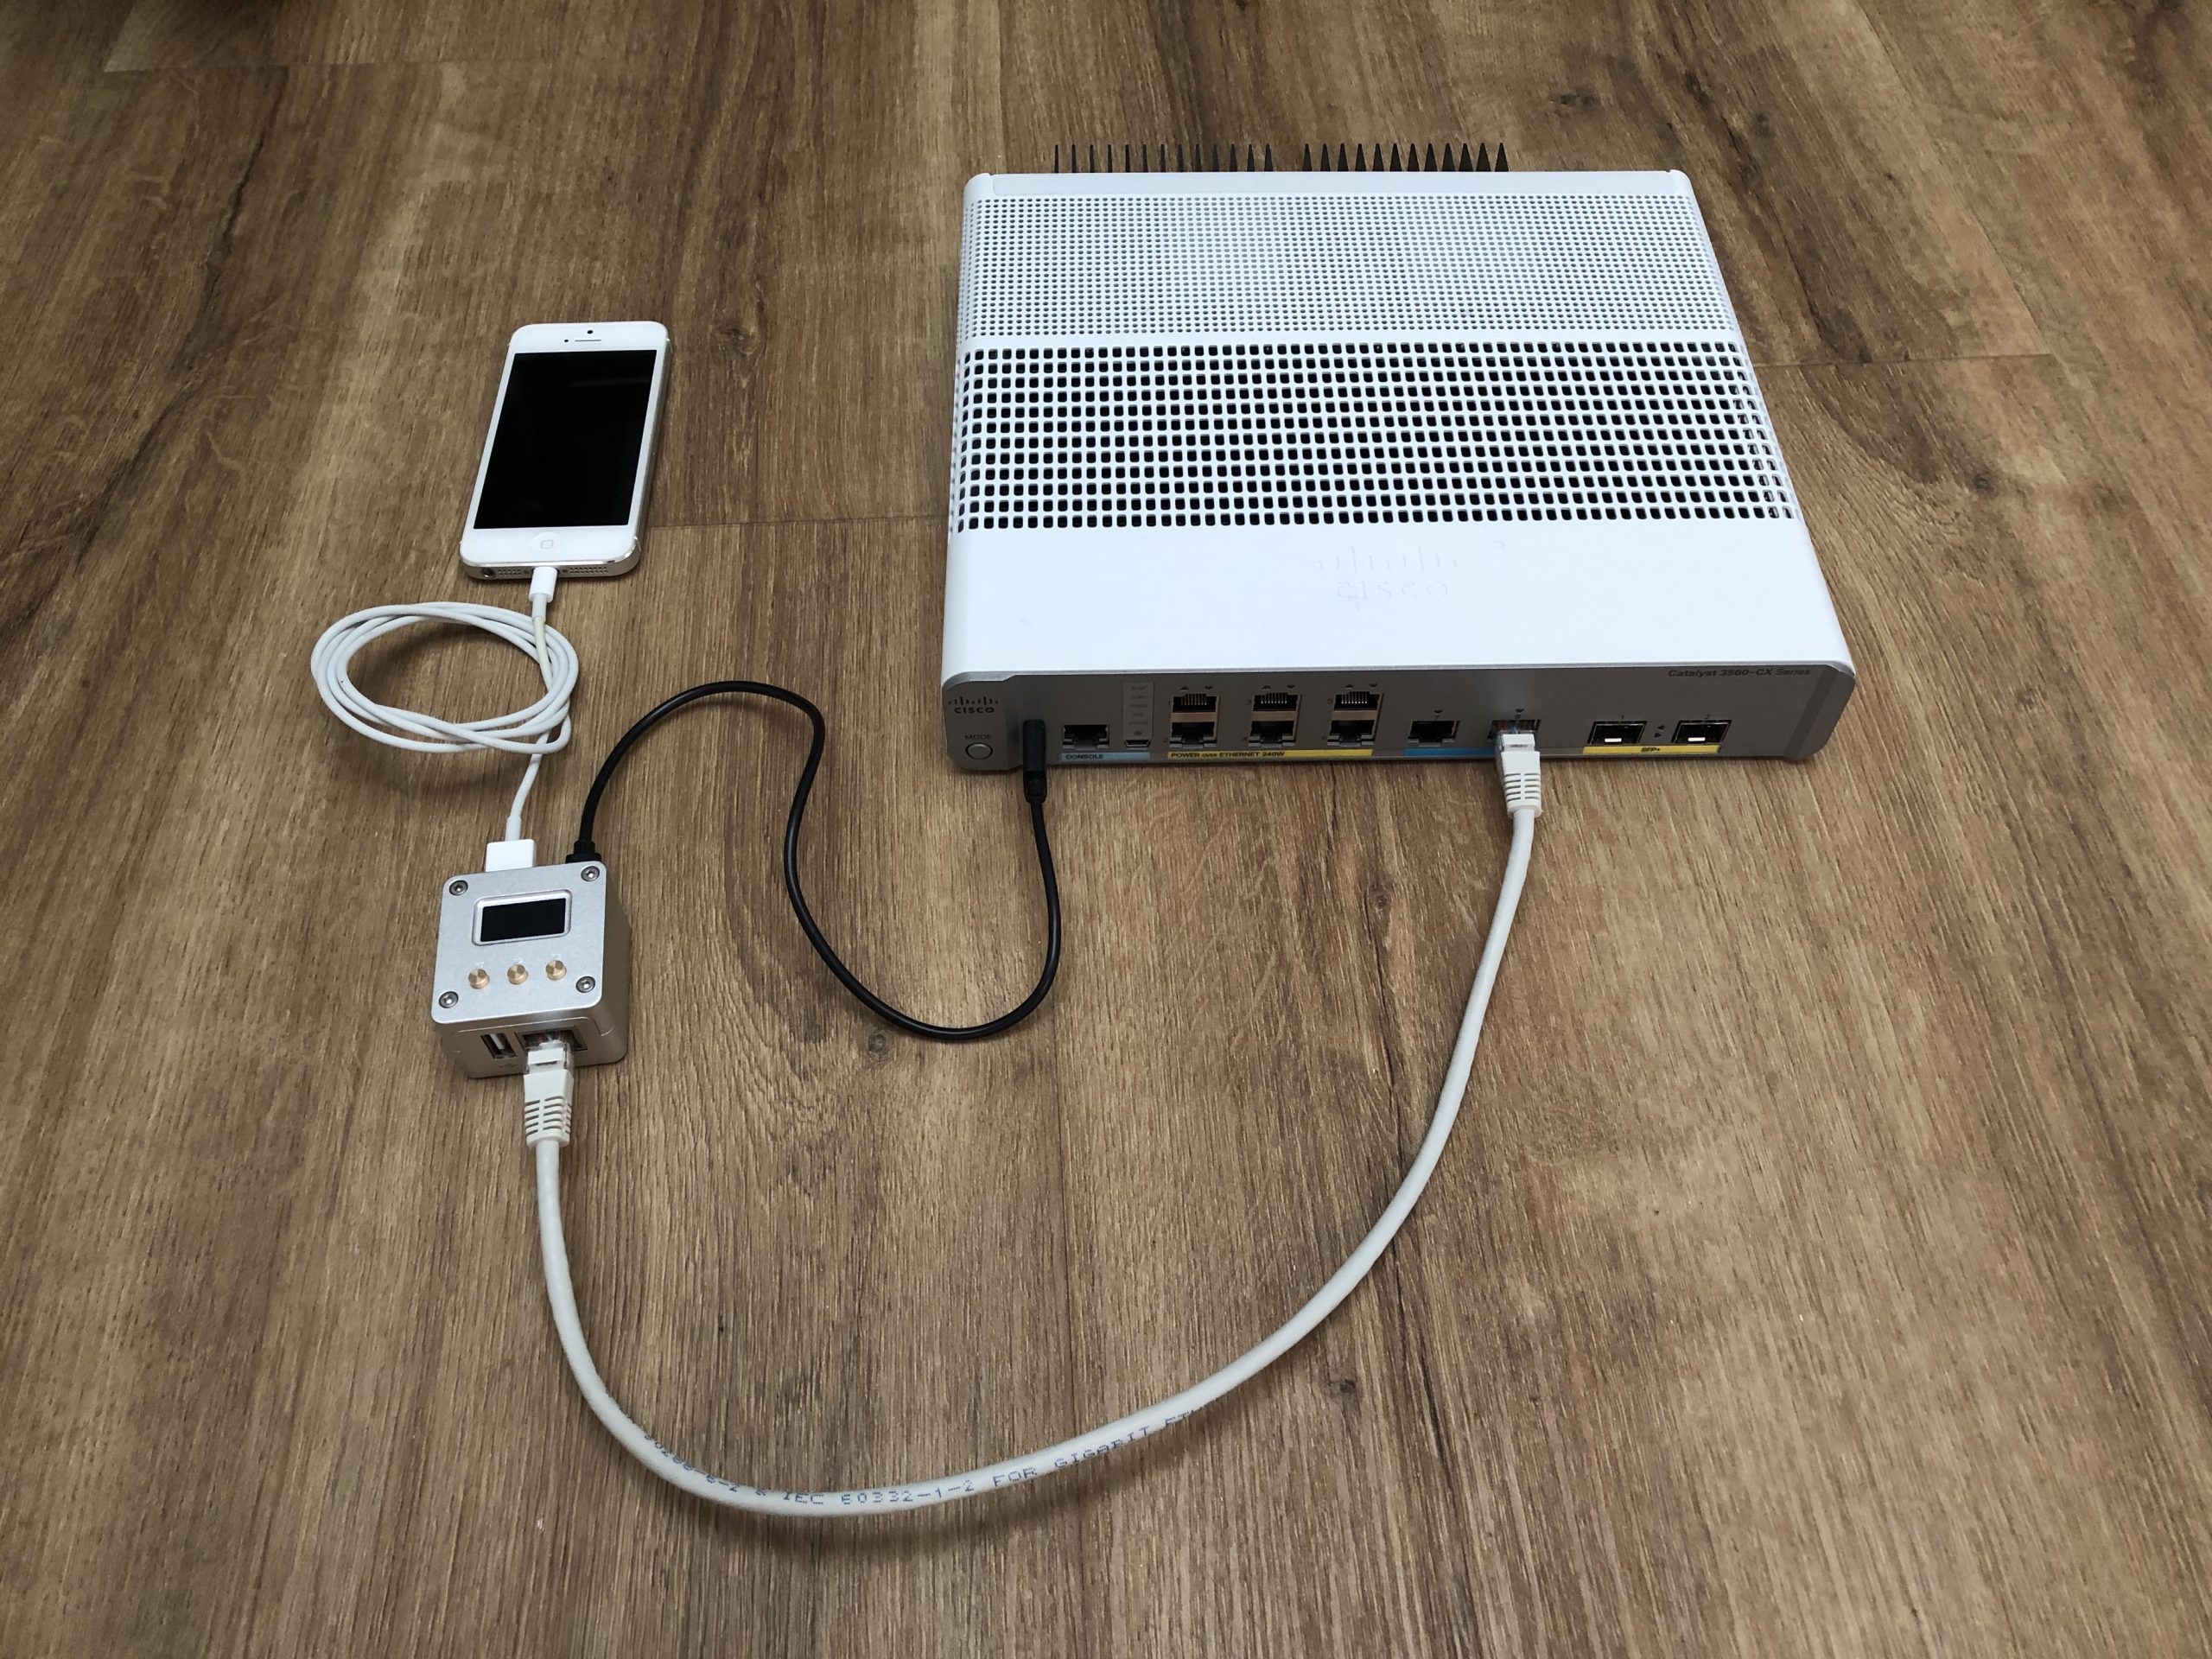
You can even take this one step further. Perhaps you have multiple other devices connected to a switch and you need to provide temporary internet connectivity to all of them. That is where the USB Tethering mode comes to the rescue.
Here is my other blog post with step by step instructions on how to enable iPhone tethering on the WLAN Pi.
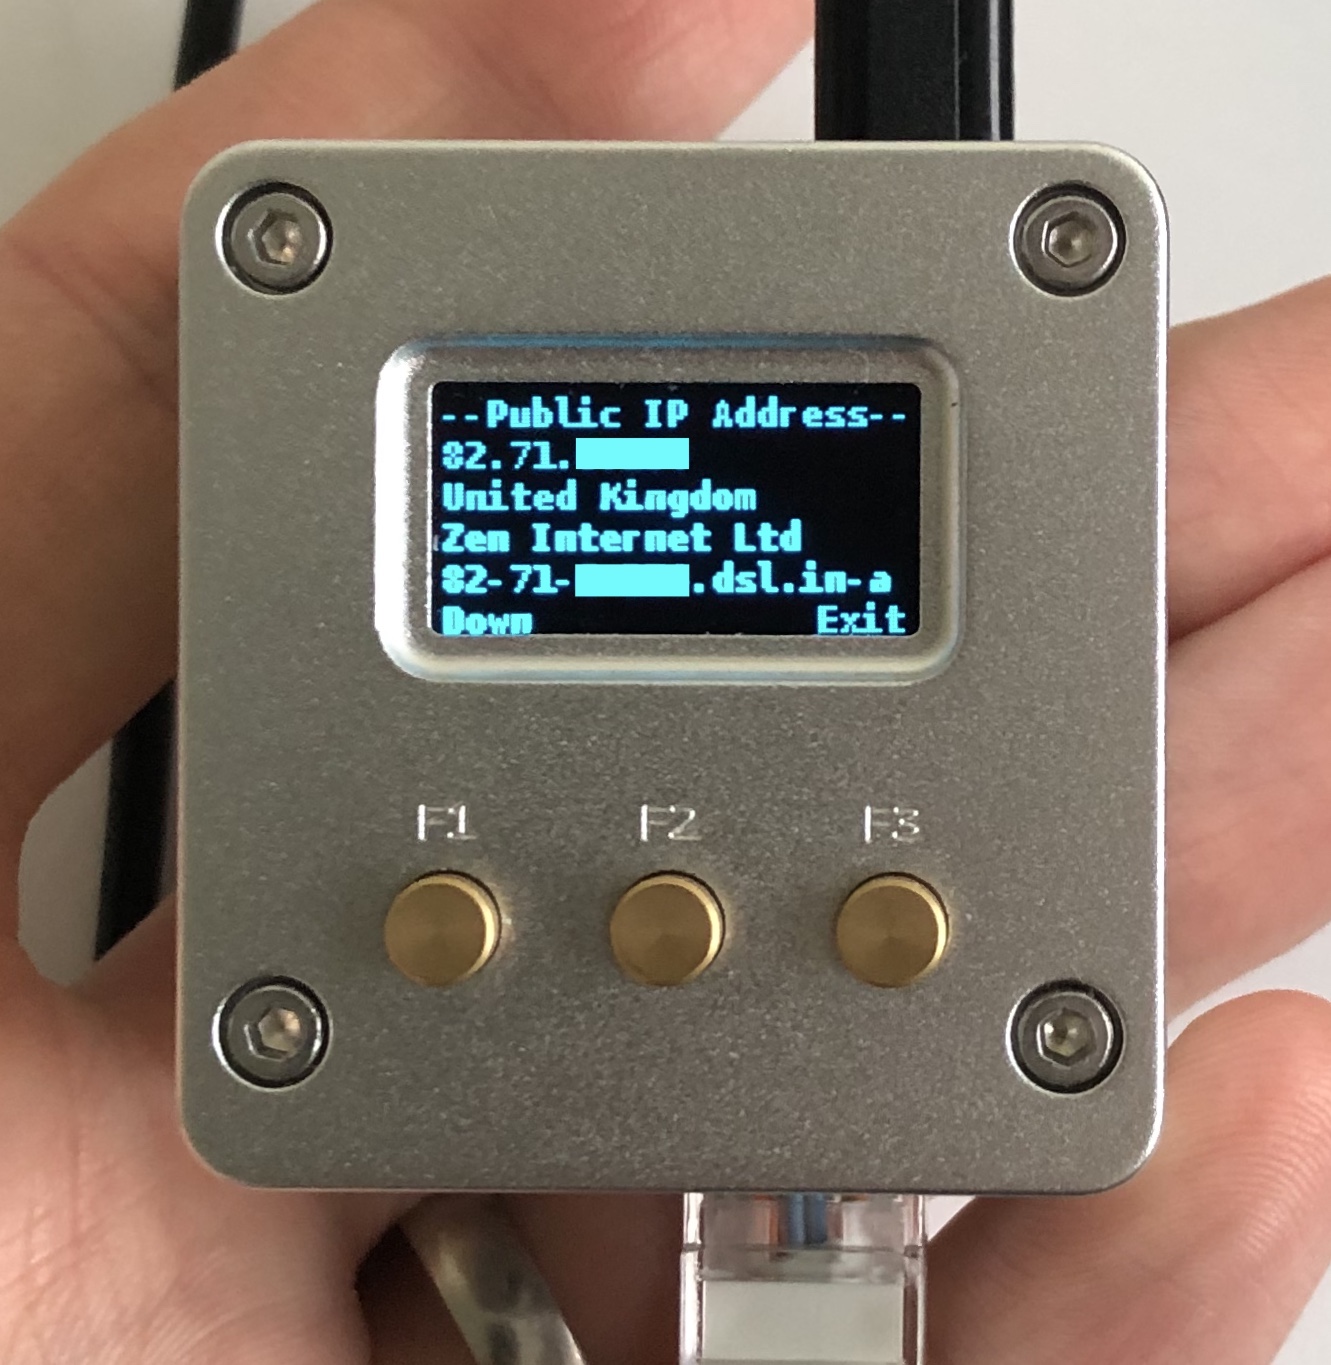
Public IP Address
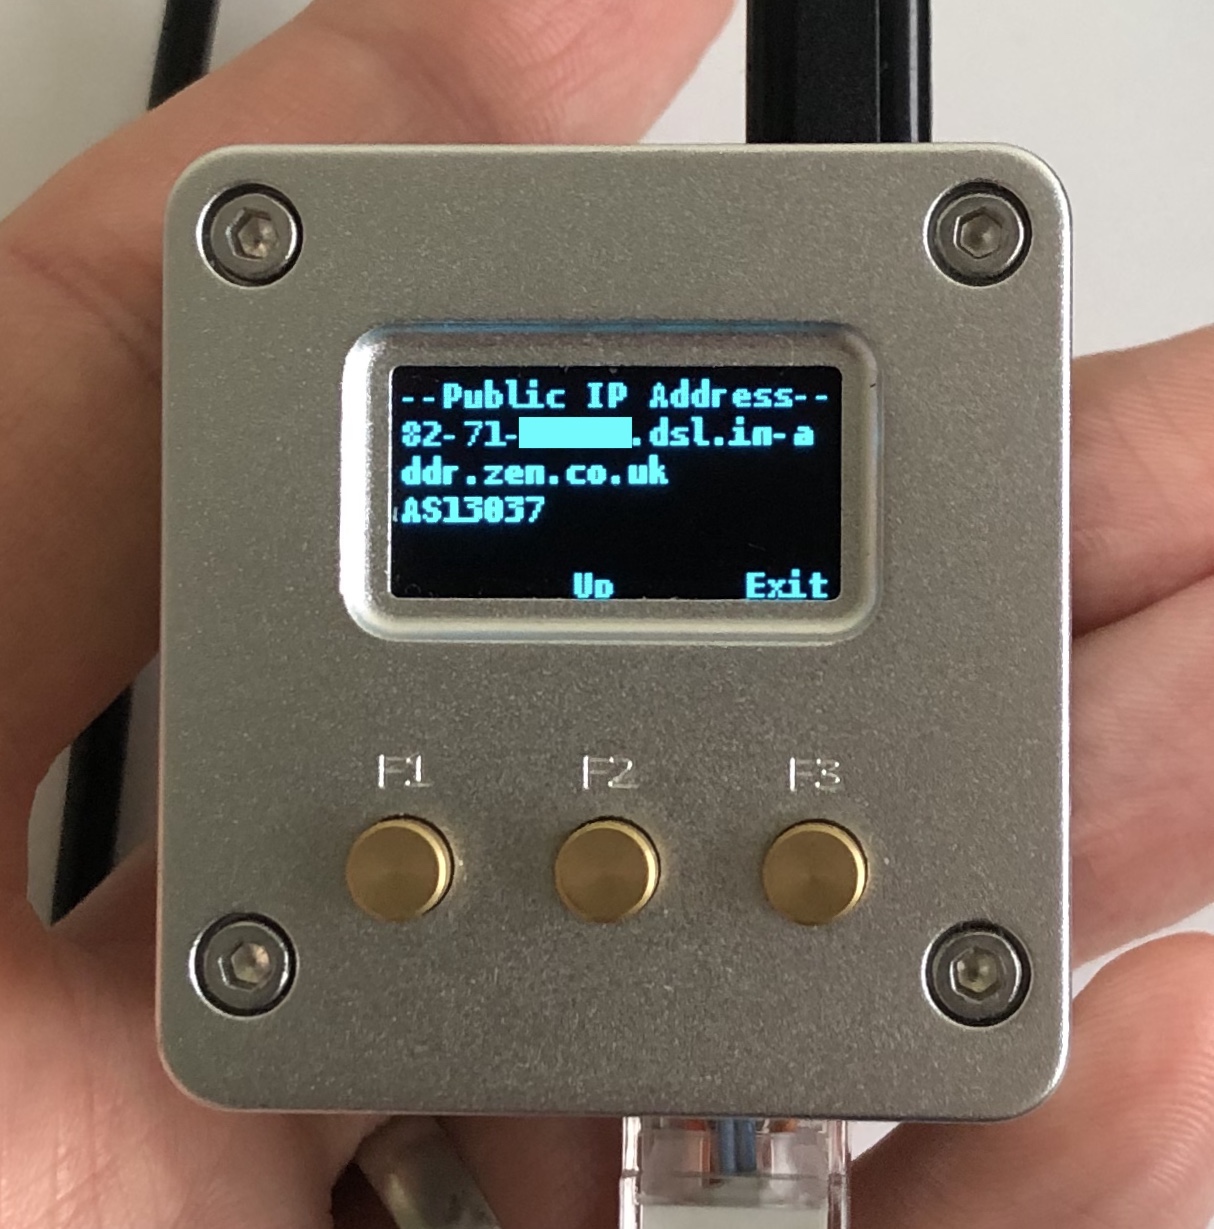
“Menu > Network > Public IP Address” shows the public IP address of your WLAN Pi. Country associated to the IP address is displayed along with the AS number and reverse IP address hostname (PTR record) if available.
This feature requires internet connectivity and works with any network interface. I use a publicly available service for this called ifconfig.co.

Reachability
Have you ever wondered if your WLAN Pi had internet connectivity? “Menu > Utils > Reachability” solves exactly this problem. It executes several network tests in parallel and tells you what is reachable and what not.
To name a few of the tests, it pings google.com, tries to browse google.com and looks for “google.com” in the body of the web page (this is to prevent false positives like captive portals), tries to resolve google.com using the primary DNS server (always statically configured to 8.8.8.8 on the WLAN Pi by default), then using secondary and tertiary DNS servers, pings the default gateway and finally arpings the default gateway, which is useful when your default gateway does not respond to a standard ICMP ping request like in the photo below.
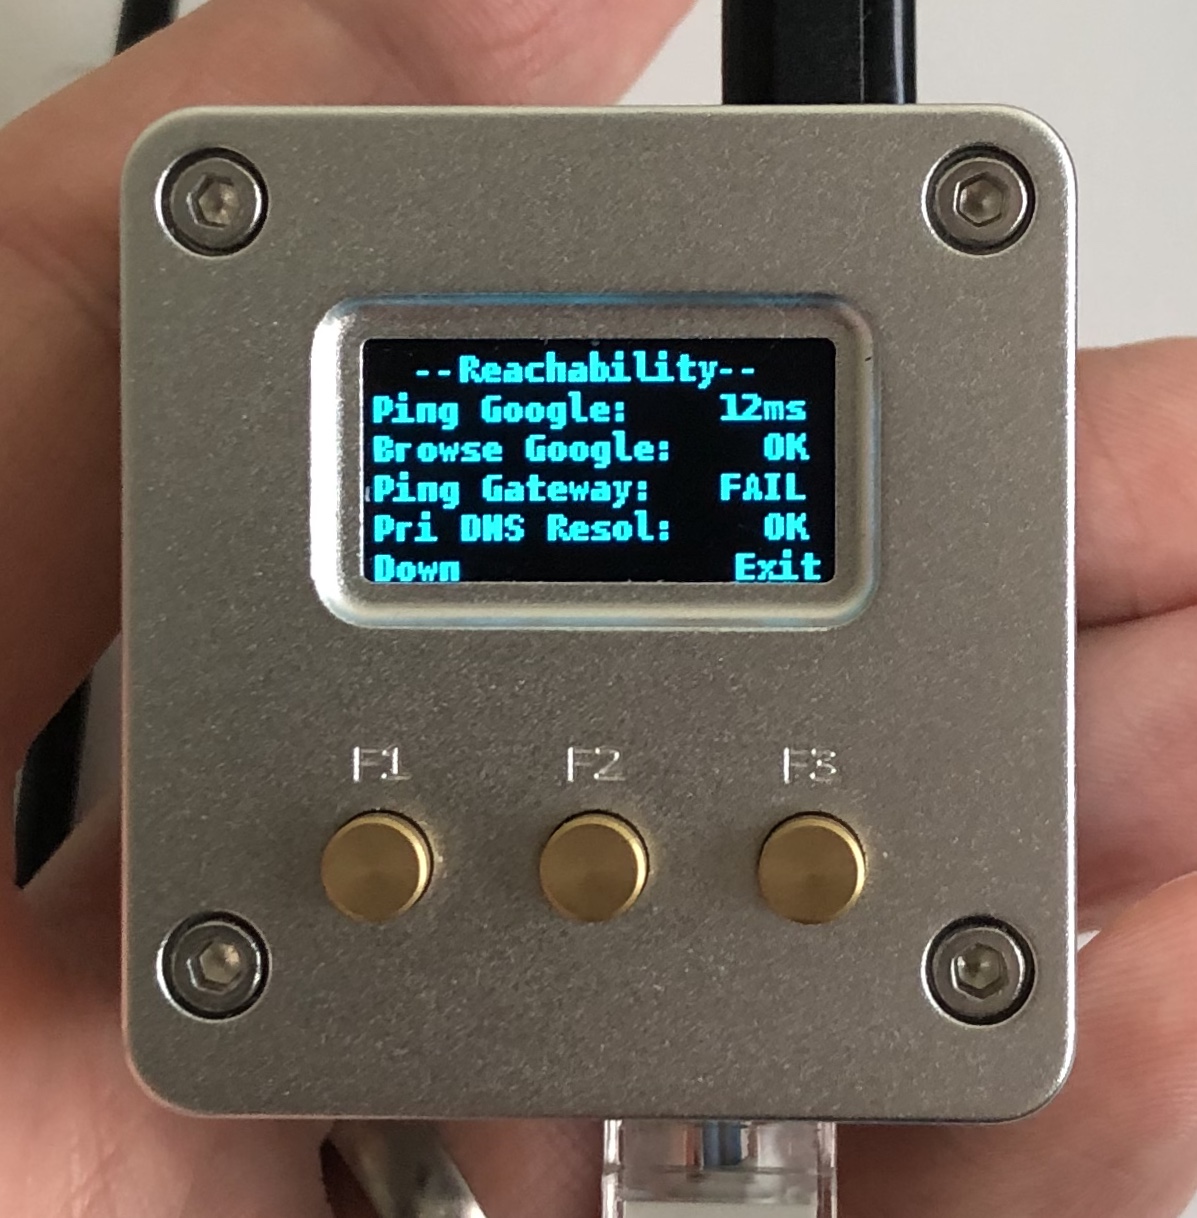
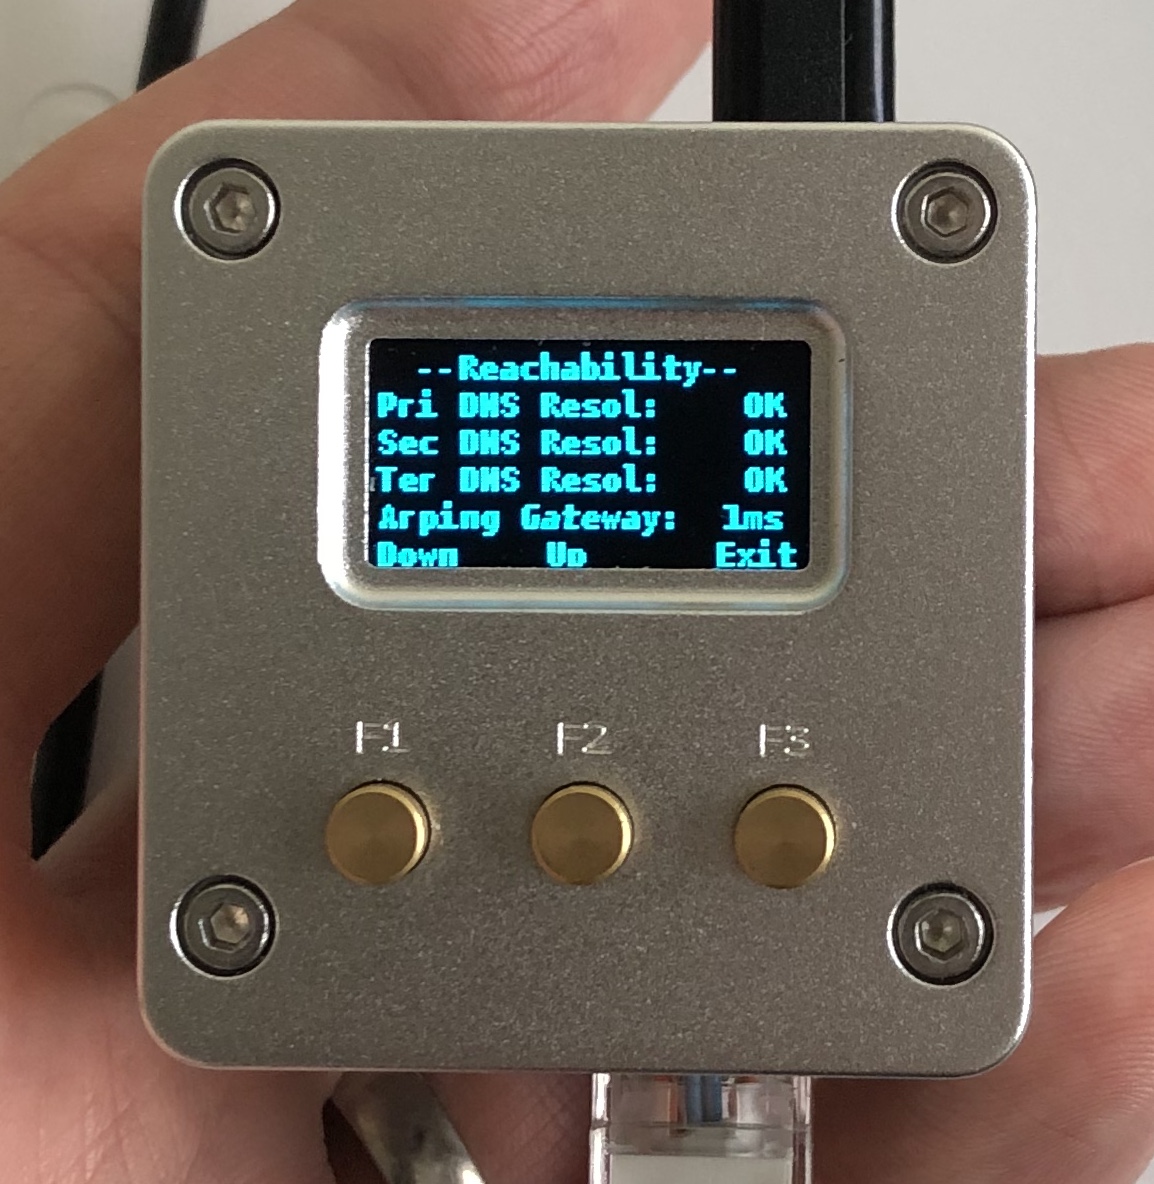
The output refreshes every 3 seconds or so and pings and arping display the actual round-trip times.
It takes a couple of seconds to execute after you open “Menu > Utils > Reachability”. It may almost feel like the button was not pressed, but this is normal. Be patient, please.
Default timeouts are set to 2 seconds. If the Pi does not receive any response, it will display “FAIL” for this particular test. If you support satellite or other links with very high latency, you can manually increase the timeout values:
sudo nano ~/BakeBit/Software/Python/scripts/networkinfo/reachability.sh
Reachability works with any network interface and requires a default gateway to be configured – either statically or assigned by DHCP.
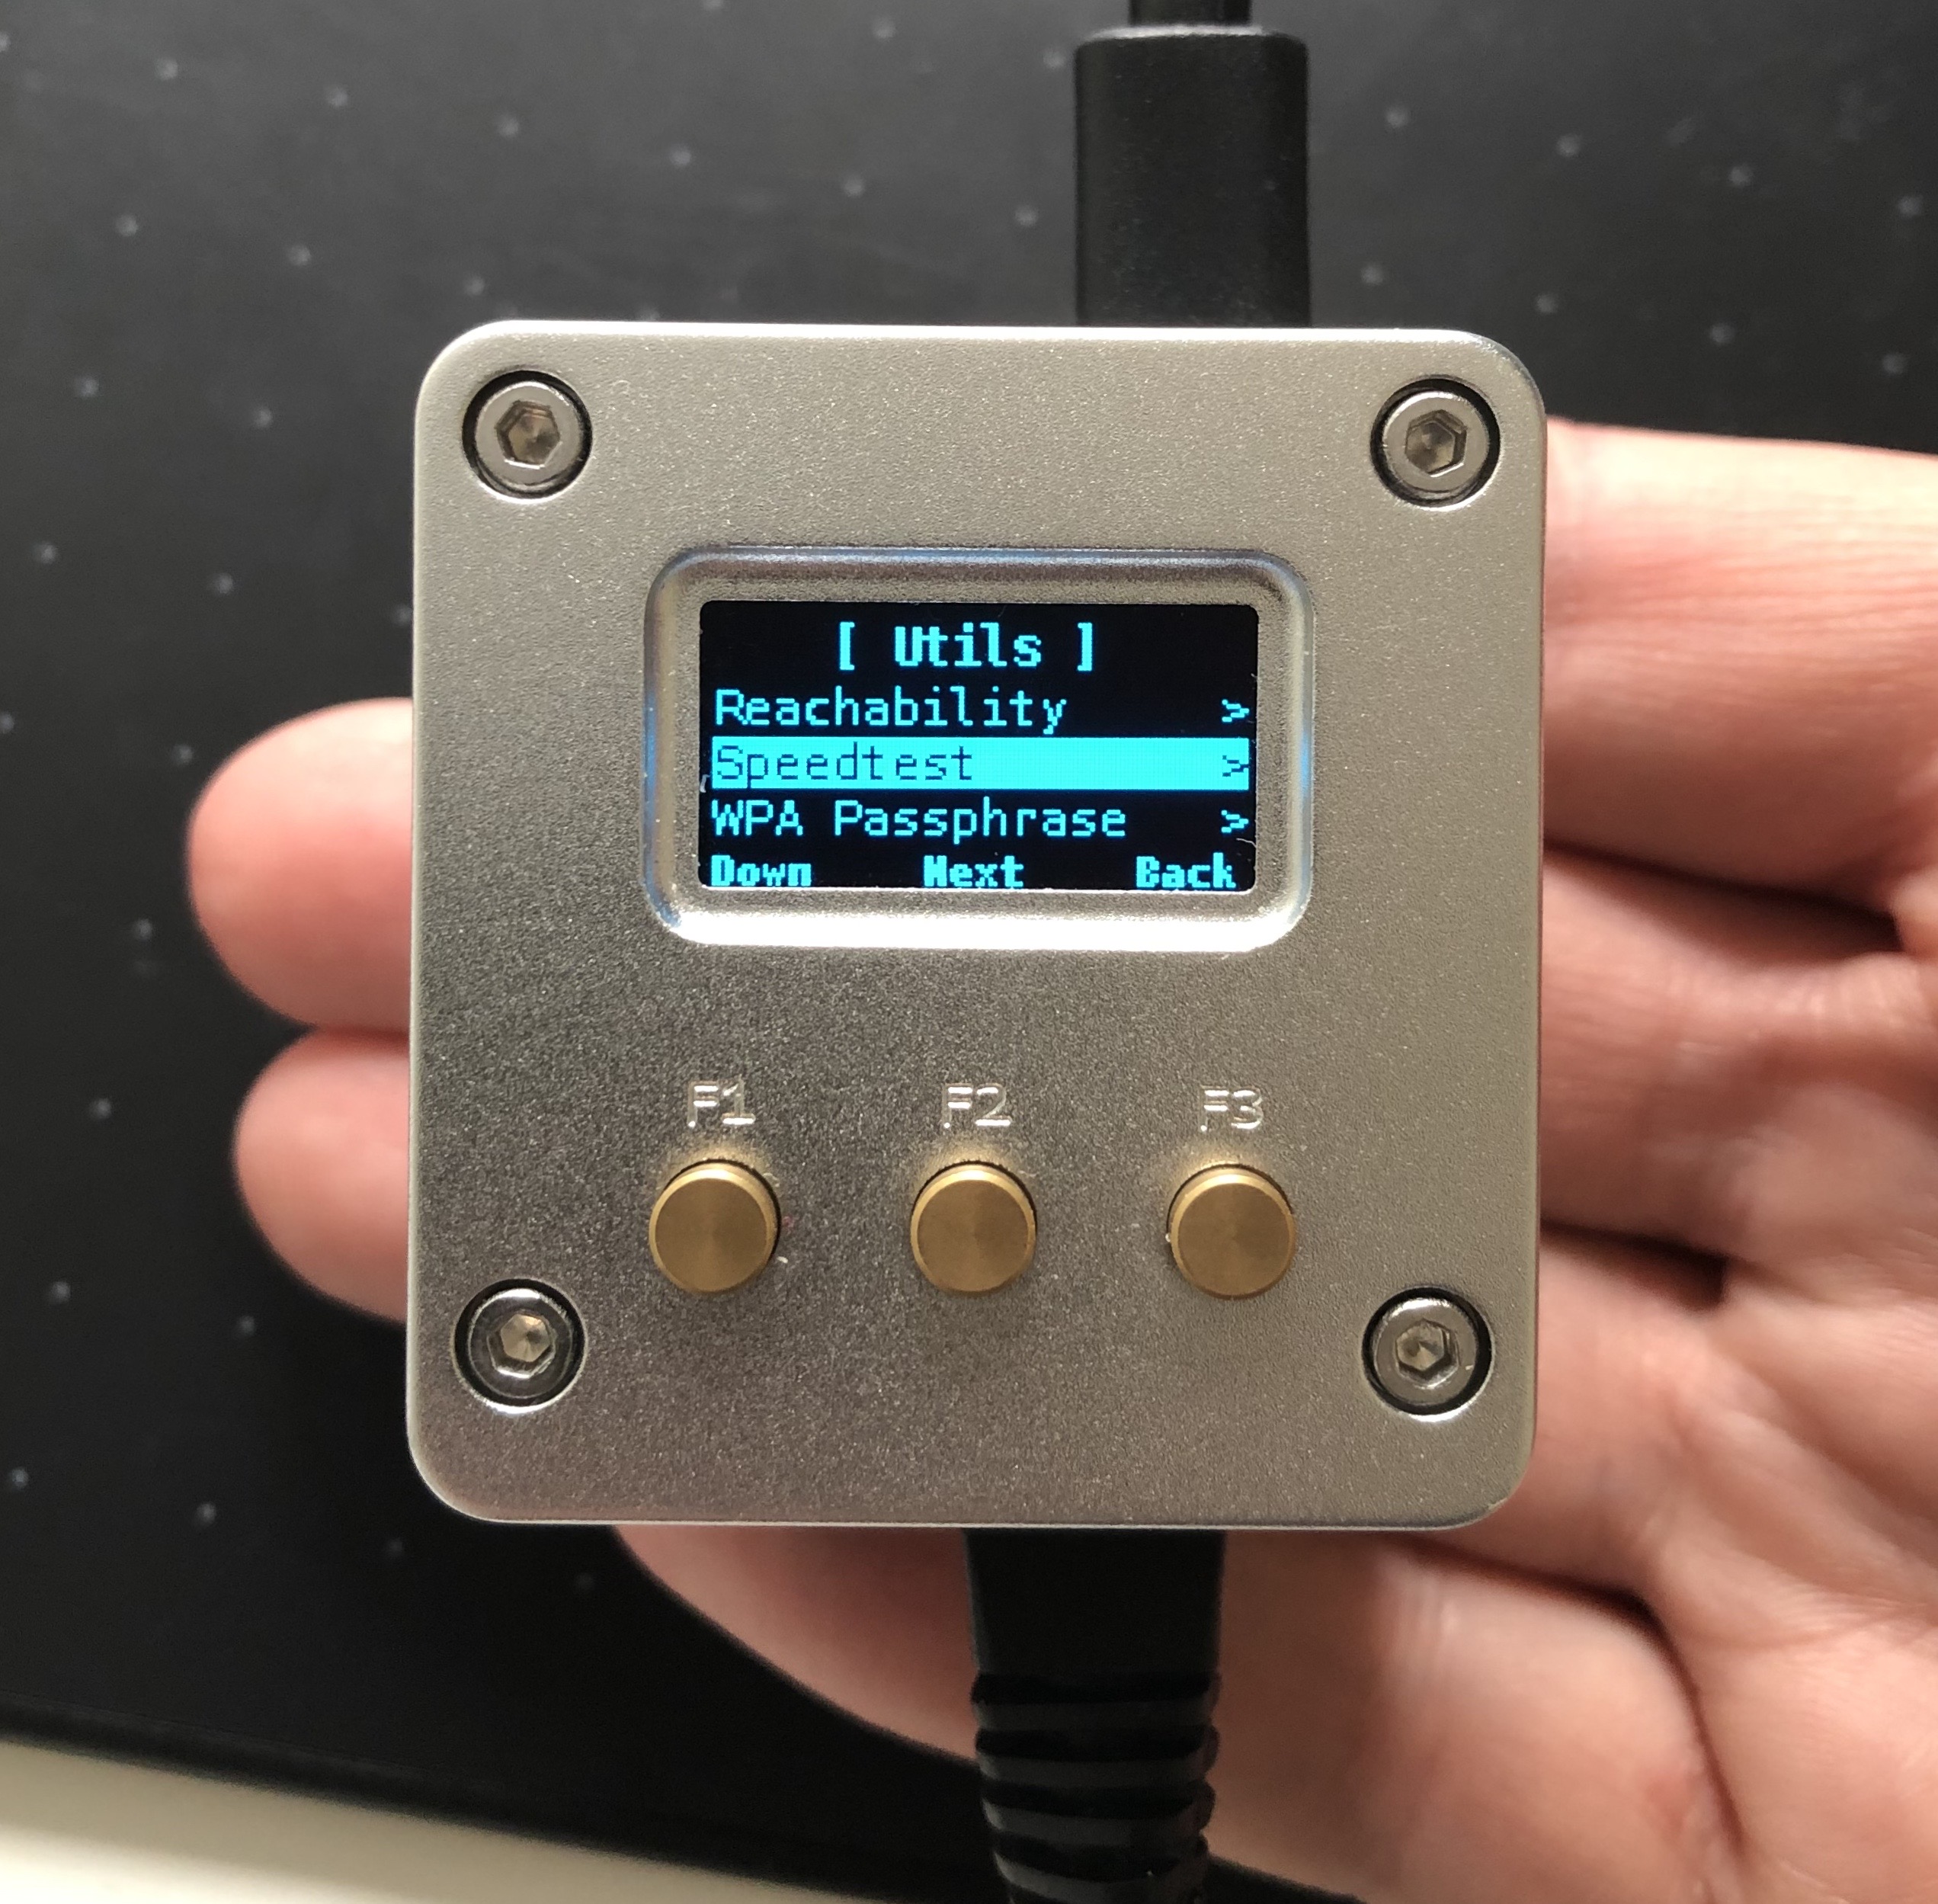
Speedtest
“Menu > Utils > Speedtest” utilises the Linux CLI tool developed by Speedtest.net. It takes the output generated by the tool and formats it to fit the OLED screen of the WLAN Pi. Downlink and uplink throughput and the public IP address are shown.
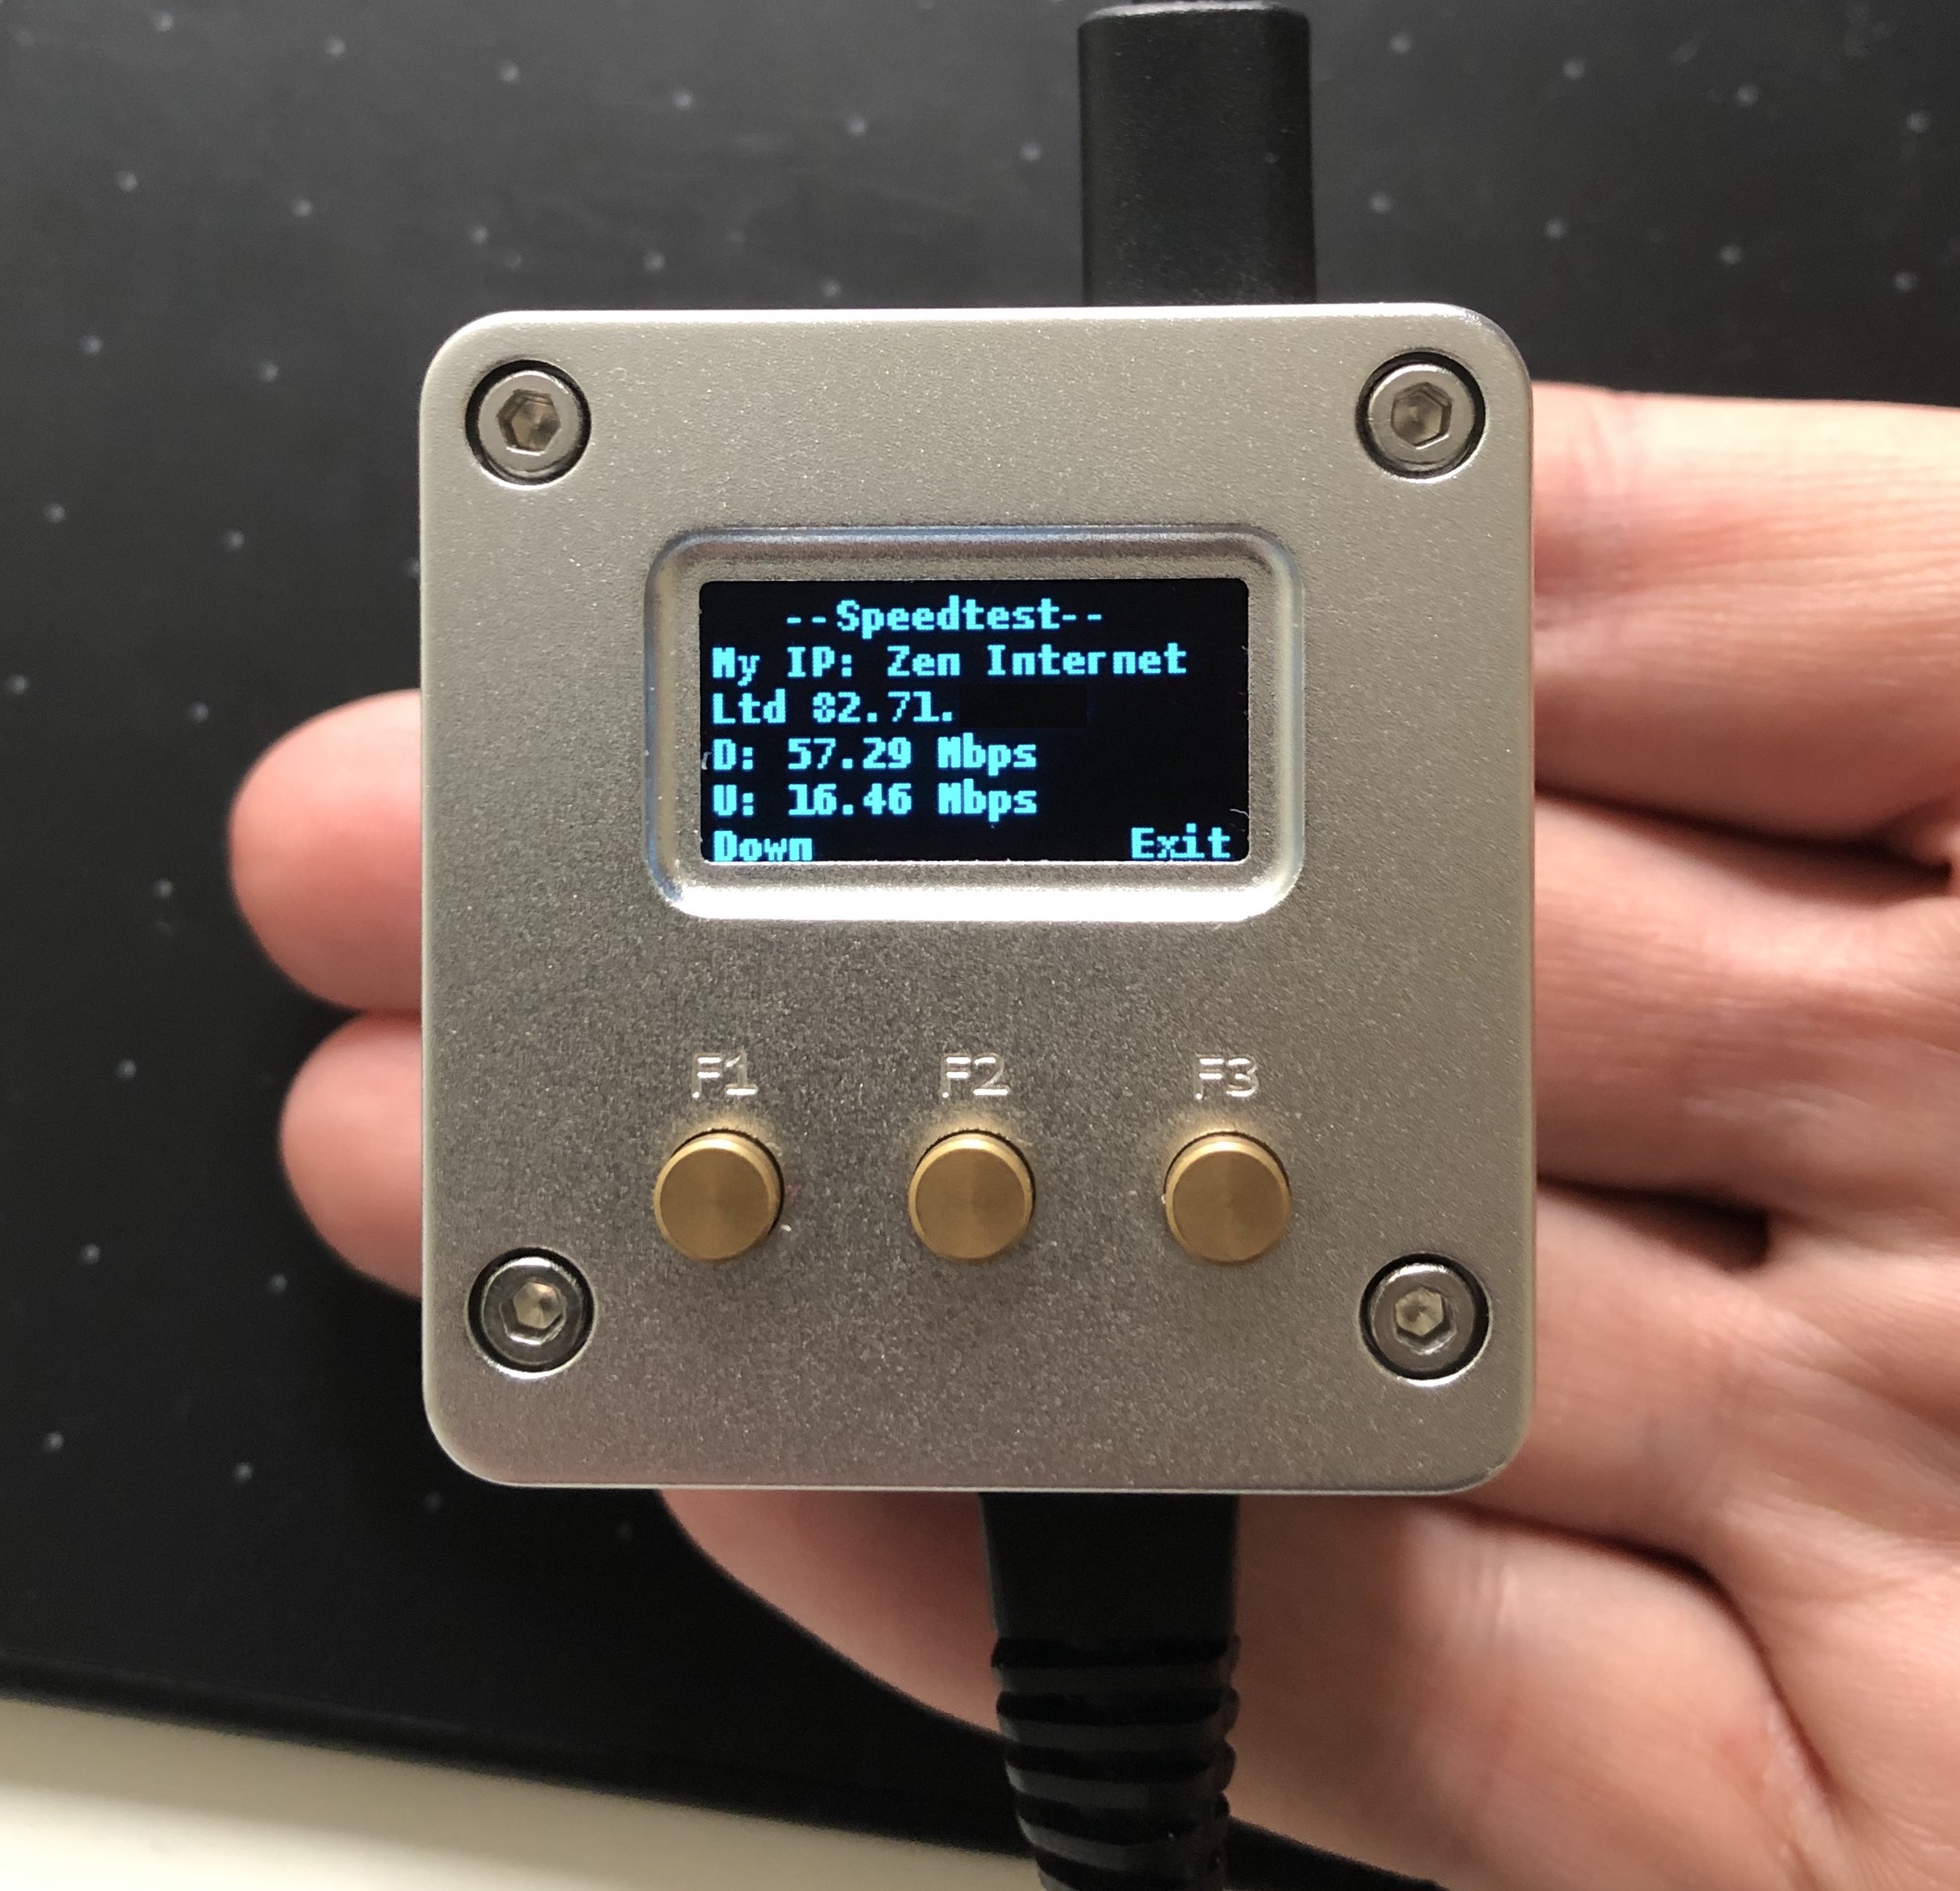
Internet connection is required and it works with any interface. No backend server as such is needed on your network. Ookla and its partners run a network of servers.
I recommend this tool for WAN throughput testing and verification downlink or uplink rate limiting. Please note it is not designed for AP or Wi-Fi performance testing. Use WLAN Pi iperf server connected to your LAN instead.
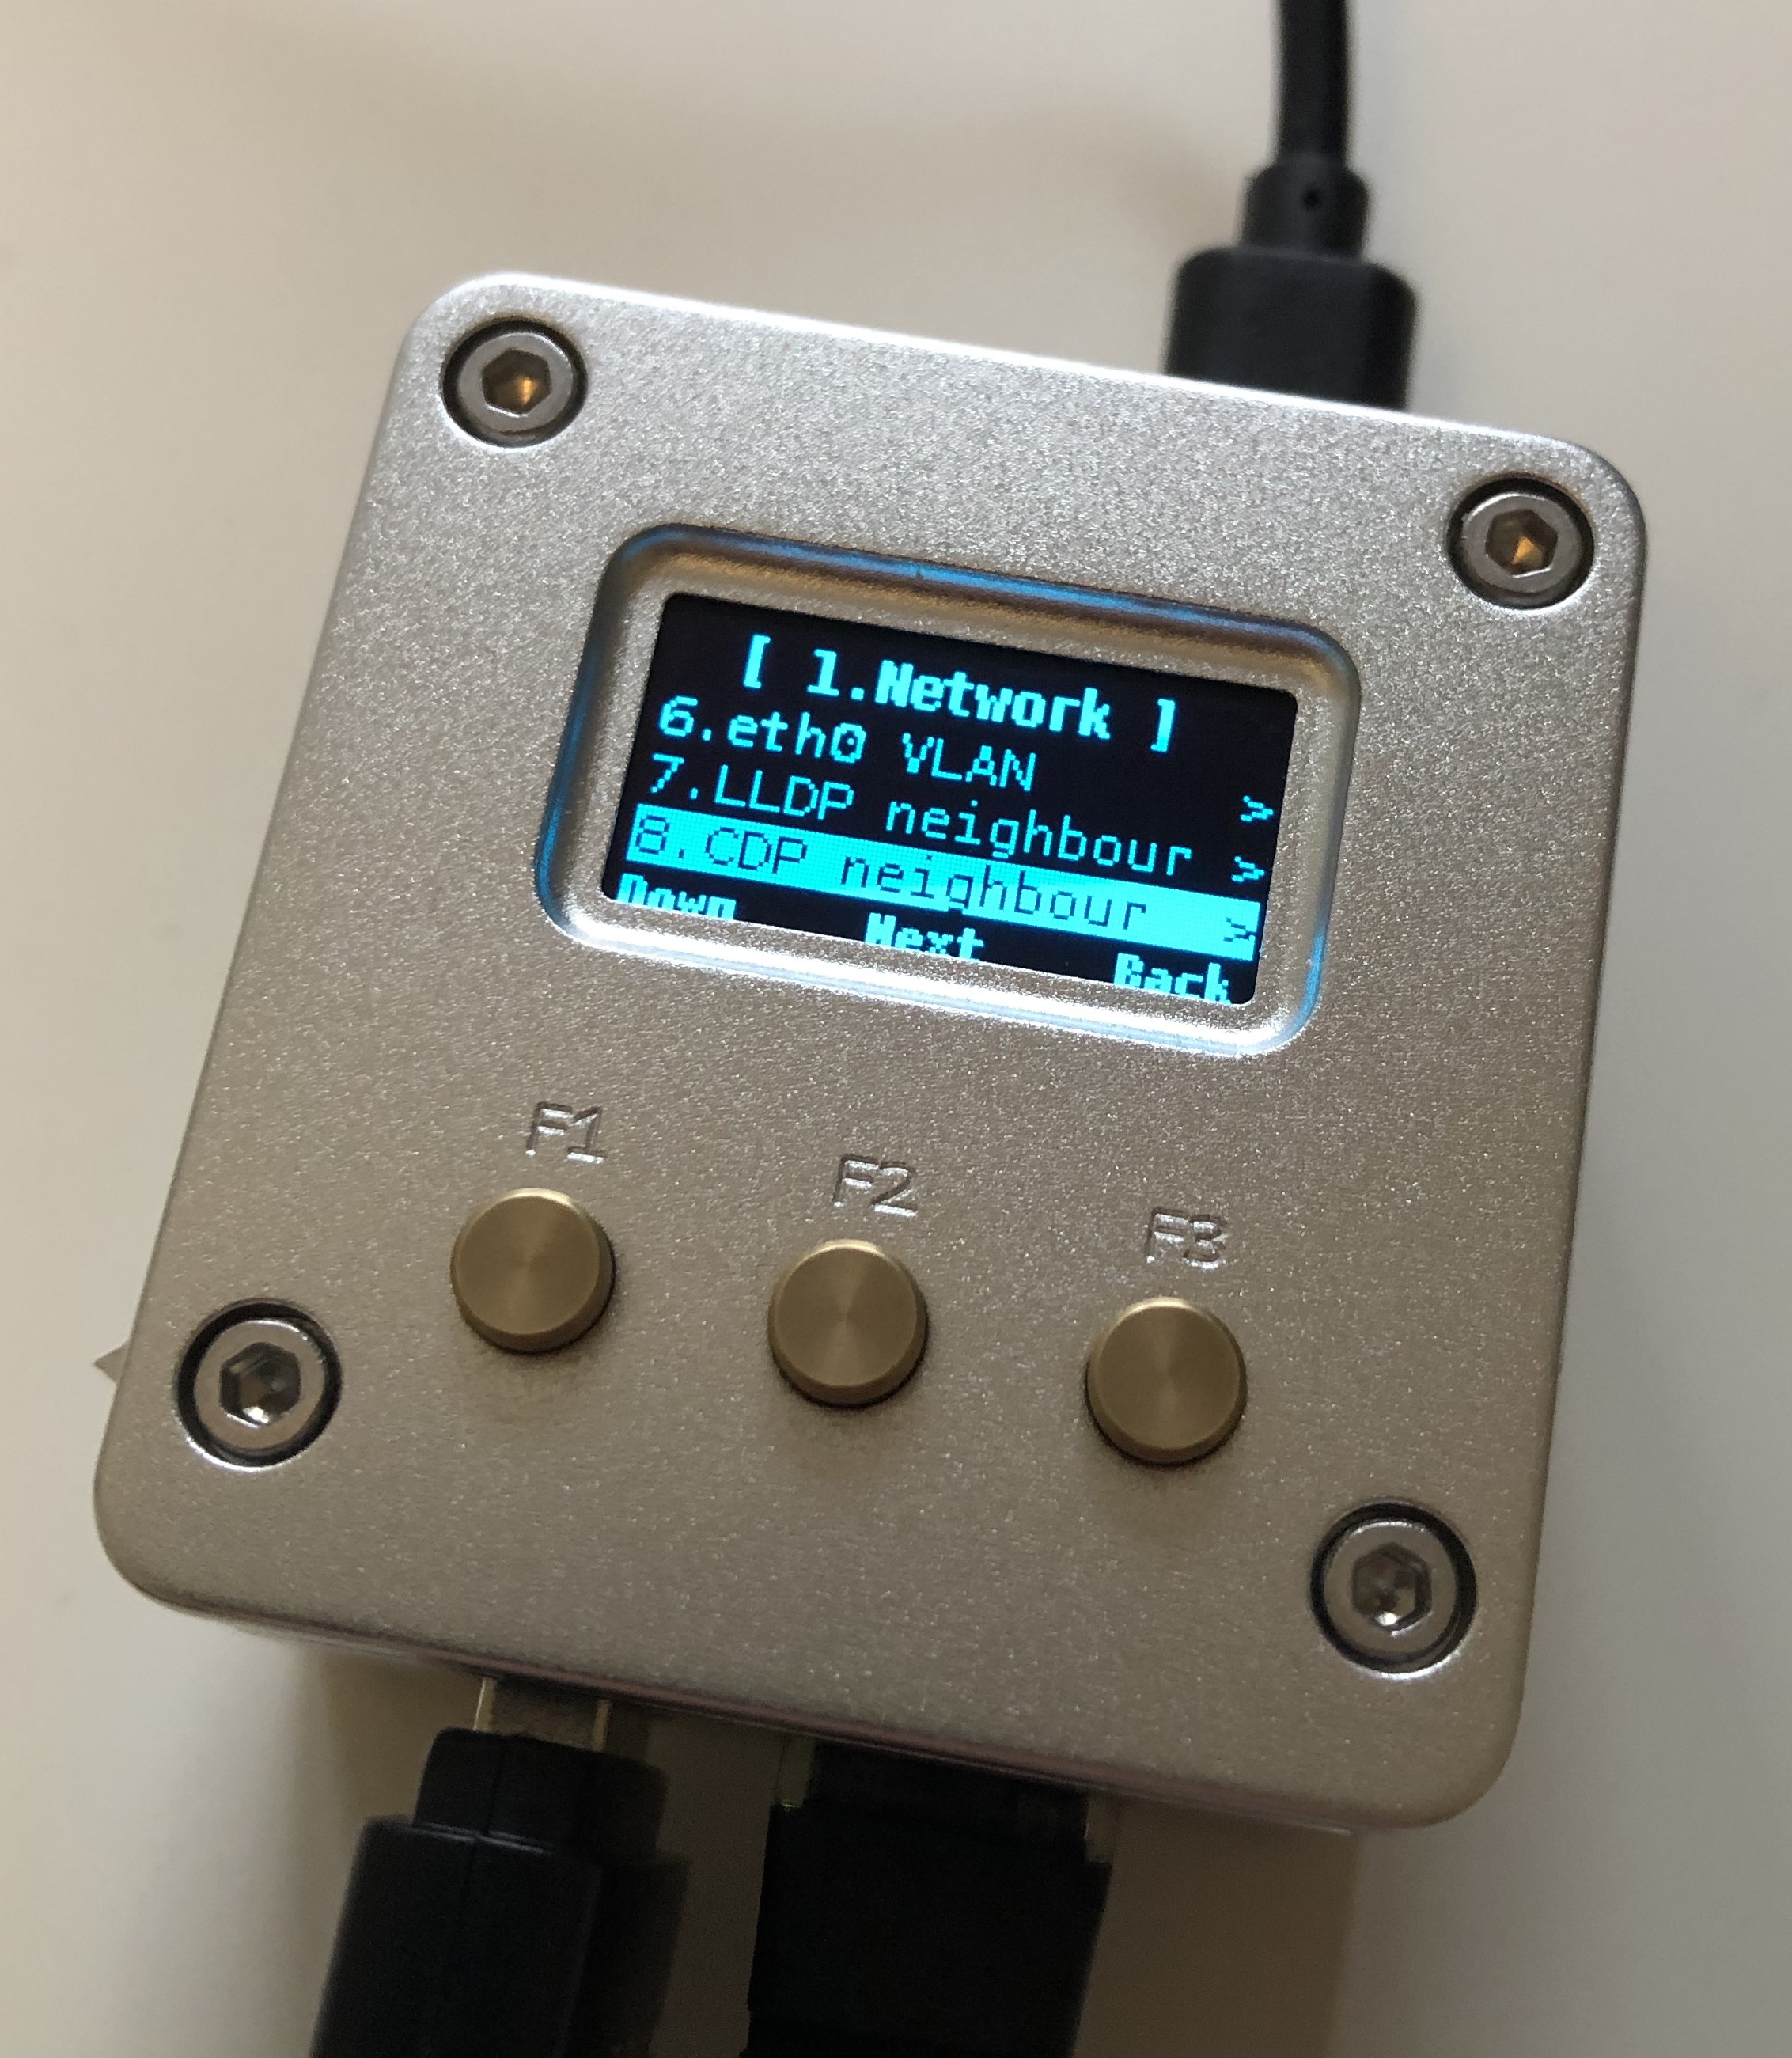
CDP neighbour detection
Cisco Discovery Protocol (CDP) advertises details and capabilities of network infrastructure devices like APs, routers, switches and IP phones. This feature starts a packet capture on eth0 interface and waits for first the CDP packet to come in. It then parses the data and displays neighbouring device name, model, remote port number and native VLAN.
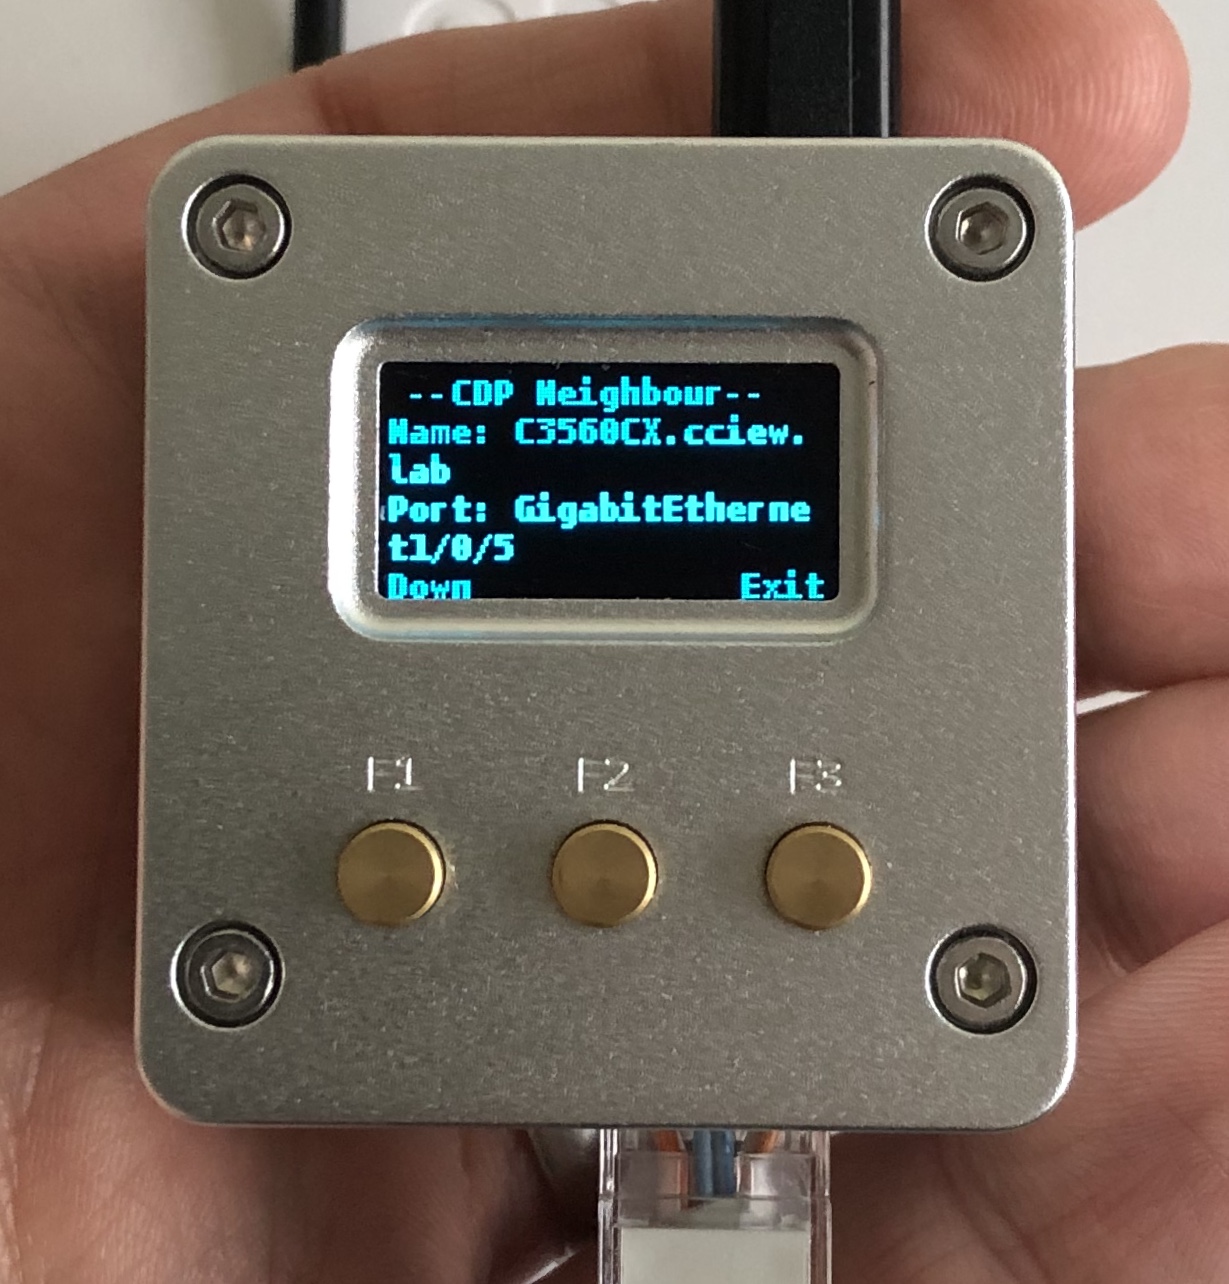
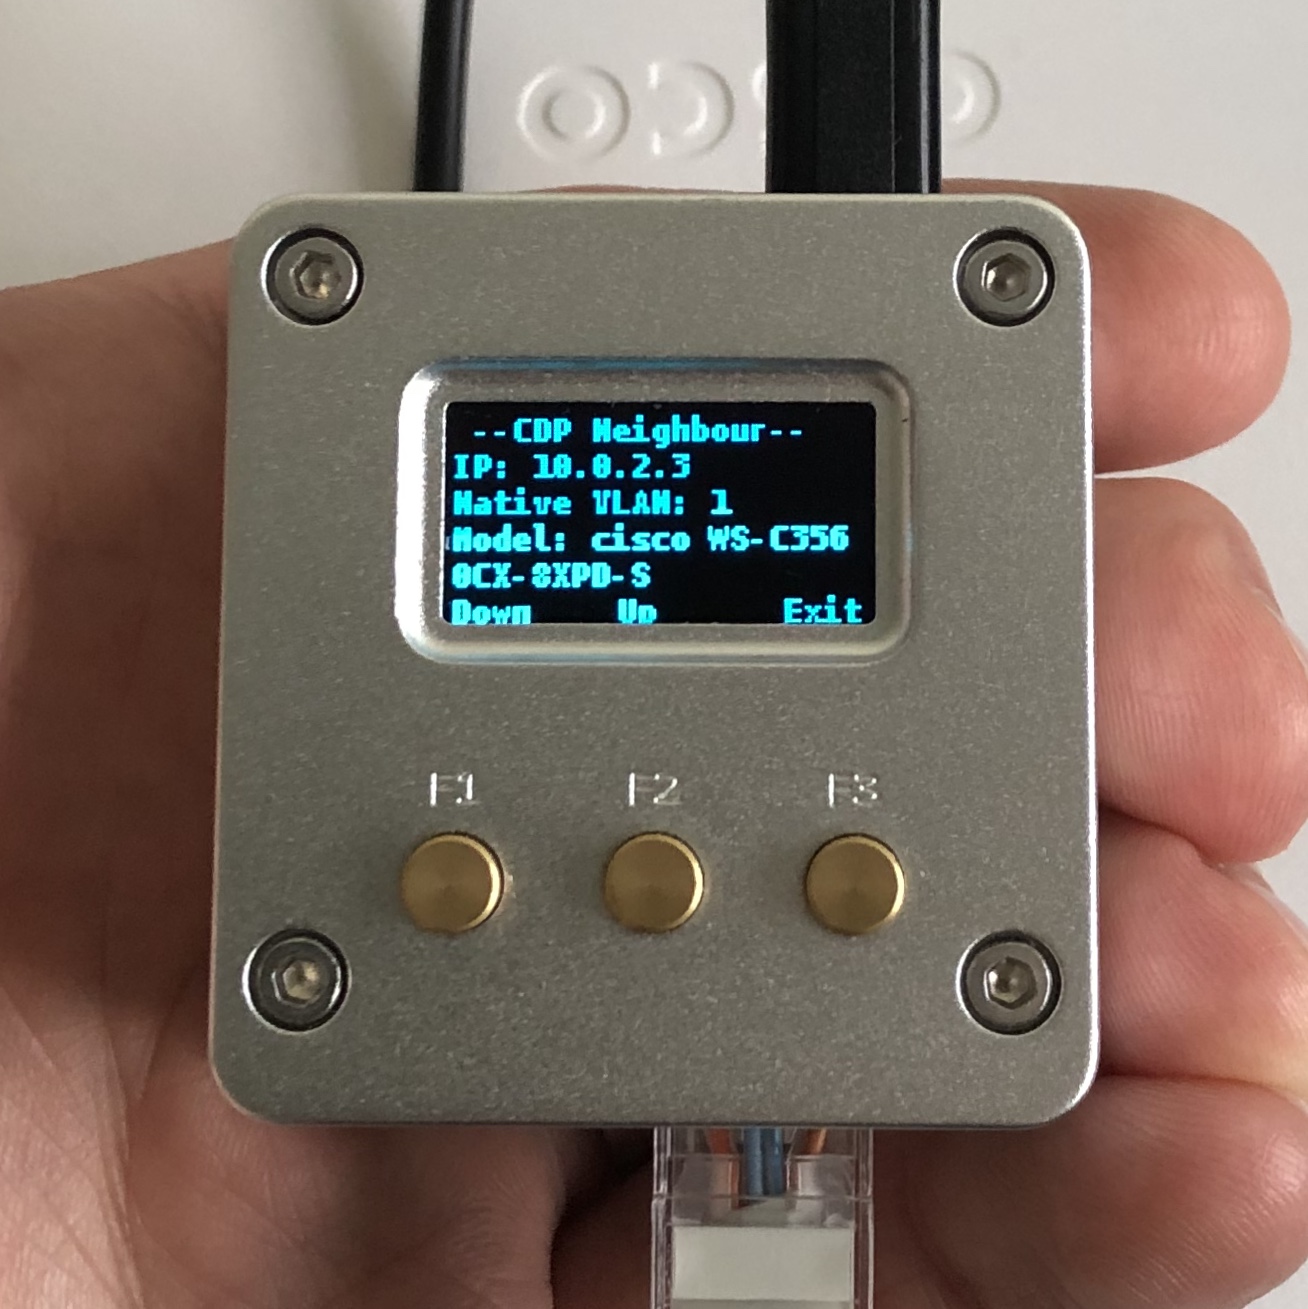
It only works with eth0 interface of the WLAN Pi and it automatically executes every time eth0 interface changes state to up. It then saves the output to a file located in /tmp/cdpneigh.txt. When you open “Menu > Network > CDP Neighbour”, the neighbour information will be displayed instantly as it has already been cached. Without this capability you would have to wait for up to 60 seconds (default CDP hello timer) before getting any output. Which you might not like;-)
LLDP neighbour detection
Link Layer Discovery Protocol (LLDP) advertises details and capabilities of network infrastructure devices like APs, routers, switches and IP phones and is widely used by vendors. Most of the logic is similar to the CDP tool. It does a packet capture on eth0 and waits for the first LLDP packet to come in. It then parses the output and displays neighbouring device name, model, remote port number and native VLAN.
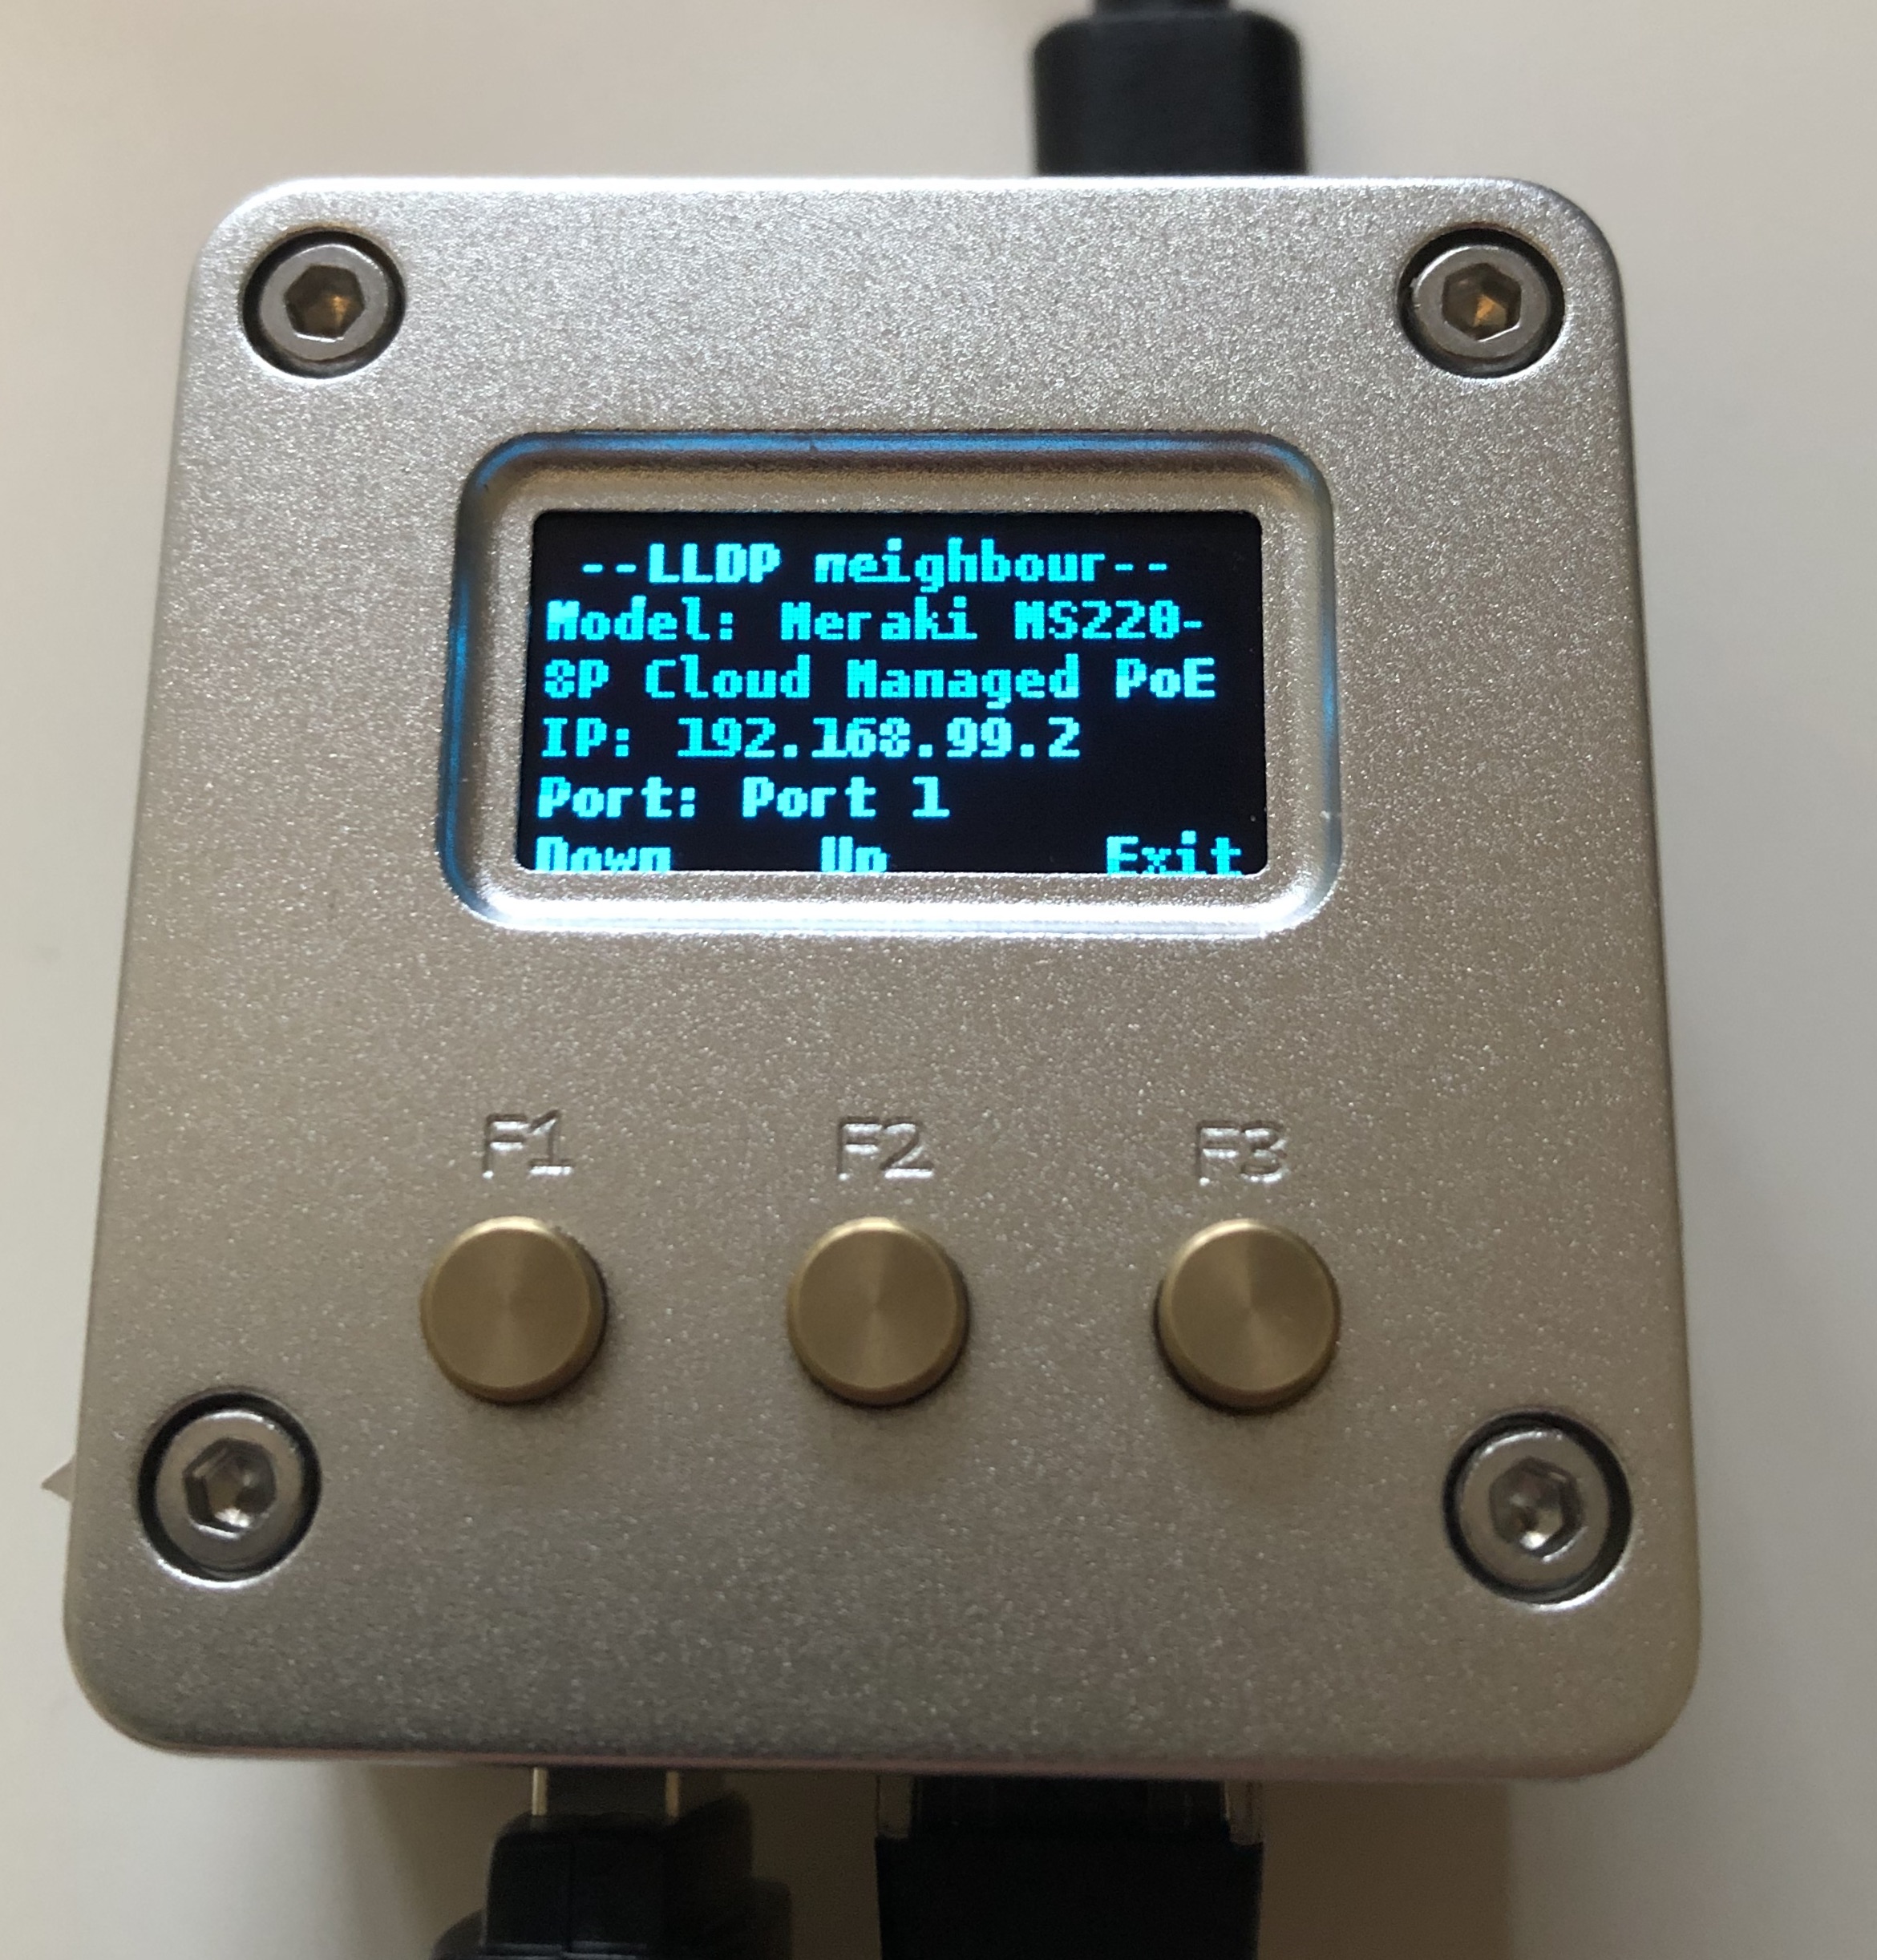
Currently, it only supports eth0 interface of the WLAN Pi and the script is automatically executed every time eth0 interface goes up. It then buffers the output to a file file located in /tmp/lldpneigh.txt. When you open “Menu > Network > LLDP Neighbour”, the neighbour information has already been captured and will be displayed instantly. Without this capability you would have to wait for up to 30 seconds (default LLDP hello timer) before getting any output.
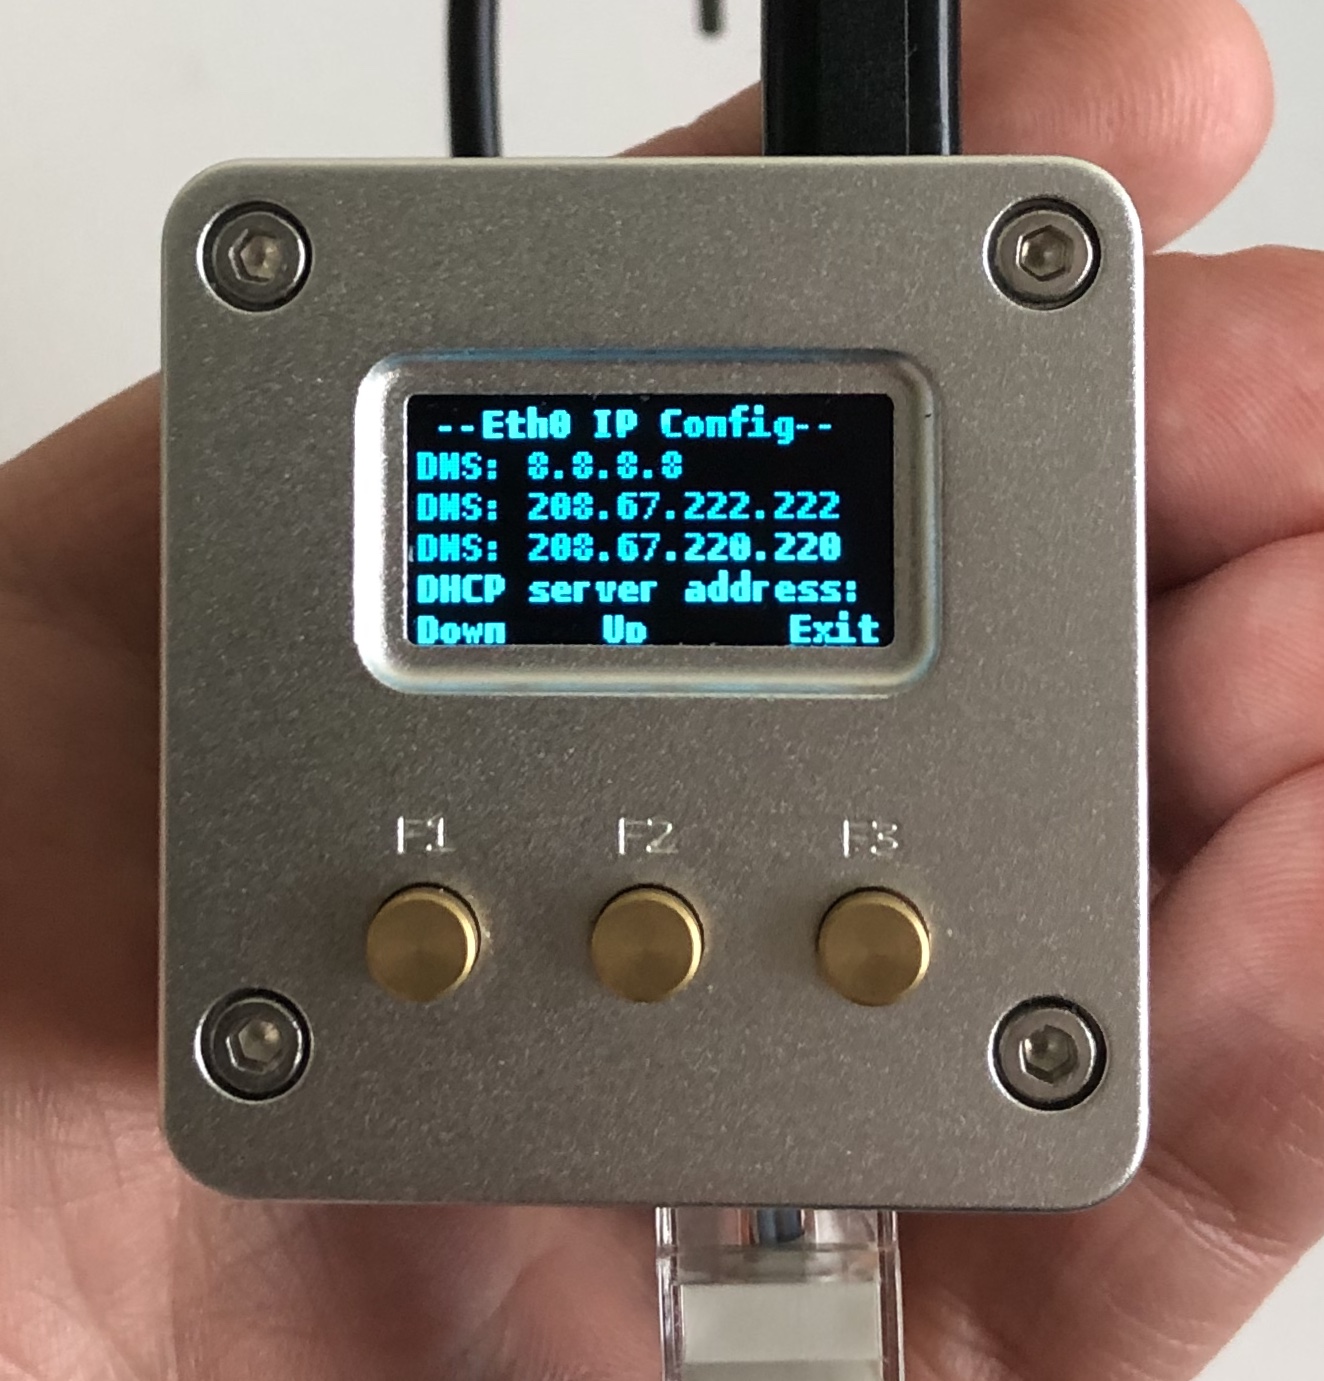
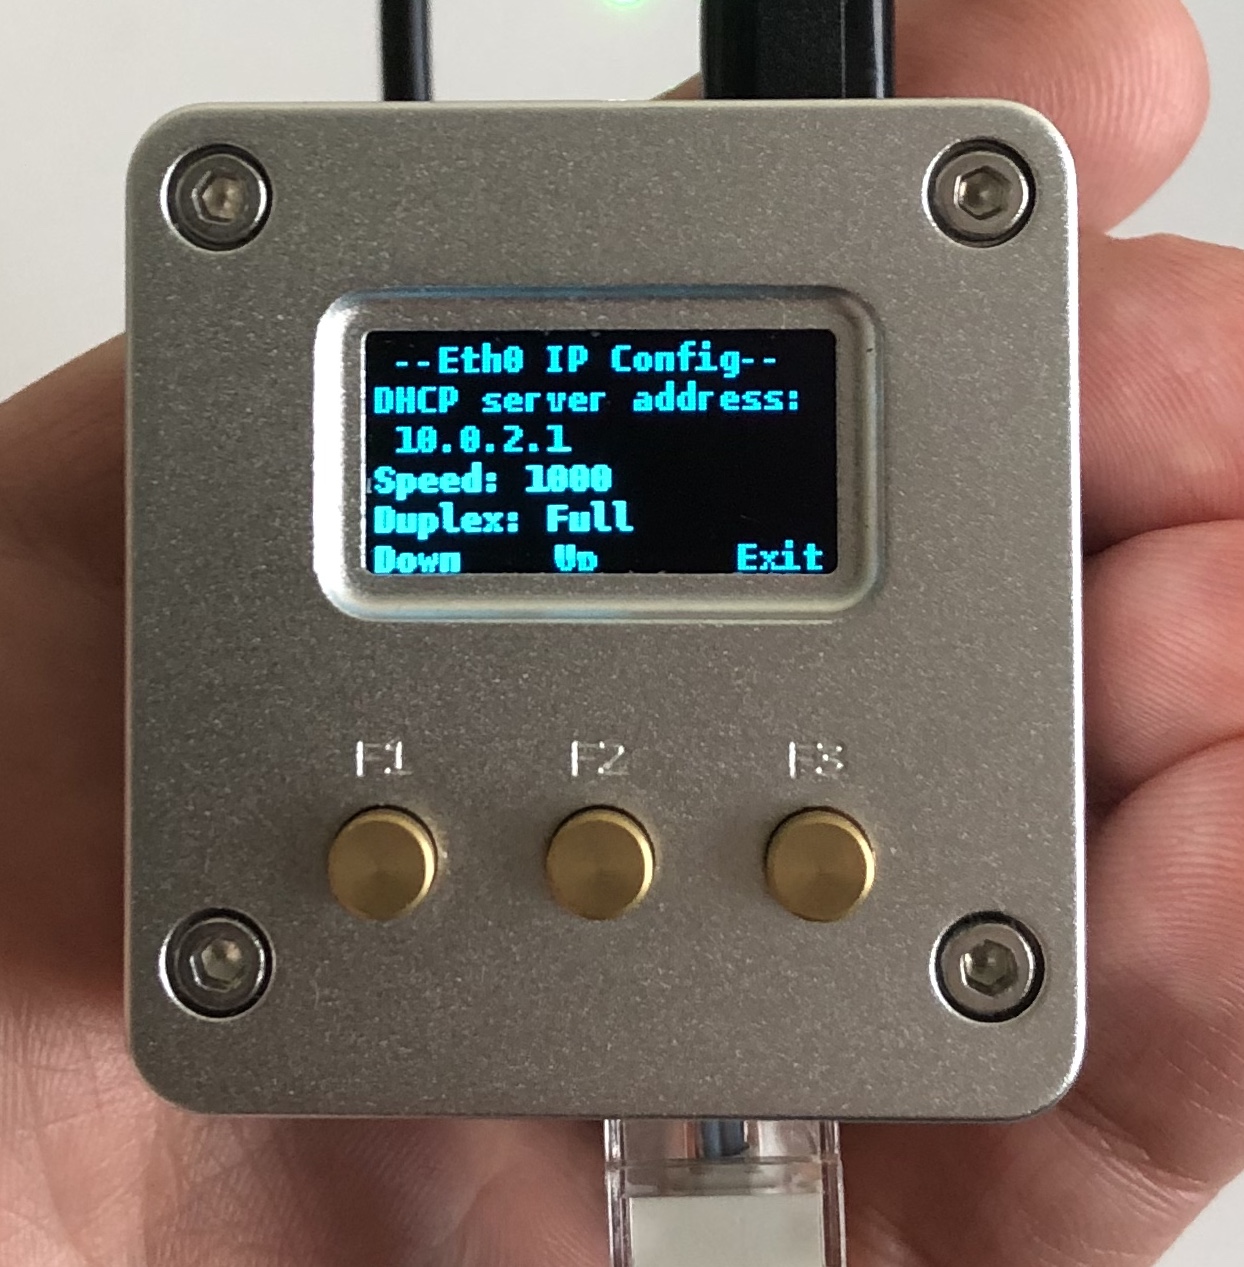
Eth0 IP Config
“Menu > Network > Eth0” shows all IP details of the built-in eth0 interface including the name and IP address of the DHCP server (unless static IP address has been assigned to eth0), IP address, subnet mask, IP addresses of DNS servers being used (by default primary DNS server is statically configured to 8.8.8.8 on the WLAN Pi), domain name (if configured on the DHCP scope), speed and duplex.
The output automatically refreshes every few seconds or so.

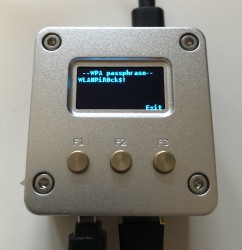
WPA passphrase
Have you ever forgotten the WPA passphrase configured on the WLAN Pi? You can now head over to the “Menu > Network > WPA passphrase” menu and check the current passphrase there.
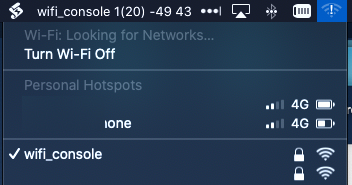
Wi-Fi Console
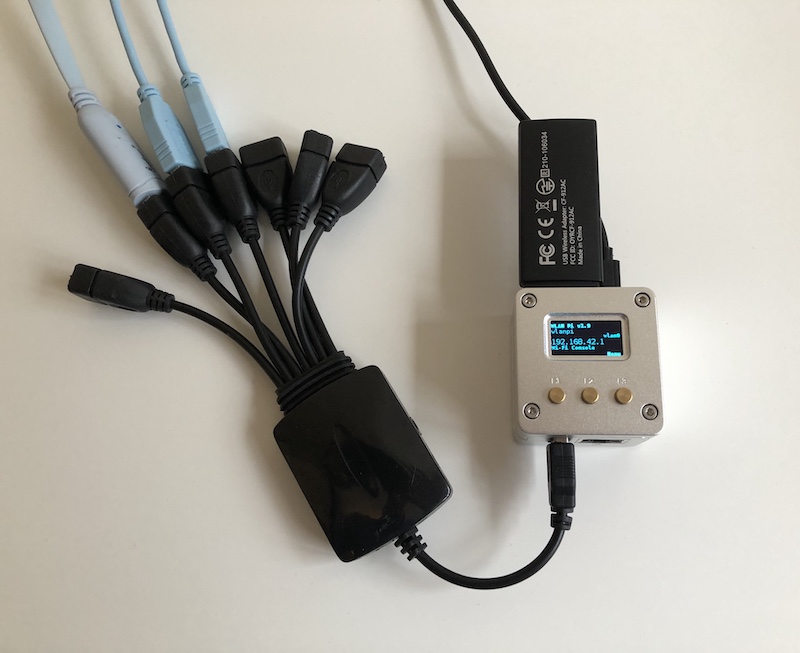
This feature allows you to connect to console ports of multiple devices and access them remotely, over a wired network or wirelessly. All you need is a single WLAN Pi, a supported Wi-Fi adapter, USB hub and a few USB-to-serial adapters.
Credit to Nigel Bowden who has done all of the heavy lifting. Here is his GitHub repository and documentation. I have recently added support for up to 8 USB-to-serial adapters and up to 8 Cisco USB console cables. You can mix and match them.
Wi-Fi Console is an ideal terminal server for your home lab – inexpensive, compact and fanless. In my lab I use a standard 7-port hub connected to my WLAN Pi which provides plenty of ports for all my USB-to-serial and USB console adapters. Here is an example:
- RJ-45 console connection to my AP
- USB console to my Wireless LAN Controller
- USB console to my switch

To activate Wi-Fi Console go to “Menu > Modes > Wi-Fi Console”. Connect all adapters and after the WLAN Pi reboots, connect to the “wifi_console” SSID. Finally, telnet to the IP address of your WLAN Pi on respective TCP port to start the console sessions. Port numbers and a few more tips are posted here.
Special thanks
Thanks to the “father” of the WLAN Pi Jerry Olla for keeping things up to date, making sure everyone is in sync and for building the official images. Nigel Bowden played a vital part of this exciting journey and inspired me, thank you sir! Kudos to Adrian Granados for developing some great integrations and tools and thanks to Francois Verges for his Hotspot feature.
There are many other contributors to the WLAN Pi project and they deserve as much kudos as everyone else. Without the right hardware and form factor, there will be no WLAN Pi. Without the Front Panel Menu System, I will not be able to display any output to you.
Thanks to all of you who helped me test and make these features even better.
It has been a pleasure working with you all and meeting you virtually and in person.
Want to get involved?
If you have any ideas on how to improve the WLAN Pi or want to get involved, please do not be shy and reach out to anyone of us, ideally on Twitter. Hashtag #WLANPi and follow @WLANPi.